
Hey everyone, it’s your boy back again with another project. I’ve been wanting to try my hand at stained glass for a while now, and I finally took the plunge. I decided to go big or go home and make a dragon stained glass piece. Let me tell you, it was a journey!
First, I needed a pattern. I looked around online, but nothing really inspired me. So, I used one of those AI image generators to create a basic design, and then I printed it out. I ended up with an 11×17 pattern that looked pretty cool, I gotta say.
Next, I went to the local craft store and got my supplies. They had a decent selection of colored glass, and I picked out some fiery reds, oranges, and yellows for the dragon’s body, and some deep blues and greens for the background. I also grabbed some lead came, solder, and flux. I already had a glass cutter and a soldering iron at home, which saved me some money.
Once I had everything, it was time to get to work. I carefully laid out the pattern and started cutting the glass. Man, cutting glass is harder than it looks! It took a lot of patience and a few broken pieces before I got the hang of it. My hands were killing me by the end of the day.
- Step 1: Trace and cut the pattern.
- Step 2: Cut the glass to match the pattern pieces.
- Step 3: Grind down the edges of the glass for a snug fit.
After cutting all the pieces, I started assembling the dragon. I used the lead came to hold the glass pieces together, and then I soldered the joints. This was also a learning curve. It’s not easy to get a smooth, even solder line. Mine were a little lumpy, but hey, it’s my first time!
With the dragon assembled, I moved on to the background. This part went a bit faster since the pieces were bigger and less intricate. It was really satisfying to see the whole thing starting to take shape.
- Step 4: Wrap each piece of glass with copper foil tape.
- Step 5: Arrange the glass pieces on the pattern.
- Step 6: Solder the pieces together.
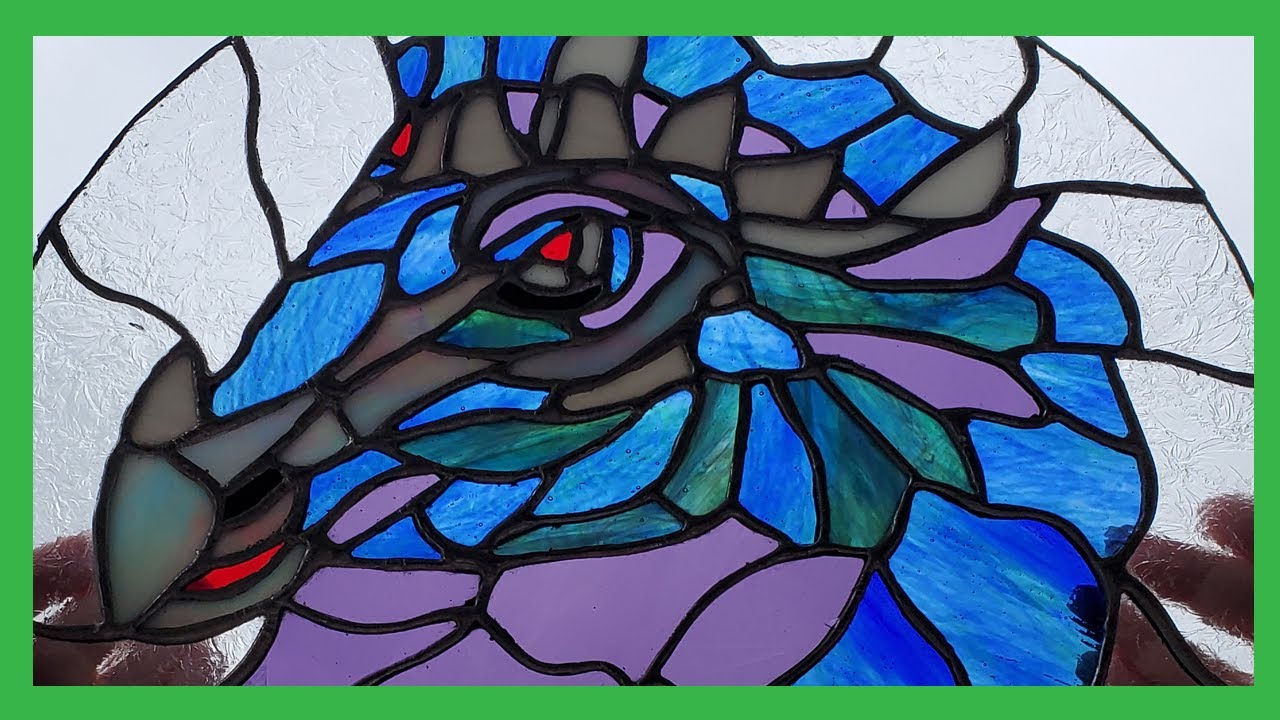
Finally, after many hours of work, I was done! I held it up to the light, and it looked amazing. The colors were so vibrant, and the dragon looked like it was about to breathe fire. I was so proud of myself for completing this project. It was definitely challenging, but the result was totally worth it.
I know it’s not perfect, but I learned a lot from this project. I definitely want to try more stained glass in the future. Maybe something a little simpler next time, though! If you guys have any stained glass tips or project ideas, let me know in the comments!