
Okay, here’s my blog post about making a Stone Mountain hobo bag, written in a casual, personal style, using basic HTML tags:

So, I decided to try and make one of those Stone Mountain hobo bags. I’d seen them around, and they looked pretty cool, roomy, and I figured, “Hey, I can probably do that!” I’m no expert sewer, mind you, but I’m not afraid to try things.
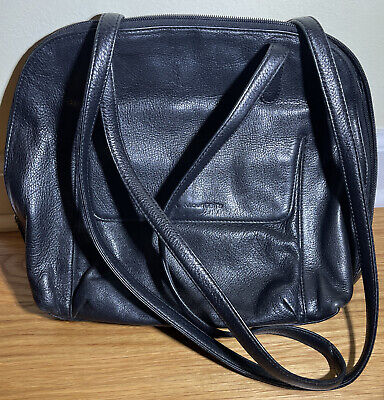
First, I gathered my materials. I had some old fabric scraps lying around – a sturdy canvas-like material for the outside and a softer, patterned fabric for the lining. I also needed a zipper, some webbing for the strap, and of course, my trusty sewing machine. I didn’t have an actual pattern, but I had seen a few online before, and I have my own bag so I had a model.
The Cutting and Sewing
I started by cutting out the fabric. It was a little tricky figuring out the shape, especially how the rounded bottom should look like, but I basically made two large, slightly curved pieces for the main body, and a long strip for the bottom gusset. I did the same for the lining fabric.
- Main Body: Two large, slightly curved pieces.
- Bottom Gusset: One long strip.
- Lining: Same shapes as the outer fabric.
I pinned the outer fabric pieces right sides together and sewed along the sides and bottom, leaving the top open. Then, I attached the gusset to the bottom, which was a bit fiddly, getting the curves to match up. It wasn’t perfect, but hey, it’s handmade, right?
Next, I repeated the process with the lining fabric, but I left a gap in the side seam for turning the bag right side out later. I also added a couple of pockets to the lining, because who doesn’t love pockets?
The Zipper and Strap
Then came the zipper. I pinned it to the top edges of the outer fabric, right sides together, and stitched it in place. This part always makes me a little nervous, but I took it slow and it turned out okay.
I made the strap by folding the webbing in half lengthwise and sewing it together. I attached the strap to the sides of the bag, reinforcing the stitches to make sure it was strong enough.
Finishing Up
Finally, I put the lining inside the outer bag, right sides together, and sewed around the top edge, leaving a small opening to turn the bag. After turning it right side out, I pushed the lining inside, pressed everything nice and flat, and topstitched around the top edge to close the opening and give it a finished look.
And that’s it! My very own, slightly imperfect, but totally functional Stone Mountain-inspired hobo bag. It was a fun project, and I’m pretty happy with how it turned out. If you can sew a few simple stitches, then it is very likely that you can make your own bag!