
Alright, let’s talk about my little weekend project: trying to recreate the “Asteroid” Nike Air Foamposite One look. Man, that shoe is iconic!
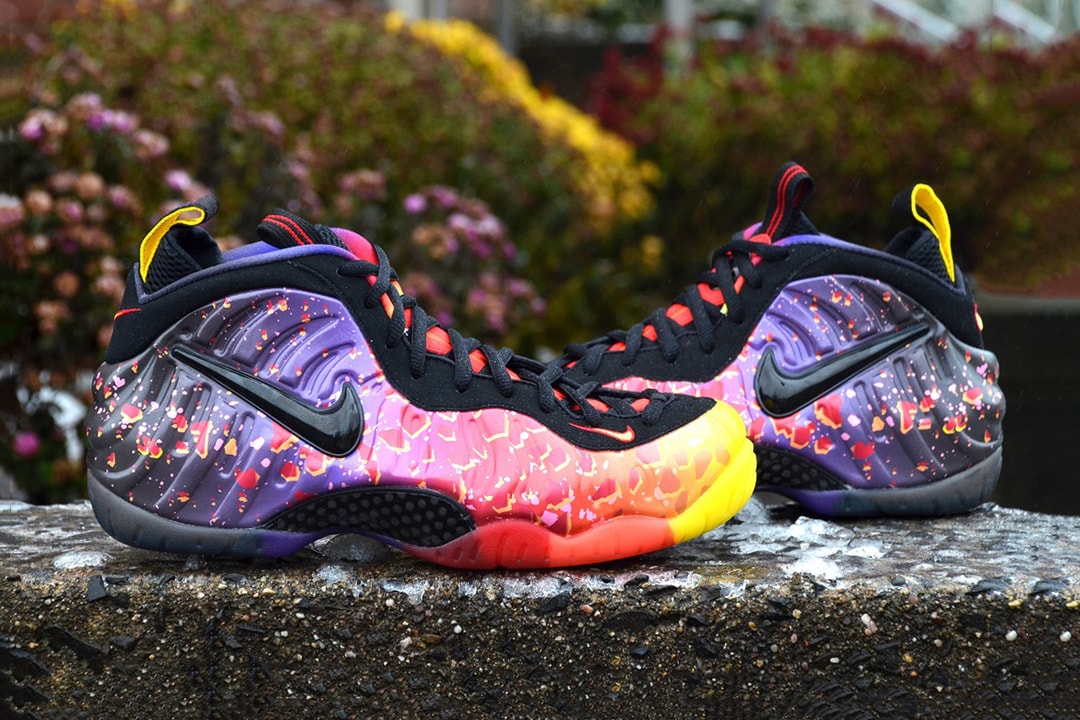
The Inspiration: The Asteroid Foamposites are just…out there. The gradient color shift is crazy, and I always wanted a pair but, you know, life. So, I thought, “Why not try and make something inspired by it?” I had an old pair of beat-up sneakers laying around, perfect guinea pigs.
Prep Work: First, I grabbed those old sneakers. They were a mess! Scuffed up, dirty, the works. I started by giving them a serious cleaning. Soap, water, a scrub brush – the whole nine yards. Then came the sanding. I wanted to rough up the surface so the paint would actually stick. I used some medium-grit sandpaper and went over the entire shoe. It’s tedious, but super important.
Base Coat: Next up was the base coat. I used a white primer spray paint. Even coats, not too thick, just enough to cover the original color and give the new paint something to grab onto. Let that dry completely. I’m talking overnight, because patience is key here. You rush it, you’ll regret it.
Color Time: This is where it got interesting. The “Asteroid” look is all about that gradient. I bought a few different colors of spray paint: a dark purple, a lighter pinkish-purple, and a bright orange. My plan was to start with the purple at the back of the shoe, fade into the pink, and then hit the toe with the orange.
Spray Painting Shenanigans: I practiced on some cardboard first to get the hang of the fade. The trick is to hold the can further away and use quick, light bursts. I started with the dark purple at the heel, gradually working my way forward. Then I hit the middle section with the pink, overlapping it slightly with the purple to blend the colors. Finally, the orange on the toe, again blending it into the pink. It wasn’t perfect, but it was a start.

More Layers: I let each layer dry for a good hour before adding another. I ended up doing three or four layers of each color, just to get the vibrancy I was looking for. This also helped smooth out some of the rough spots in the gradient.
Details and Touch-Ups: Once the main colors were done, I went in with some acrylic paint and small brushes to add some details. Little speckles of black and white, just to give it that spacey, asteroid-like texture. I also touched up any areas where the paint had chipped or scratched during the process.
Clear Coat: Finally, I sprayed on a few coats of clear coat to protect the paint job. This is crucial! It’ll keep the colors from fading and prevent scratches. Again, let it dry completely between coats.
The Result: Did they look exactly like the real Asteroid Foamposites? Nope. But they were pretty damn cool! A fun project, a bit messy, but totally worth it. Plus, I got to give a pair of old sneakers a new life. If you’re thinking about trying something like this, go for it! Just be prepared for a bit of trial and error, and don’t be afraid to get creative.