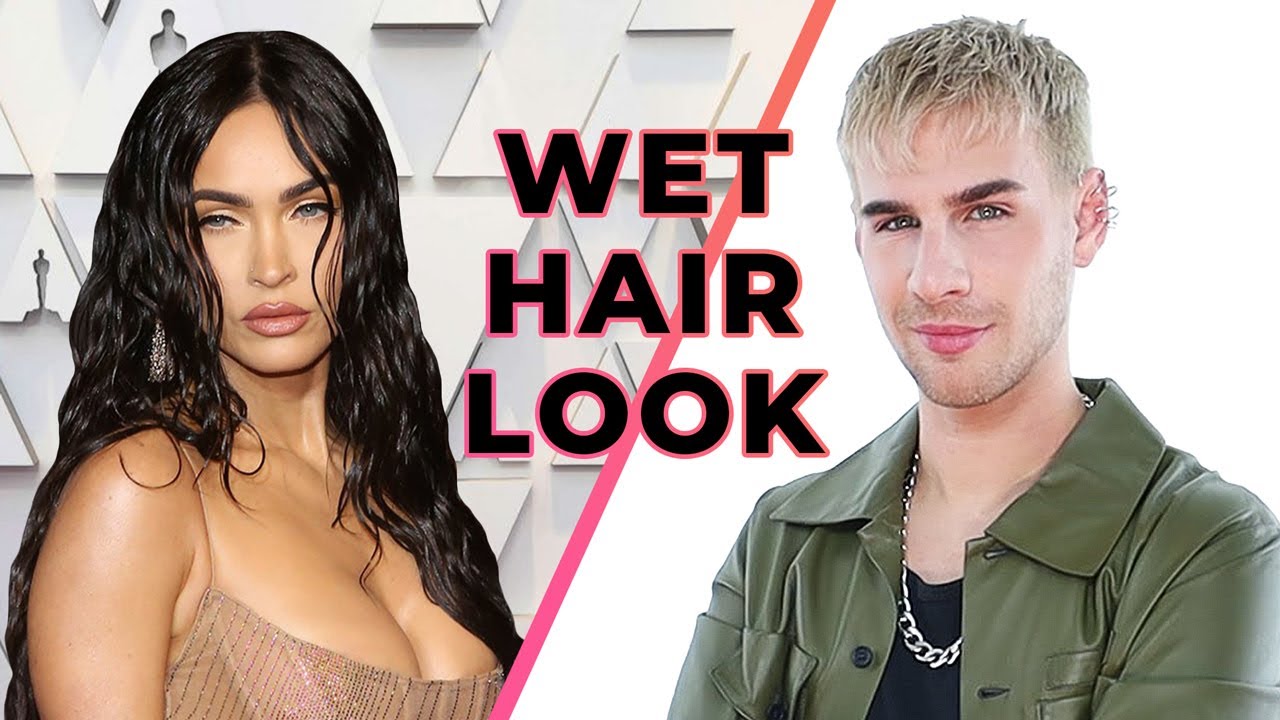
Okay, so I’ve been seeing this “wet effect hair” trend all over my feed, and I finally decided to give it a shot. I’m not gonna lie, I was a little intimidated at first, but it turned out to be way easier than I thought!

Getting Started
First, I washed my hair like normal. No fancy shampoos or anything, just my usual stuff. Then, I towel-dried it, but not all the way. You want it to be pretty damp, almost dripping, but not quite.
The Process
- Next, I grabbed some hair gel. I used the kind my husband uses, which is that normal strength.
- Then, I squirted a good amount of gel into my hands – like, more than I usually would. Don’t be shy with it!
- I rubbed my hands together to spread the gel around.
- And I scrunched it into my hair, starting at the roots and working my way down. I made sure to really coat every strand.
Styling and Finishing Up
Once my hair was totally saturated with gel, I played around with it a bit. I parted it where I normally do, and then I just kind of mussed it up a little to give it that messy, “I just got out of the shower” look.
I was tempted to use a hairdryer, but I decided to let it air dry. It took a while, I’m not gonna lie, but I think it helped with the overall effect.
It is better.

Honestly, I was surprised at how good it looked! It’s definitely a different vibe, but I’m into it. I’d totally do this again for a night out or something. It’s super easy, and it makes you feel kind of edgy.

