Okay, so I’ve been seeing these “nude nails with nail art” looks all over my feed, and I finally decided to give it a shot. I’m no pro, but I figured, how hard could it be, right? Turns out, it’s a little trickier than it looks, but still totally doable!
Prepping My Nails
First things first, I got my nails ready. I pushed back my cuticles – gotta make room for the art, you know? Then, I filed them into a nice, rounded shape. I’m not about that super-pointy life, so rounded it is. After that, I buffed the surface a little, just to make sure everything would stick properly.
The Nude Base
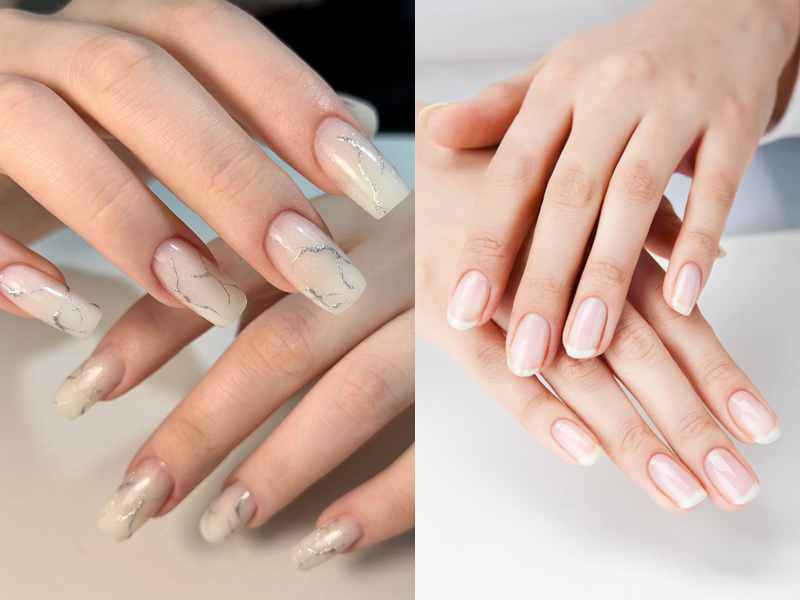
Next up, the nude polish. I chose a color that’s pretty close to my skin tone, something sheer and subtle. I applied two thin coats, making sure to let each coat dry completely before adding the next. Patience is key, my friends – I learned that the hard way, haha.
The Nail Art Fun
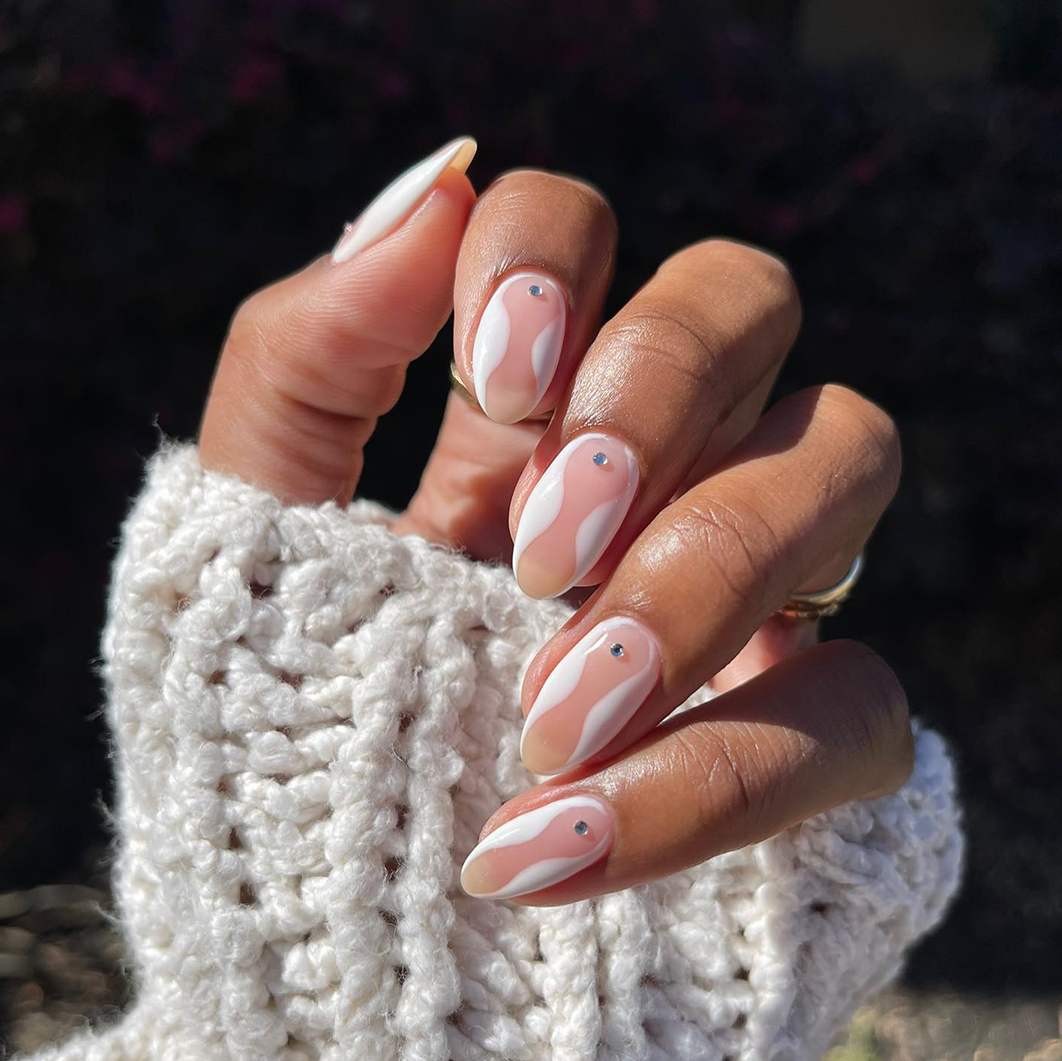
Now for the fun part – the nail art! I decided to keep it simple, with some tiny gold dots. I used a dotting tool (but a toothpick would totally work too) and some gold nail polish. I carefully placed the dots near the base of my nails, kind of like a reverse French manicure. I messed up a couple of times, but it’s all good – a little nail polish remover and a Q-tip fixed it right up.
Sealing the Deal
Once the dots were dry, I applied a top coat to seal everything in and give it a nice, glossy finish. I made sure to cover the entire nail, even the edges, to prevent chipping.
- Prep: Push cuticles, file, and buff.
- Nude Base: Two thin coats of a sheer nude polish.
- Nail Art: Tiny gold dots near the base of the nail.
- Top Coat: Seal everything in with a glossy top coat.
And that’s it! My nude nails with nail art are done. It’s a pretty simple look, but I think it’s really cute and elegant. It definitely took a little longer than my usual single-color manicure, but I’m happy with how it turned out. Might try some different designs next time!