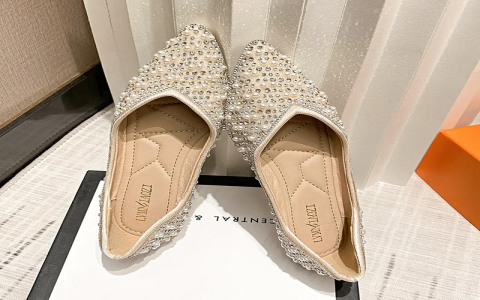
Okay, so I’ve been seeing these rhinestone flat shoes everywhere lately, and I finally caved. I wanted to see if I could make a pair myself instead of buying some, you know, save a little money and have a fun project. So, here’s how it went down.

Gathering My Supplies
First things first, I needed some plain flats. I grabbed a cheap pair from a discount store – nothing fancy, just basic black ones. Then, I hit up the craft store for the good stuff: rhinestones! I picked out a bunch of different sizes, mostly clear ones, but I also snagged a few colored ones for a little extra sparkle. And of course, I needed some strong glue. I went with one that’s specifically for fabric and gems, just to be safe.
Prepping the Shoes
Before I started gluing anything, I wiped down the shoes with a damp cloth to make sure they were clean. Any dust or anything would mess with the glue, and I didn’t want that. I also stuffed the shoes with some old newspaper to help them keep their shape while I was working.
The Gluing Process
This is where the patience came in! I started by putting a tiny dot of glue on the back of a rhinestone, then carefully placed it on the shoe. I began at the toe and worked my way back, creating a random pattern. I didn’t want it to look too perfect, you know? I mixed up the sizes and threw in a few colored stones here and there.
- Tip: Don’t use too much glue! It’ll squish out the sides and make a mess.
- Another Tip:Use tweezers, help a lot with these tiny things.
Letting It Dry
After I finished gluing all the rhinestones, I had to let the shoes dry completely. The glue bottle said 24 hours, so I left them alone overnight. It was tough to wait, but I knew it was important for the glue to set properly.

The Final Result!
And there you have it! My very own rhinestone flat shoes. Honestly, they turned out way better than I expected. They’re super sparkly and fun, and I saved a bunch of money by making them myself. Plus, it was a pretty relaxing project. I’d totally recommend giving it a try!

