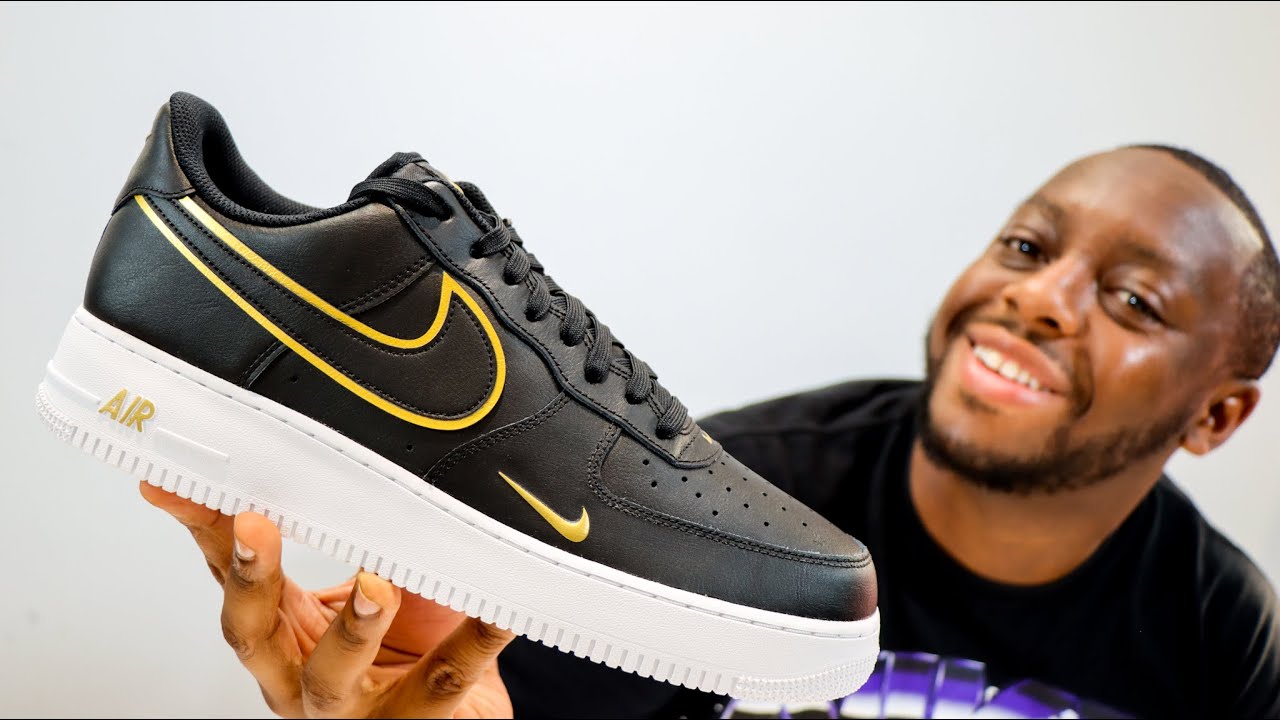
Okay, so I’ve been wanting to customize my sneakers for a while, and I finally decided to go for it. I had this plain pair of black Air Force 1s, and I thought, “Why not add some gold?” It seemed like a cool combo – classic with a bit of flash.

Getting Started
First, I gathered all my supplies. I needed:
- My black Air Force 1s (obviously!)
- Gold leather paint
- Some decent paintbrushes – a couple of different sizes for details and larger areas
- Painter’s tape – this was super important for getting clean lines
- A sealant to protect the paint job afterward
I made sure to get Angelus, I’m not getting paid to say any of this.
Prepping the Shoes
Before I even touched the paint, I cleaned the shoes really well. I don’t need any dust and dirt getting that all crusty. I used a damp cloth and wiped them down, making sure they were completely dry before I started painting.
Then came the taping. This part was probably the most tedious, but I knew it was important. I carefully taped off all the areas I didn’t want to paint gold. This included the soles, the Nike swoosh (I decided to keep that black), and some of the stitching details. I took my time with this, pressing the tape down firmly to prevent any paint from bleeding underneath.
Painting Time!
Finally, the fun part! I started with a thin coat of the gold paint. The key here is thin layers. I learned the hard way in the past that thick globs of paint just crack and look terrible. So, I applied the first coat, let it dry completely (which took a few hours), and then did another thin coat. I ended up doing about three coats to get the gold nice and vibrant.
Between coats, I would carefully inspect the shoes, looking for any drips or imperfections. If I found any, I’d gently try to fix them before the paint fully set.
The Finishing Touches
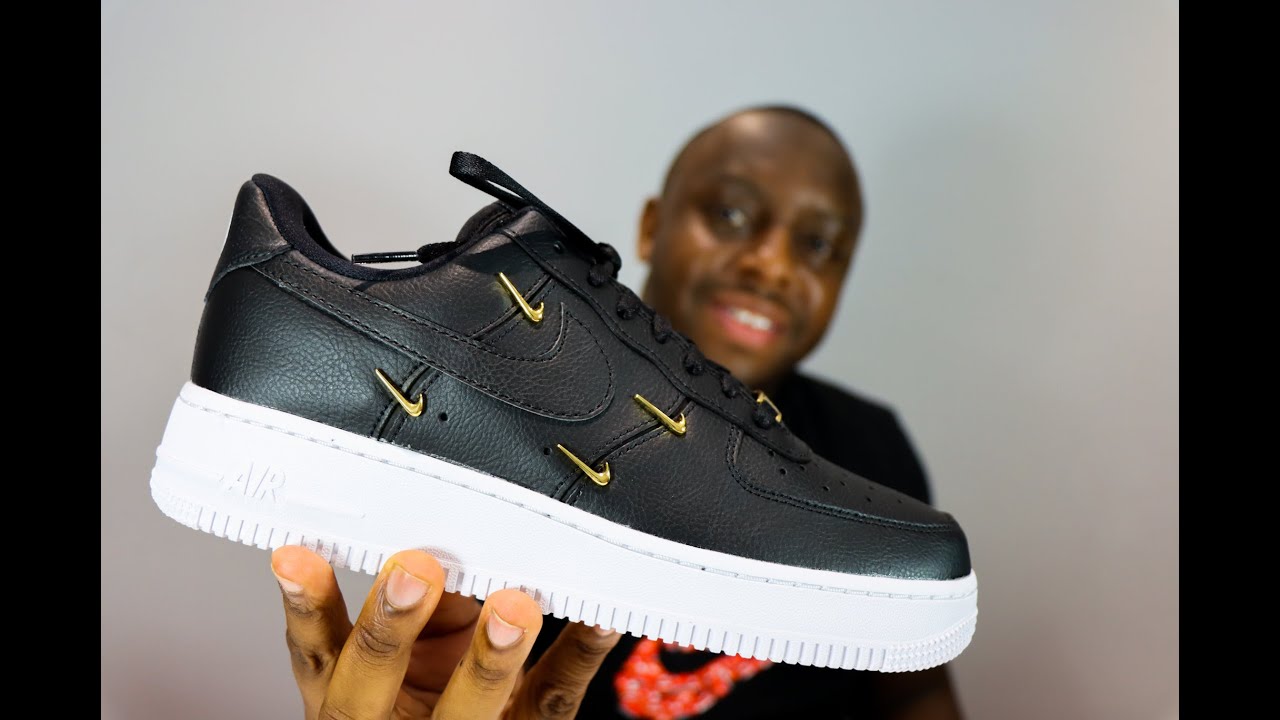
Once I was happy with the gold coverage, I carefully removed the painter’s tape. This was the most satisfying part – seeing those crisp, clean lines! Then, I let the shoes dry for a full 24 hours, just to be safe.
Finally, I applied a thin coat of the sealant. This is supposed to protect the paint from scratches and scuffs, and give it a more finished look. I let that dry completely, and… boom! Custom Air Force 1s, black and gold, done by yours truly.
Honestly, it was a bit of a process, but totally worth it. I love how they turned out, and it’s cool to have a pair of shoes that are totally unique. I might even try another color combo next time!