
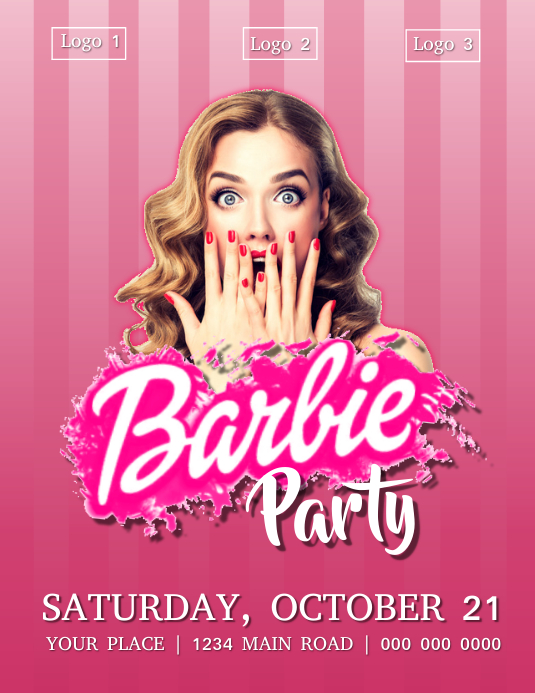
Okay, folks, let’s dive into how I whipped up a “barbiecore social media flier” – it was a wild ride, and I’m here to spill all the details.
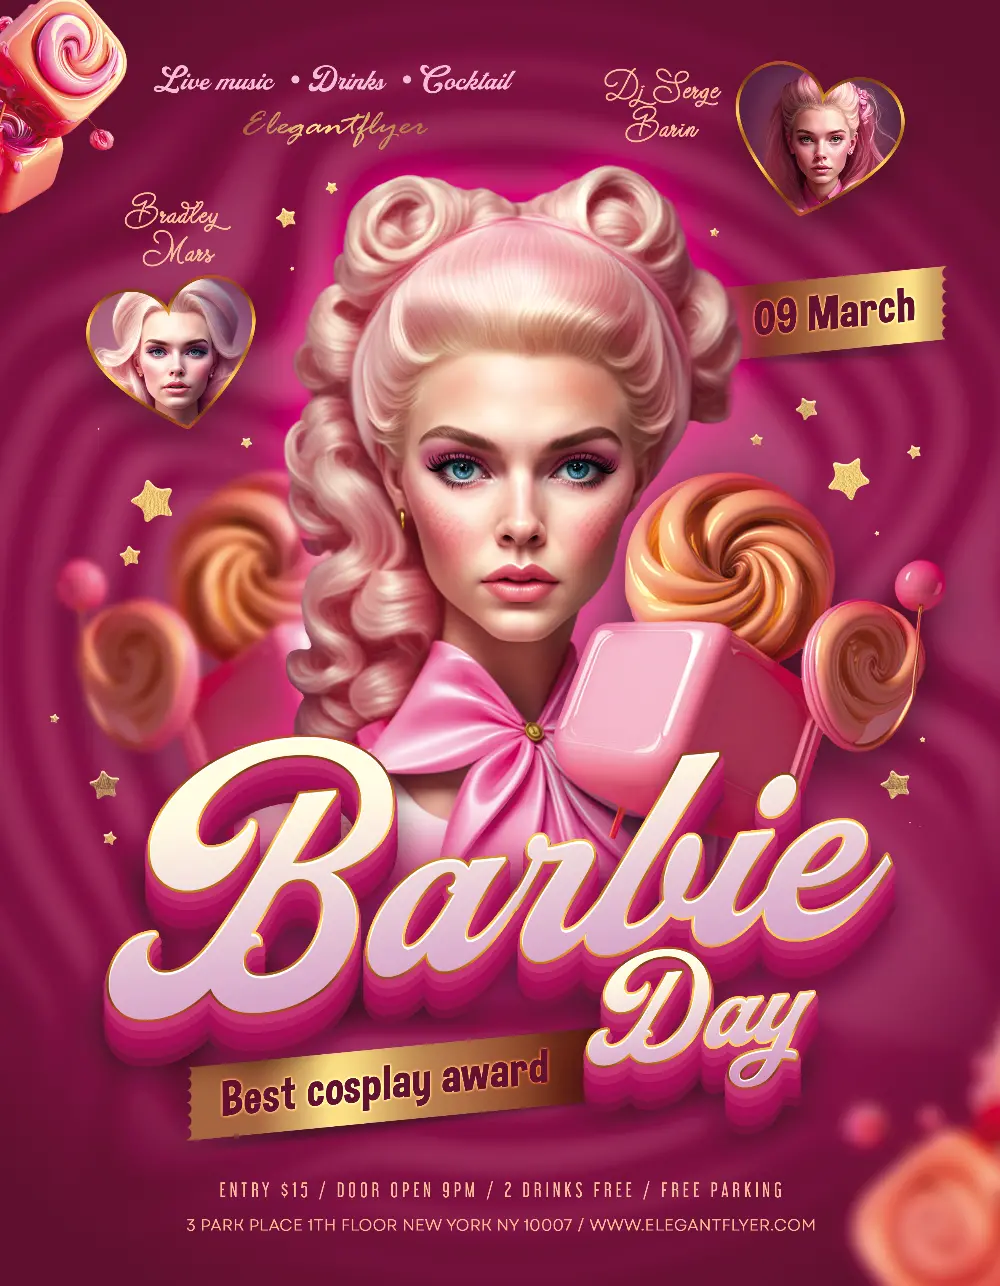
First, I brainstormed. What even is barbiecore? Think pink, think glitter, think over-the-top fabulousness. I pictured Barbie’s dream house, her convertible, everything bright and bold. I knew I wanted that vibe, but, you know, digitized.
My Design Process
Next, I opened up my trusty design software. Don’t worry, you don’t need anything fancy. I’ve done this with free online tools before. I’m just comfy with what I have.
I started with a basic square canvas – perfect for Instagram or Facebook. Then came the background. I played around with gradients. Hot pink fading into a lighter pink? Yes, please! I even added a subtle glitter texture. I found one online – just a sprinkle, not a glitter bomb.
- Choosing the Right Colors: All the pinks! But also some white and maybe a touch of gold for accents.
- Finding Fun Fonts: I needed something bubbly and playful, but still readable. I went through, like, a million fonts before I found “the one.”
- Adding Graphics: Think hearts, stars, maybe a cute little cartoon convertible. I kept it simple, though. Didn’t want to overcrowd the flier.
Then, I placed my text. “Join the Barbie Party!” or something like that. I made it big and bold, using that perfect font I found. I layered the text, too – a white outline around the pink letters to make them pop.
I spent a good chunk of time just tweaking. Moving things around, changing colors slightly, resizing elements. It’s all about that visual balance, you know?
The Final Touches
Finally, I added a few extra details. A little drop shadow here, a sparkle effect there. Nothing too crazy, just enough to give it that extra “oomph.”
And there you have it! My barbiecore social media flier. It was a fun, messy, and ultimately satisfying project. The key is to just embrace the aesthetic and have fun with it!