")
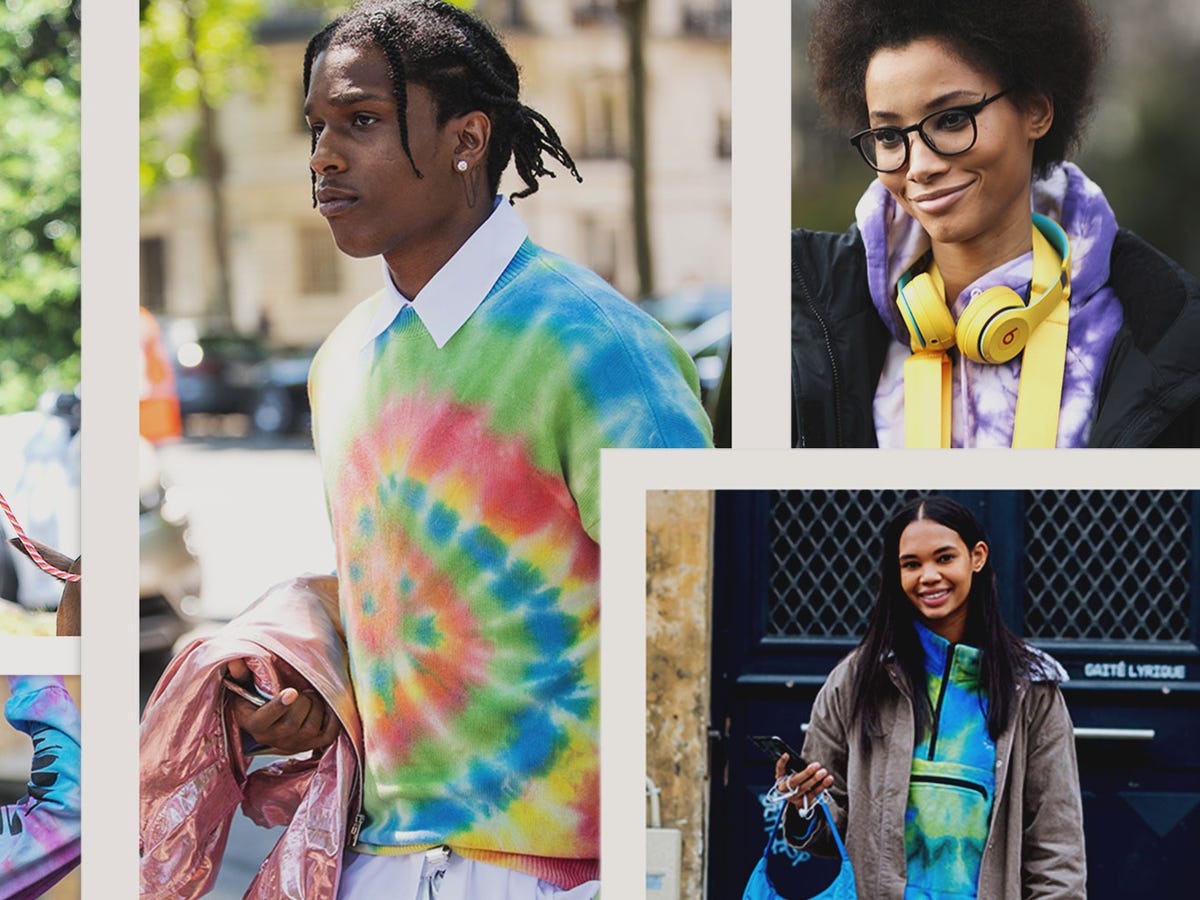
Okay, so I’ve been seeing this tie-dye trend EVERYWHERE lately, and I finally decided to jump on the bandwagon. I mean, who doesn’t love a good splash of color, right? I’m no artist, but I figured, how hard could it be? Turns out, it’s pretty easy and super fun! Here’s how my little tie-dye adventure went down.

Gathering My Stuff
First things first, I needed to get my supplies. I didn’t want to go crazy, so I just grabbed the basics:
- A plain white t-shirt: I got a cheap one from the craft store. 100% cotton is supposed to be the best.
- A tie-dye kit: This made things easy. It came with the dyes, rubber bands, and gloves.
- Some plastic wrap: To protect my table…and probably myself.
- A bucket of water: For rinsing and soaking.
The Prep Work
I started by washing the t-shirt. Apparently, this helps the dye stick better. No fabric softener, though! While it was still damp, I laid it out on my covered table. This is where the “art” part comes in.
Twisting and Tying
I went for the classic spiral design. I pinched the center of the shirt and started twisting. It kind of looked like a cinnamon roll. Once it was all twisted up, I used the rubber bands to secure it. I just wrapped them around, making sure it was pretty tight. I think I used like, six rubber bands?
Dye Time!
This was the messy part! I put on the gloves (definitely don’t skip this!), and started squirting the dye onto the shirt. I used three colors: pink, blue, and yellow. I just alternated them, making sure to get the dye into all the folds and crevices. I flipped it over and did the same thing on the other side. It looked…well, like a colorful blob.
The Waiting Game
Once I was satisfied with my dye job, I wrapped the whole thing in plastic wrap. The instructions said to let it sit for 6-8 hours, or even overnight for more vibrant colors. I’m impatient, so I went for the 8-hour mark. I put on a movie and try my best to forget I have a colorful art project sit in the corner.
The Big Reveal
After the agonizing wait, it was time to rinse! I kept the rubber bands on and rinsed the shirt under cold water until the water ran mostly clear. This took a while. Then, I took off the rubber bands and rinsed it some more.
Finally, I washed the shirt by itself in the washing machine, cold water, gentle cycle. Then I tossed it in the dryer, and…voila! My very own tie-dye masterpiece! It wasn’t perfect, but it was definitely unique, and I made it myself! It turned out more pastel than vibrant. I would soak it longer next time.
I’m already planning my next tie-dye project. Maybe some socks? Or a tote bag? The possibilities are endless!