Okay, so I’ve been wanting to try out this gel nail builder thing for a while now. I see all these girls with perfect nails, and I’m just like, how? My nails are always breaking or chipping, it’s a mess. So, I finally decided to give it a shot.

First, I had to gather all the stuff. This was a bit of a mission, to be honest. I went to this beauty supply store, and there were so many different products. I felt so lost! After wandering around for like an hour, I finally grabbed a builder gel kit and hoped for the best.
When I got home, I laid everything out on my table. There were so many little bottles and tools! I started by pushing back my cuticles – this was kind of satisfying, not gonna lie. Then, I had to file my nails down a bit to give the gel something to grip onto. That part was a little scary because I didn’t want to over-file and make my nails even weaker.
Next came the actual gel application. I chose to apply the builder gel directly onto my natural nails, but I know some people use tips or forms to add length. I put a thin layer of the base coat on each nail and then popped them under the UV lamp. Each layer needs to be cured for some time, according to the instructions. After the base, I started to apply this builder gel. This stuff is thicker than regular polish, so you gotta be careful not to get it all over your skin. I did a few thin layers, curing each one under the lamp. It took some time, but I could see my nails getting thicker and stronger with each layer.
- First, push back those cuticles.
- Then, file the nails just a little.
- Apply a thin layer of the base coat, and cure under the lamp.
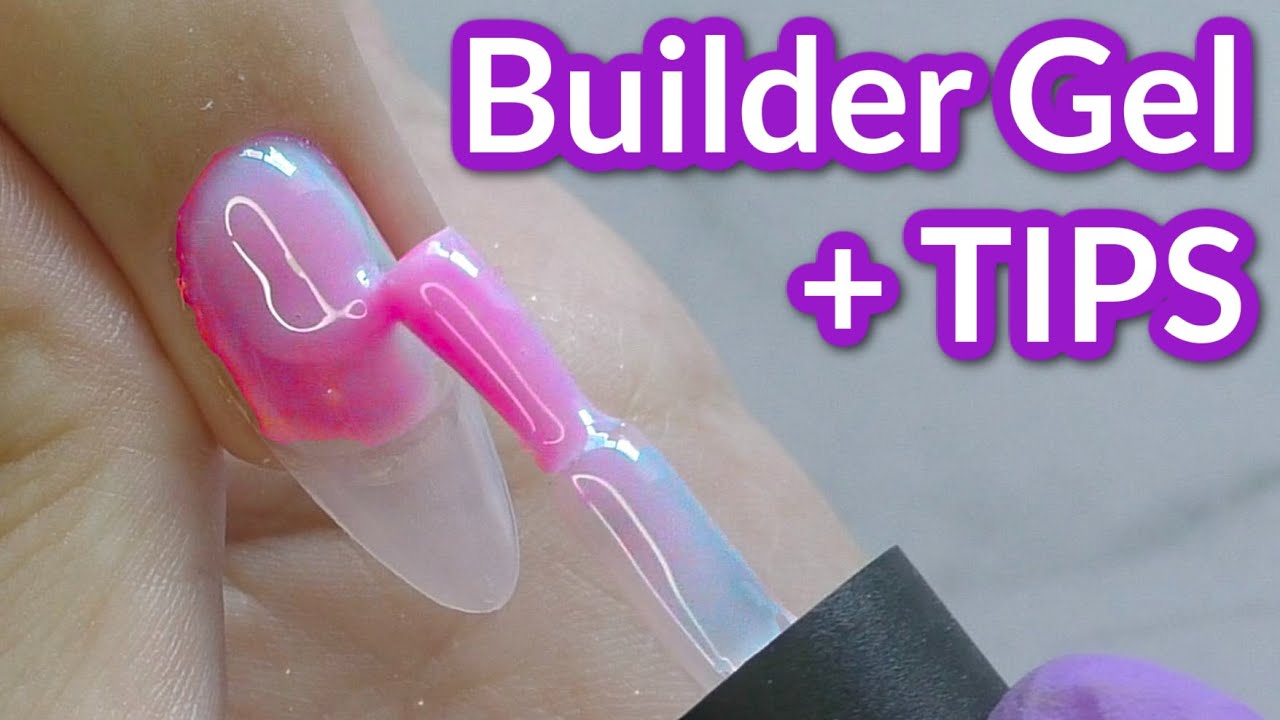
- Apply builder gel layers, cure each layer.
- Finally, apply the top coat, cure again.
Once I was happy with the thickness, I put on a top coat to seal everything in and make it shiny. Another round under the lamp, and I was done! It probably took me a good two hours, start to finish. Maybe I’m just slow, but hey, it was my first time.
The Results
Honestly, I’m pretty impressed with how they turned out. My nails feel so much stronger and they look really smooth and even. It wasn’t perfect, of course, you can see I messed up a little on my pinky, and I did get some on my skin in a few places. But overall, it’s a huge improvement from my usual brittle nails. I’m excited to see how long this lasts and if it really helps my nails grow. We’ll see! I’ll keep you guys updated.