
Alright, buckle up buttercups! Today I’m spilling the beans on my latest DIY adventure: giving my old Coach Miranda bag a total glow-up. This wasn’t just a clean-and-condition kinda thing; we’re talking serious transformation!
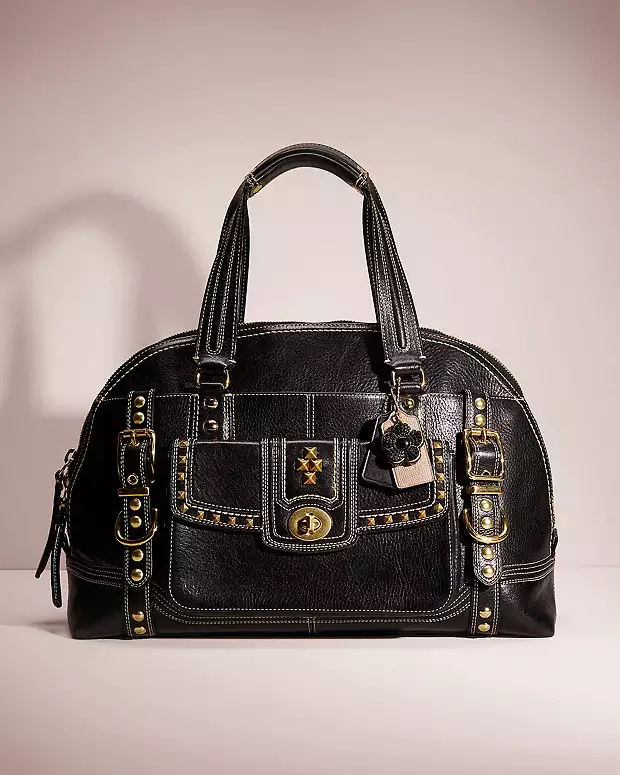
First things first, assessment time. My Miranda bag had seen better days. Scratches, faded color, and just overall looking kinda sad. I gave it a good wipe down to see the true extent of the damage and decided on a plan of attack.
Next, the big clean. I used a mild leather cleaner and a soft cloth to gently scrub away all the grime. You wouldn’t believe the amount of dirt that came off! This step is crucial; you gotta have a clean canvas to work with.
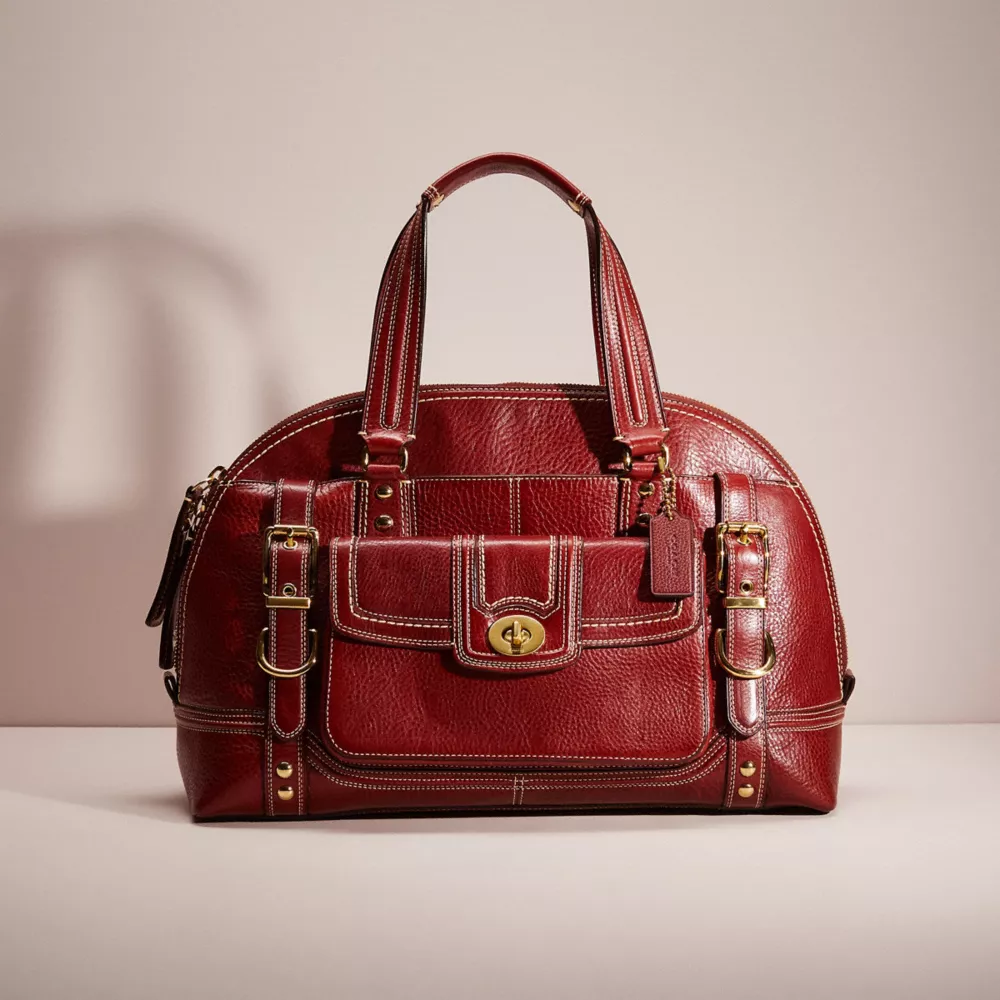
Now, for the fun part: color revival. The original color was a faded brown, and I wanted something with a bit more oomph. I opted for a dark brown leather dye. I prepped the area with masking tape to avoid any accidental color transfer. Following the dye instructions, I applied a thin, even coat with a sponge applicator. Patience is key here, people! Let it dry completely between coats.
After the first coat dried, I gave it a good look. Some areas needed a little more love, so I went in with a second coat, focusing on those spots. Let it dry completely again, at least 24 hours.
Once the dye was completely dry, it was time to seal the deal. I used a leather sealant to protect the new color and give the bag a nice sheen. Again, thin and even application is the way to go. Let it dry thoroughly.
Now, about the hardware, they were looking dull and tarnished. I grabbed some metal polish and a soft cloth and buffed them until they sparkled. It’s amazing what a little elbow grease can do!
Finally, conditioning time. I applied a leather conditioner to keep the leather soft and supple. This is an important step to prevent cracking and keep the bag looking its best for years to come.
And there you have it! My Coach Miranda bag is practically brand new. It was a labor of love, but totally worth it. Seeing the before-and-after transformation is so satisfying. Plus, I saved a ton of money by not buying a new bag.
Lessons learned? Take your time, use quality products, and don’t be afraid to experiment. DIY is all about having fun and creating something unique.
- Clean the bag thoroughly.
- Dye in thin, even coats.
- Seal to protect the color.
- Polish the hardware.
- Condition the leather.
Until next time, happy crafting!
