Okay, so I’ve been seeing these bleached streaks everywhere and I finally decided to take the plunge. I’m not gonna lie, I was super nervous about doing it myself, but I figured, hey, if I mess it up, I can always dye it back, right?
Gathering My Supplies
First things first, I needed to get all my stuff together. I went to the beauty supply store and picked up:
- Bleach powder: I went with a small packet, since I wasn’t doing my whole head.
- Developer: I got a 20 volume developer because my hair is naturally dark blonde, but you might need something stronger if you have darker hair. Always read the instructions.
- Gloves: A MUST. Don’t even think about skipping these, unless you want chemical burns.
- A mixing bowl and brush: I just used an old plastic bowl and a cheap paintbrush.
- Toner: I chose this purple shade to reduce the yellow tones after I bleach it, and also chose this blue shade to add some color to my hair.
- Foil: To separate the streaks.
- An old towel: Bleach stains, you know?
The Bleaching Process
Alright, so I put on my old t-shirt and draped the towel around my shoulders. Then, I sectioned off the parts of my hair I wanted to bleach. I went for some face-framing streaks and a few underneath. I clipped the rest of my hair out of the way.
Next, I mixed the bleach powder and developer according to the instructions on the packet. It turned into this thick, kinda goopy paste.
Wearing my gloves, I started applying the bleach to the strands I had sectioned off, making sure to saturate them completely. Then, I wrapped each streak in foil to keep it separate from the rest of my hair.
I set a timer for 30 minutes (I checked the instructions on the bleach for the recommended time), but I kept peeking at the color every 10 minutes or so. My hair lifted pretty quickly, so I ended up rinsing it out after about 25 minutes.

I rinsed out the bleach really, really well, then shampooed and conditioned my hair like normal. I skipped the conditioner, which is a no-no.
Toning
My hair was definitely lighter, but it was also kinda brassy. I went with a Wella toner in a cool blonde shade. I mixed it with a 10 volume developer, applied it to the bleached streaks, and let it sit for the amount on the box and let it sit about 15 minutes.
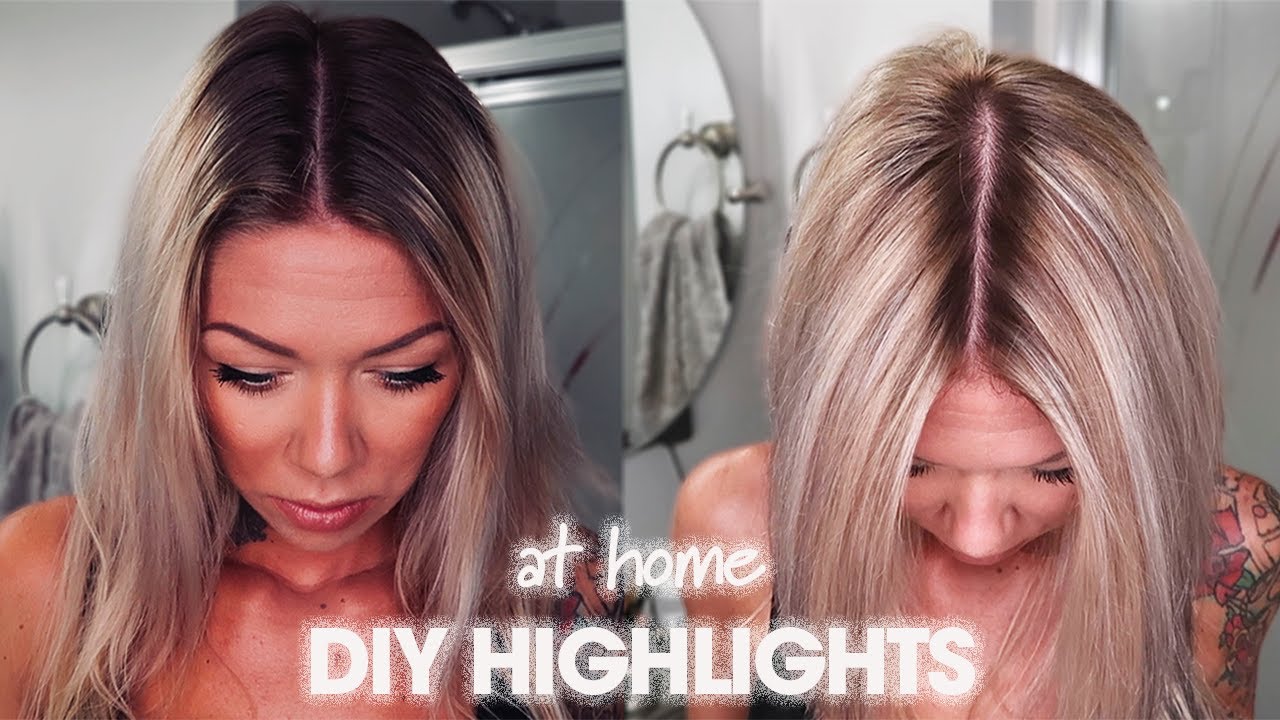
After rinsing out the toner, I finally got to see the results! Finally, I rinsed my hair, shampooed it, and did my hair.
The Aftermath
I’m actually really happy with how it turned out! The streaks are definitely noticeable, but they’re not too crazy. They add a little bit of dimension to my hair, which is exactly what I wanted. This is definitely a look I’ll be rocking for a while!
My biggest tip? Don’t rush the process, and definitely do a strand test before you bleach your whole head! Also, deep condition like crazy afterwards. Bleach is drying, so your hair will thank you for the extra moisture.
