Alright, so I decided it was high time to get those Christmas store windows sorted. They were looking a bit sad, to be honest, and I figured a bit of festive cheer wouldn’t go amiss. It’s one of those jobs you put off, but once you get started, it’s actually quite enjoyable. Or at least, that’s what I tell myself.
Getting Started – The Plan (Sort Of)
First off, I didn’t have a grand, complicated plan. I mostly just wanted something that felt like Christmas, you know? Warm, inviting, maybe a bit sparkly. I rummaged through my old boxes of decorations. It’s amazing what you accumulate over the years. Found some bits I’d completely forgotten about. Some were a bit tatty, but others were still good to go. I decided to go for a classic look, nothing too modern or flashy. Red, green, gold – the usual suspects.
The Dirty Work and Gathering Supplies
Before any of the fun stuff, I had to clean the windows. Properly. Inside and out. You’d be amazed how much grime builds up. That took a good chunk of time, but it makes all the difference. Can’t have a sparkly display on a dirty window, can you?
Then, I laid out all the decorations I’d found. I had:
- A string of old fairy lights (prayed they still worked!)
- Some baubles and tinsel
- A couple of small, artificial Christmas trees
- A can of that fake snow spray
I did have to pop out to the local shop for a new set of LED lights because, you guessed it, half the bulbs on my old string were dead. Always the way, isn’t it? And I grabbed some more of that sticky tack stuff, the white kind, because you can never have too much of that.
Putting It All Together
Right, so with clean windows and my bits and bobs, I started mapping things out. I put the little trees in first, one on each side, to give it some structure. Then, I tackled the lights. This was the fiddly bit. I wanted them to frame the window, so I carefully taped them around the edges. Took a few attempts to get them straight, I can tell you. Lots of stepping back, squinting, and re-adjusting.

Once the lights were up and actually working (phew!), I started hanging baubles from some of the higher points. I tried to vary the sizes and colours a bit. Then came the tinsel, draped artfully – or as artfully as I could manage – around the trees and along the bottom of the window.
The fake snow spray was the last touch. I didn’t want to overdo it, just a light dusting on the corners and along the bottom edge to give it that frosty look. It’s messy stuff, that spray. I ended up with more of it on my jumper than on the window at one point. Had a good laugh about that. Reminded me of being a kid and “helping” decorate, making more mess than anything else. My mum always said I had a knack for creative chaos.
The “Oops” Moment
There was one moment when I thought I’d messed it all up. I was trying to stick a larger star decoration right in the middle, and the sticky tack just wasn’t holding. It fell off three times! The third time, it knocked a couple of baubles askew. I nearly threw in the towel then. But, I took a deep breath, found some stronger double-sided tape I’d forgotten I had, and that did the trick. Sometimes you just gotta persevere, right?
The Final Look
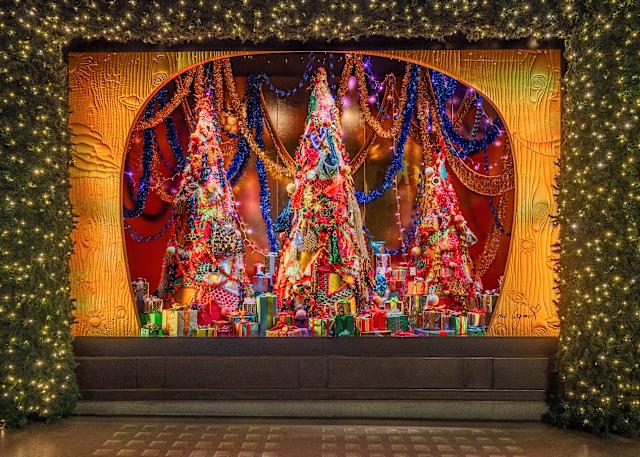
After a good few hours of faffing about, I finally stepped back to take a proper look. And you know what? It wasn’t half bad. The lights gave off a nice warm glow, the colours looked festive, and the touch of snow just finished it off. It’s not going to win any awards, but it made the place look a whole lot more welcoming. It’s amazing what a few fairy lights and a bit of tinsel can do to lift the spirits. Hopefully, it brings a little smile to people passing by. That was the main goal, really.
So yeah, that was my adventure in Christmas window dressing. A bit of effort, a few minor frustrations, but worth it in the end. Now, what to tackle next…