
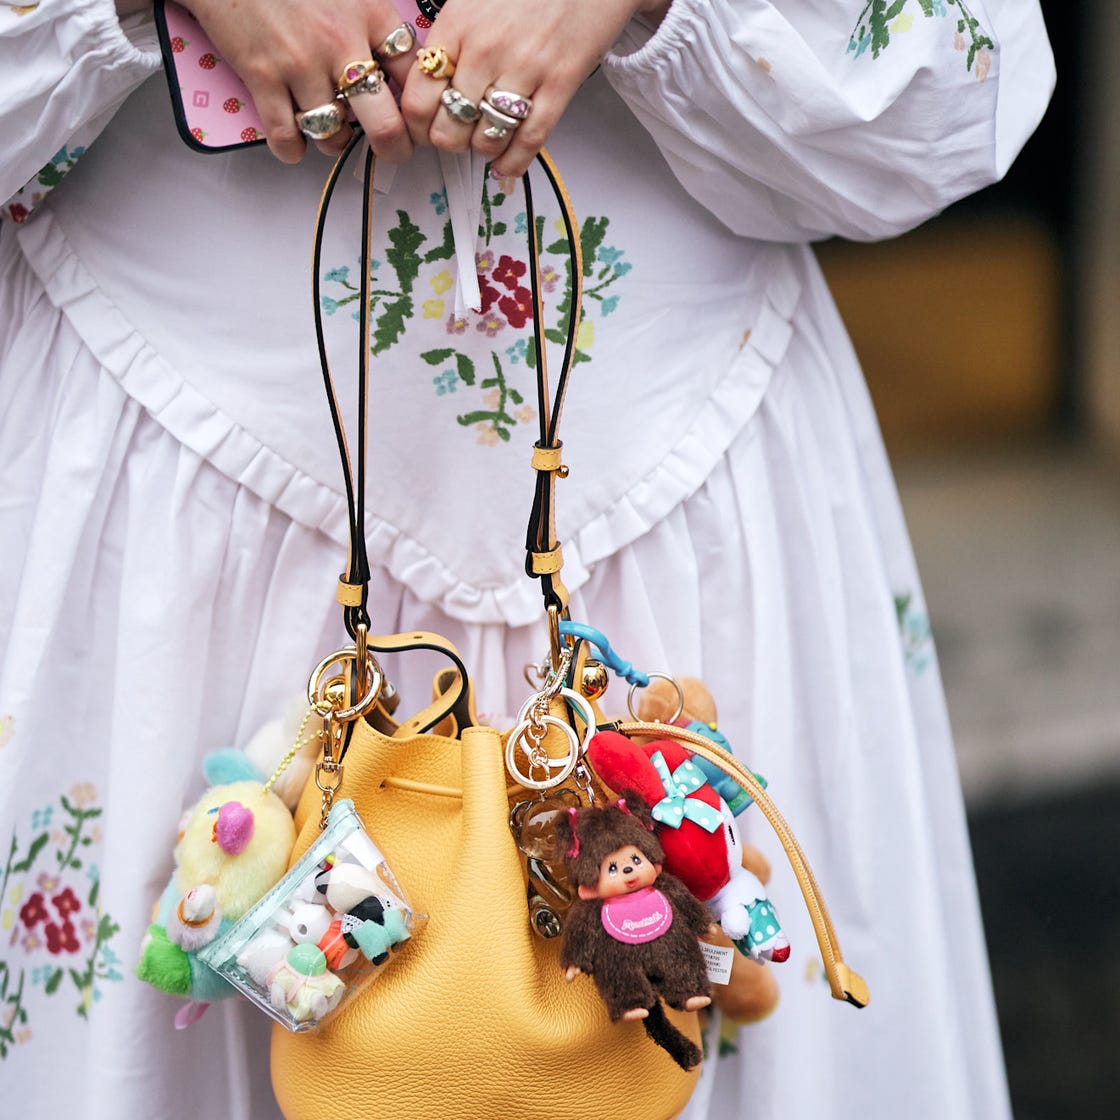
Why Even Do This Anyway?
Okay, so my old black tote bag? Kinda blah. Been looking at it for months thinking, “This needs something.” Kept seeing people with these cute little doodads hanging off their bags online and thought, why not give it a shot myself? Didn’t wanna spend a fortune though. Decided to just use what I had lying around or find cheap stuff.
The Treasure Hunt (In My Junk Drawer)
First thing: dig through my craft stuff. Found this massive tangled mess of old keychains, broken jewelry, random beads – total chaos in a box. Pulled out anything shiny or colorful: a chipped enamel cat charm my niece gave me, some metal stars, a few plastic beads, a tiny fake leather tassel from who-knows-where, and this weird little metal ring. Also grabbed my old pliers and some jump rings I found buried. Felt like an archeologist finding random bits!
Let the Experiments Begin
Just started clipping stuff on different parts of the bag’s zipper pulls and handles. Stuck the cat charm on one zipper pull – instant cute! But then added the stars… and they kept flipping upside down. Annoying. Tried clipping the tassel near the top handle – looked awkward and kept flopping onto my arm. So I moved it down near the bag body where the handles attach. Much better. Could see the pattern forming: smaller, lightweight things work best on the thin zipper pulls; the heavier, dangly things? They need that solid spot near the top of the bag body.
- Rule #1: Lightweight charms = zipper pulls.
- Rule #2: Dangly stuff = sturdy ring spots near handles.
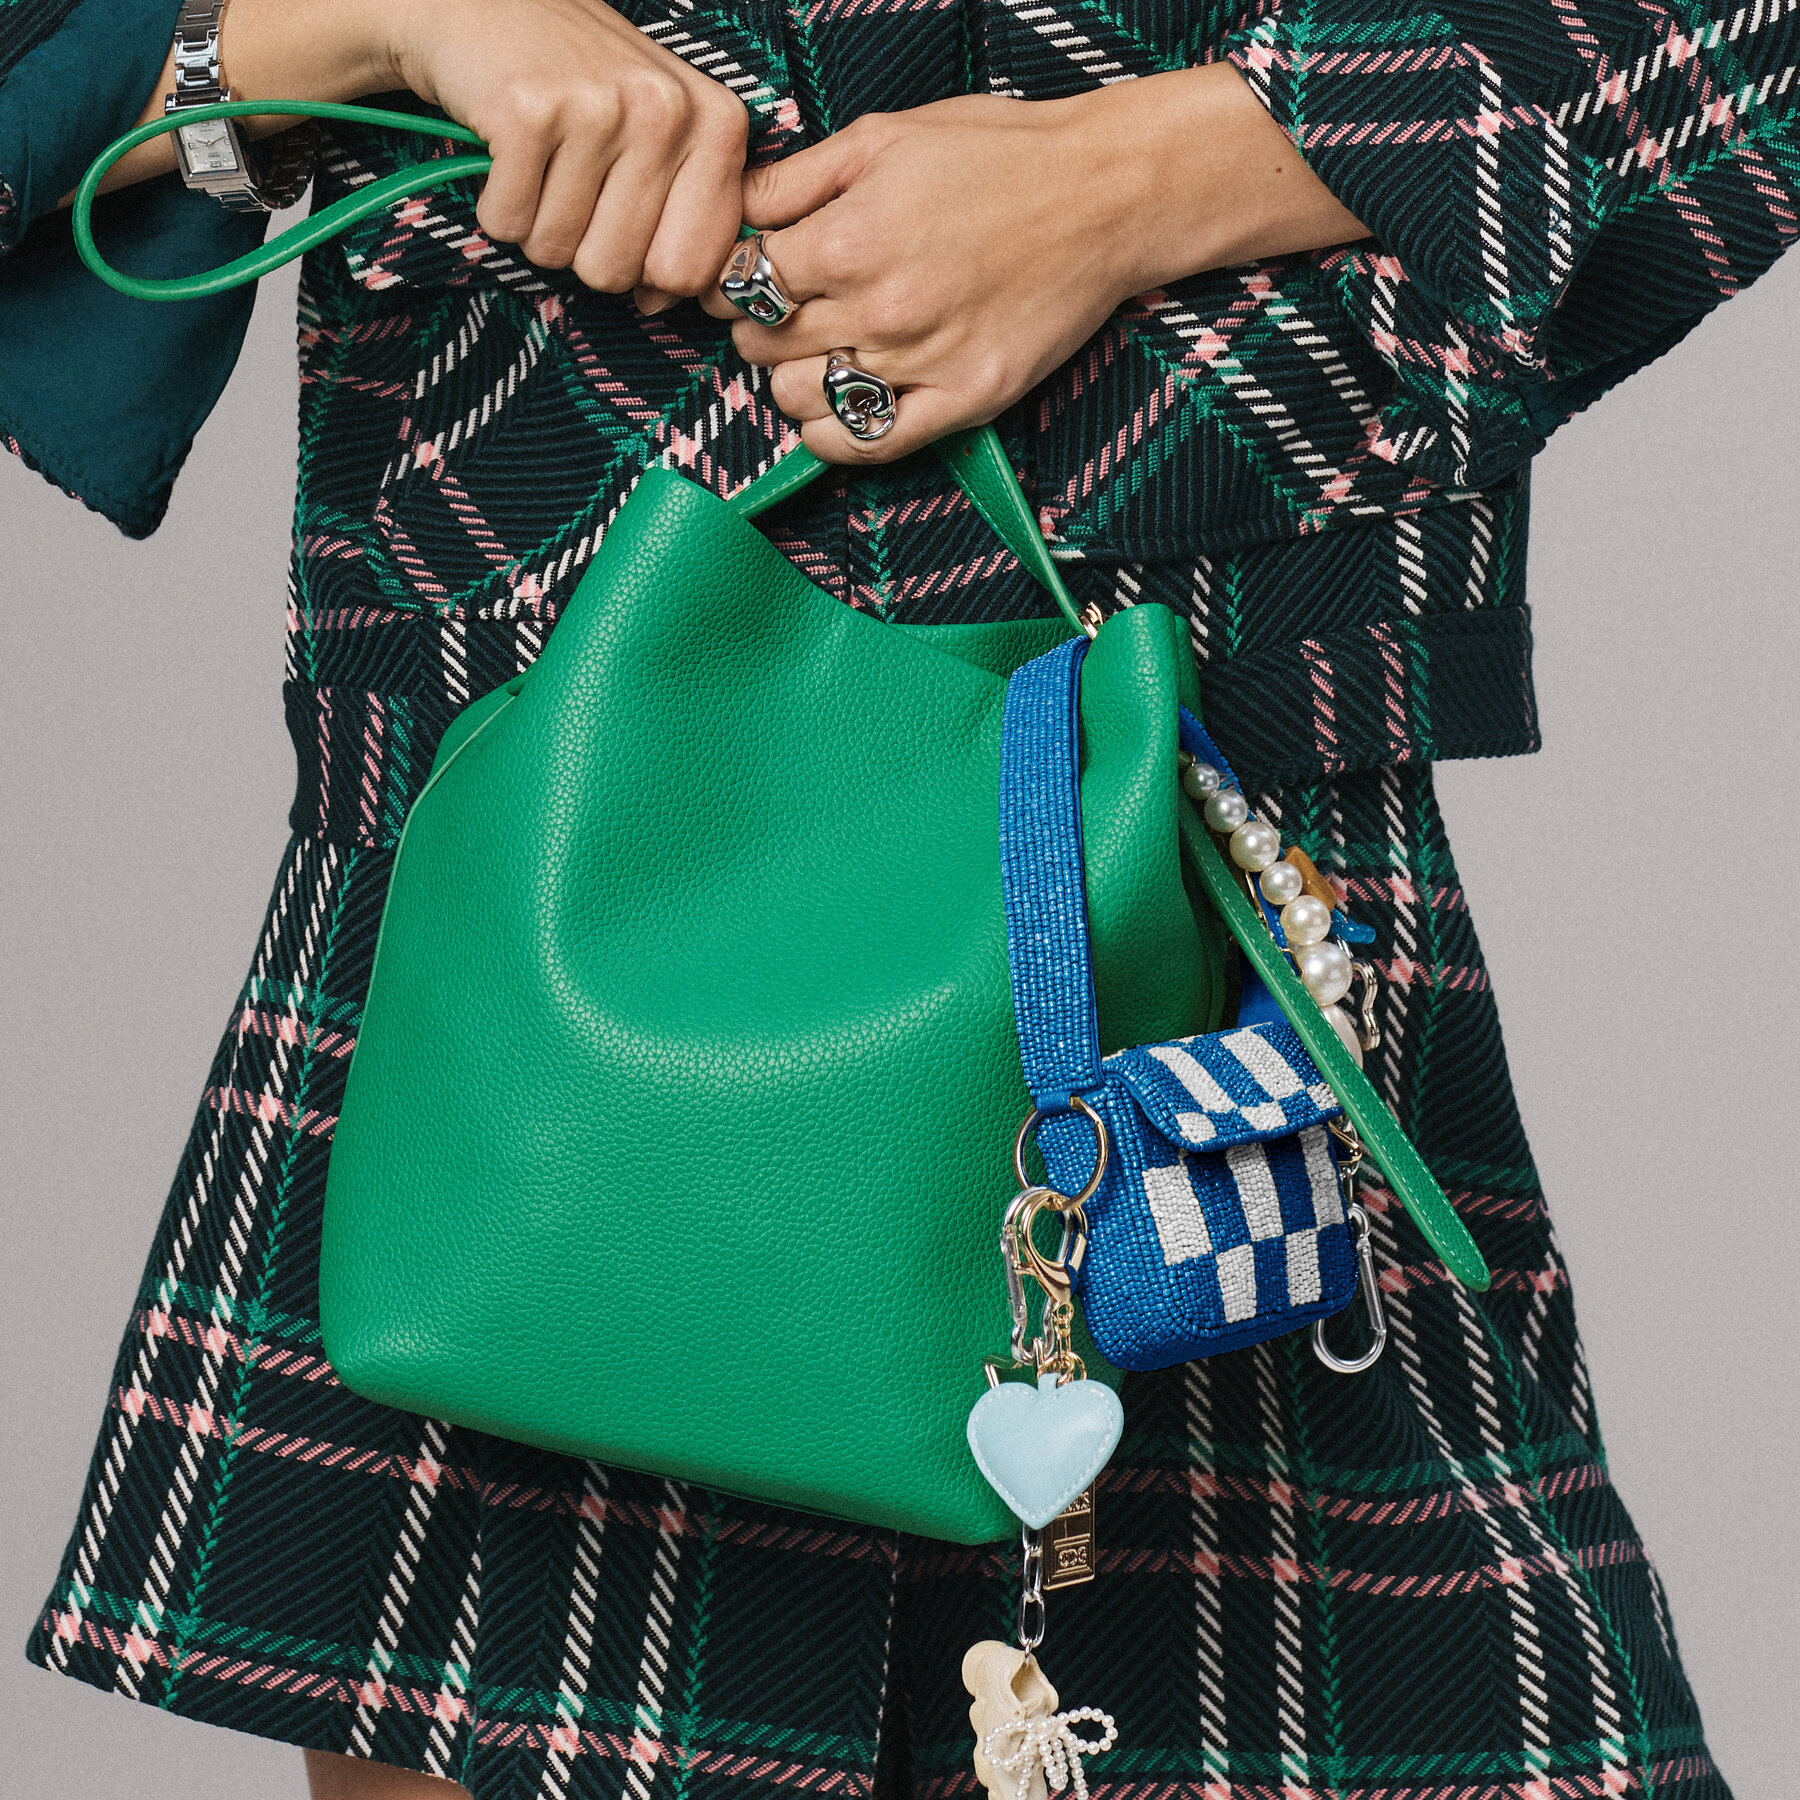
Getting Creative with Connection
Found this long, thin keychain strap thing that was too ugly by itself. Cut it down! Used it to connect the metal stars onto that main ring near the handle. Gave them their own little line instead of stacking directly. The plastic beads? Added them as spacers between the metal charms on another jump ring, just sliding them on. Made it look less clumped. This part actually took longer than expected – fiddly with those tiny pliers and jump rings! Kept dropping things.
The Cat Intervention (Seriously)
Of course, right when I had a neat little pile of charms and jump rings? My cat decides the tiny beads are the ultimate prey. Zoomed across the table, batted a blue bead into the void under the couch. Chaos! Had to shoo him out and go hunting on my hands and knees. Lesson learned: charm assembly requires a cat-free zone.
Finally Hanging It All Up
Alright, after the feline sabotage, locked in the design. Snapped the cat onto the main front zipper pull. Used that keychain strap trick to hang the tassel AND the three metal stars from the sturdy ring where the bag strap attaches. Kept it kind of asymmetrical – one heavy group on one side. Double-checked all the jump rings were squeezed shut tight with the pliers. Didn’t wanna lose stuff walking down the street!
Okay, So How Did It Turn Out?
Honestly? Way happier than I thought! That boring black bag suddenly has personality. The little cat charm peeks out whenever I open the zip, and the stars and tassel jingle a tiny bit when I walk. Feels like “me” now instead of just a bag. Total cost? Basically zero, since it was all junk drawer salvage (and the beads I fished out from under the couch!). It’s not perfect – some charms spin around, one jump ring is slightly bent from my pliers – but it’s fun and unique. My kid even saw it and asked if she could add one of her own charms! Guess it worked. Would totally do it again, just maybe far, far away from the cat. Maybe try sewing on a patch next time?