")
Alright, so the other day I got this urge, you know? Sometimes you just want to tinker with something simple, something that feels a bit more… I don’t know, real? I was looking at all these fancy apps on my phone, and I thought, “Heck, I’m gonna make an old fashioned stopwatch.” Not one of those super sleek digital things, but something with a bit of that classic feel. Just for the fun of it, really.

Getting Started
So, I didn’t sketch out any grand plans. I just sort of dived in. Fired up my usual coding setup and thought, “Okay, what does an old stopwatch need?” Pretty basic stuff, right? A way to show time, a start button, a stop button, and a reset button. That’s the core of it.
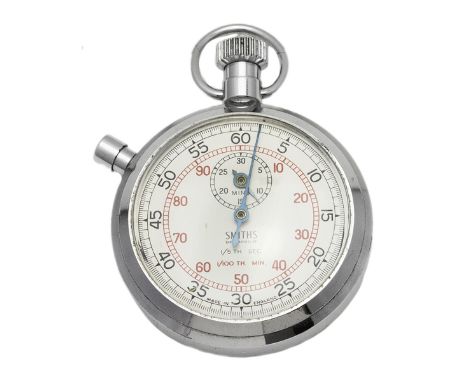
My first thought was to make the display look like one of those old analog dials. You know, with the sweeping hand. Spent a bit of time trying to get that working. Let me tell you, getting a smooth sweep and making it look halfway decent, that was a bit of a faff. I fiddled with drawing lines and circles, trying to get the animation just so.
The “Fun” Part – Making it Tick
Then came the actual timing mechanism. You’d think that’s straightforward, but getting it to feel right, getting the updates on screen to be snappy without hogging all the resources, that took a few tries. My first version was a bit jerky. The numbers would sort of jump, not quite the smooth tick-tock I had in my head.
I remember trying a few different ways to handle the timing. One method was okay, but then the reset button would act funny. Another one made the stop button lag a tiny bit. It’s always these little things, isn’t it? You fix one thing, and something else pops up. Classic project creep, even on something small!
I spent a good chunk of an afternoon just tweaking the update loop. Making sure when I hit ‘start’, it felt instant. When I hit ‘stop’, it froze right there. And ‘reset’? Well, that had to snap back to zero without any fuss.

Keeping it Simple, Stupid
After wrestling with the fancy analog display for a while, I kind of had a moment. I thought, “Am I overcomplicating this?” The whole point was ‘old fashioned,’ not ‘painfully complex to build for no reason.’ So, I decided to simplify the display. Went for clear, digital numbers, but I played around with the font and colors to give it that slightly retro, clunky vibe. Something you might have seen on a piece of lab equipment from way back when.
That actually made things a lot easier. The timing logic felt more responsive once I wasn’t trying to animate a clock hand perfectly. Sometimes, you just gotta strip things back to basics.
The Finish Line (Sort Of)
And then, there it was. Start, stop, reset. It all worked. The numbers ticked up, second by second, minute by minute. It wasn’t going to win any awards, and it certainly wasn’t as polished as some app you’d download. But it was mine. I’d built it, wrestled with it, and got it working.
Here’s a rundown of what I ended up with:
- A display area for hours, minutes, seconds, and maybe even milliseconds for that speedy feel.
- A big, chunky START button.
- An equally prominent STOP button.
- And, of course, a RESET button to bring it all back to zero.
I didn’t bother adding any fancy features like lap times or anything. Just the bare essentials. That’s what “old fashioned” meant to me for this little project. It’s funny, you know, sometimes these simple projects are the most satisfying. There’s no pressure, just the fun of making something click. And it definitely clicked.
It’s sitting there on my desktop now, a little program I can fire up whenever I feel like timing something without all the bells and whistles. Kinda pointless in the grand scheme of things, with smartphones and all, but it was a good way to spend an afternoon. Reminds me that sometimes, just making something for the sake of making it is worthwhile. It’s not about the end product being perfect, but the process of figuring it out. Yeah, that was a good little build.