
Alright, let me tell you about my Hulk Rolex project. It was a wild ride, lemme tell ya.
First off, I got this itch for a green Rolex Submariner, the “Hulk.” But you know how it is, finding one at retail is like finding a unicorn. So, I started thinking, “Why not build my own, kinda?” It wouldn’t be a real Rolex, obviously, but something that scratched that itch.
Step 1: The Hunt for Parts
- The case: Hit up the usual suspects online. Searched for a decent Submariner-style case with the right dimensions. Found one that looked pretty solid, good reviews, and not too expensive. Clicked “buy” faster than you can say “Swiss made.”
- The movement: Decided to go with a reliable NH35. It’s a workhorse, easy to service, and keeps good time for the price. Plus, readily available.
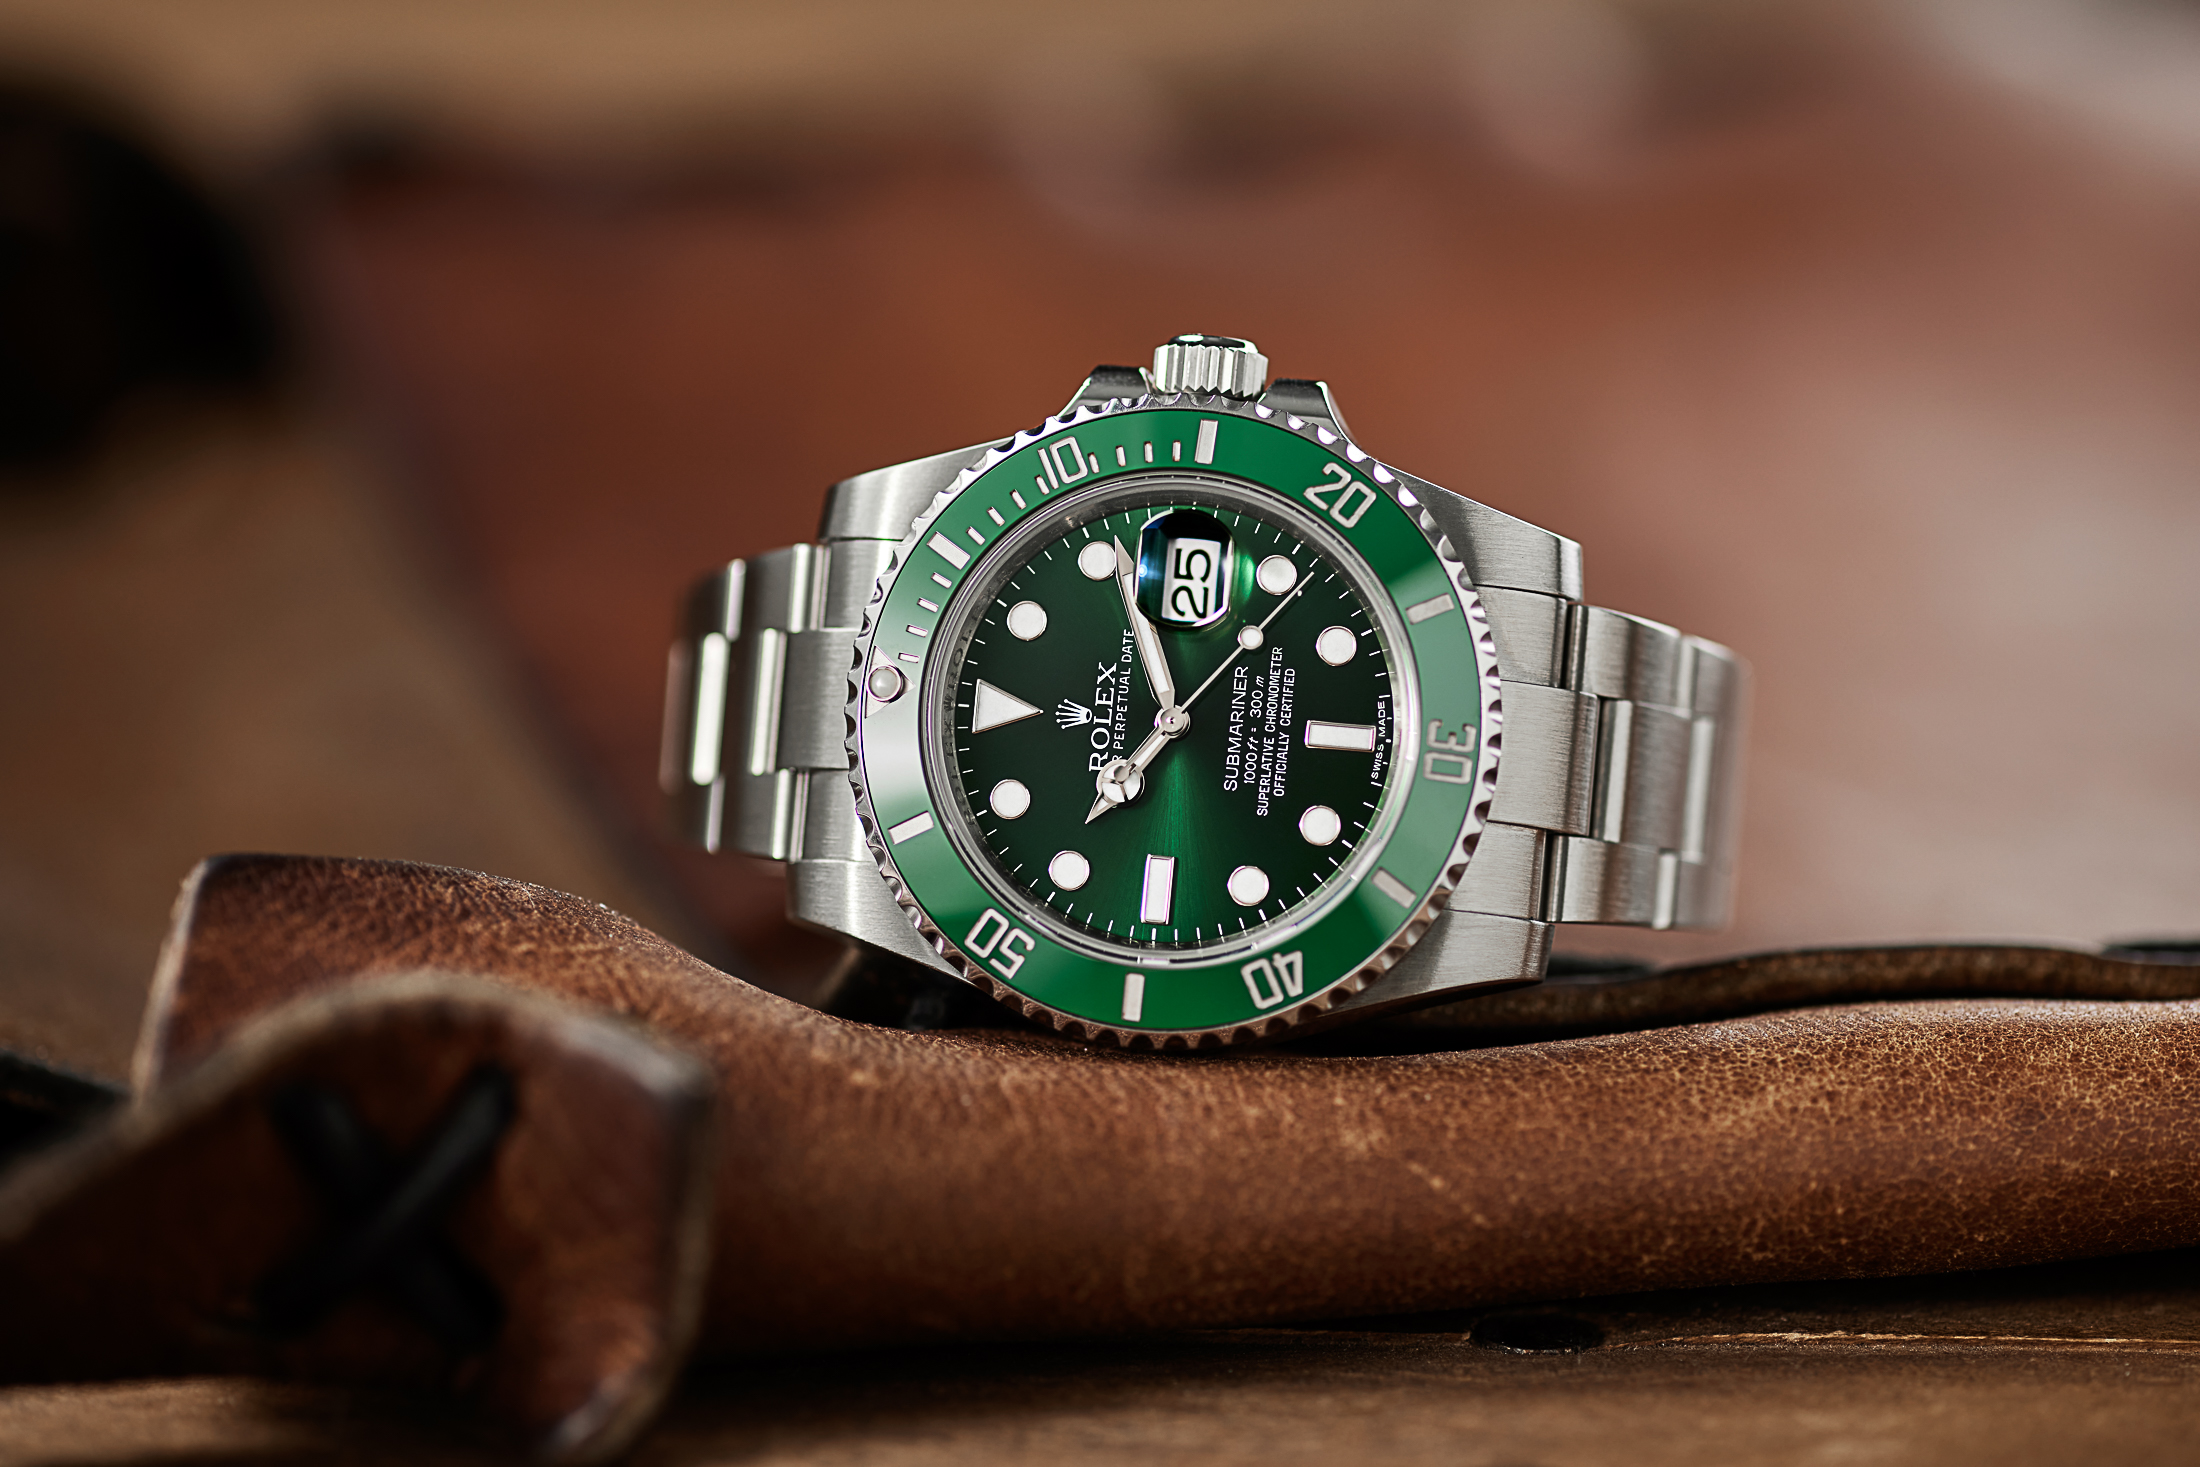
- The dial: This was the tricky part. Finding a Hulk-green dial that didn’t look like total garbage took some digging. Ended up finding a guy on a forum who does custom dials. Sent him the specs and crossed my fingers.
- The hands: Sourced some Mercedes-style hands that matched the dial’s lume. Nothing fancy, just functional and looked the part.
- The bezel insert: Found a green ceramic bezel insert that looked pretty close to the original Hulk’s. Snapped that up quick.
- The bracelet: Opted for a solid oyster-style bracelet. Again, nothing too crazy, just something that felt good on the wrist and looked the part.
Step 2: The Build Begins
Once all the parts arrived, it was time to get my hands dirty. Now, I’m no watchmaker, but I’ve tinkered with enough stuff to be dangerous.
- First, I installed the movement into the case. This was pretty straightforward, just needed to make sure everything was aligned properly and the stem was seated correctly.
- Next, I carefully attached the hands. This is where it gets nerve-wracking. One slip and you’ve scratched the dial or bent the hands. Thankfully, I managed to get them on without any major disasters.
- Then, I popped in the dial. The custom dial looked amazing, really nailed the Hulk green color.
- After that, I pressed in the bezel insert. Nice and snug, looked great.
- Finally, I attached the bracelet. Sized it to my wrist, and boom! The “Hulk” was starting to take shape.
Step 3: Tweaks and Adjustments

Of course, it wasn’t perfect right away. There were a few minor things I had to adjust.
- The stem was a bit too long, so I had to carefully file it down until it was the right length.
- The bezel was a little stiff, so I added a tiny bit of silicone grease to the mechanism.
- And I regulated the movement to get it running as accurately as possible.
The Final Result
After a few days of tinkering, I finally had my “Incredible Hulk Rolex.” Was it a perfect replica? Nah. But it was close enough for me. It looked great, felt good on the wrist, and kept decent time. And best of all, I built it myself. That’s what made it special.
So, yeah, that’s the story of my Hulk Rolex project. It was a fun and rewarding experience, and I learned a lot along the way. Would I do it again? Absolutely!