So, I got this itch, you know? Wanted to make something with a real 1970s feel. Not just buy one, but actually make it myself. Felt like a good project.

Finding the Vibe
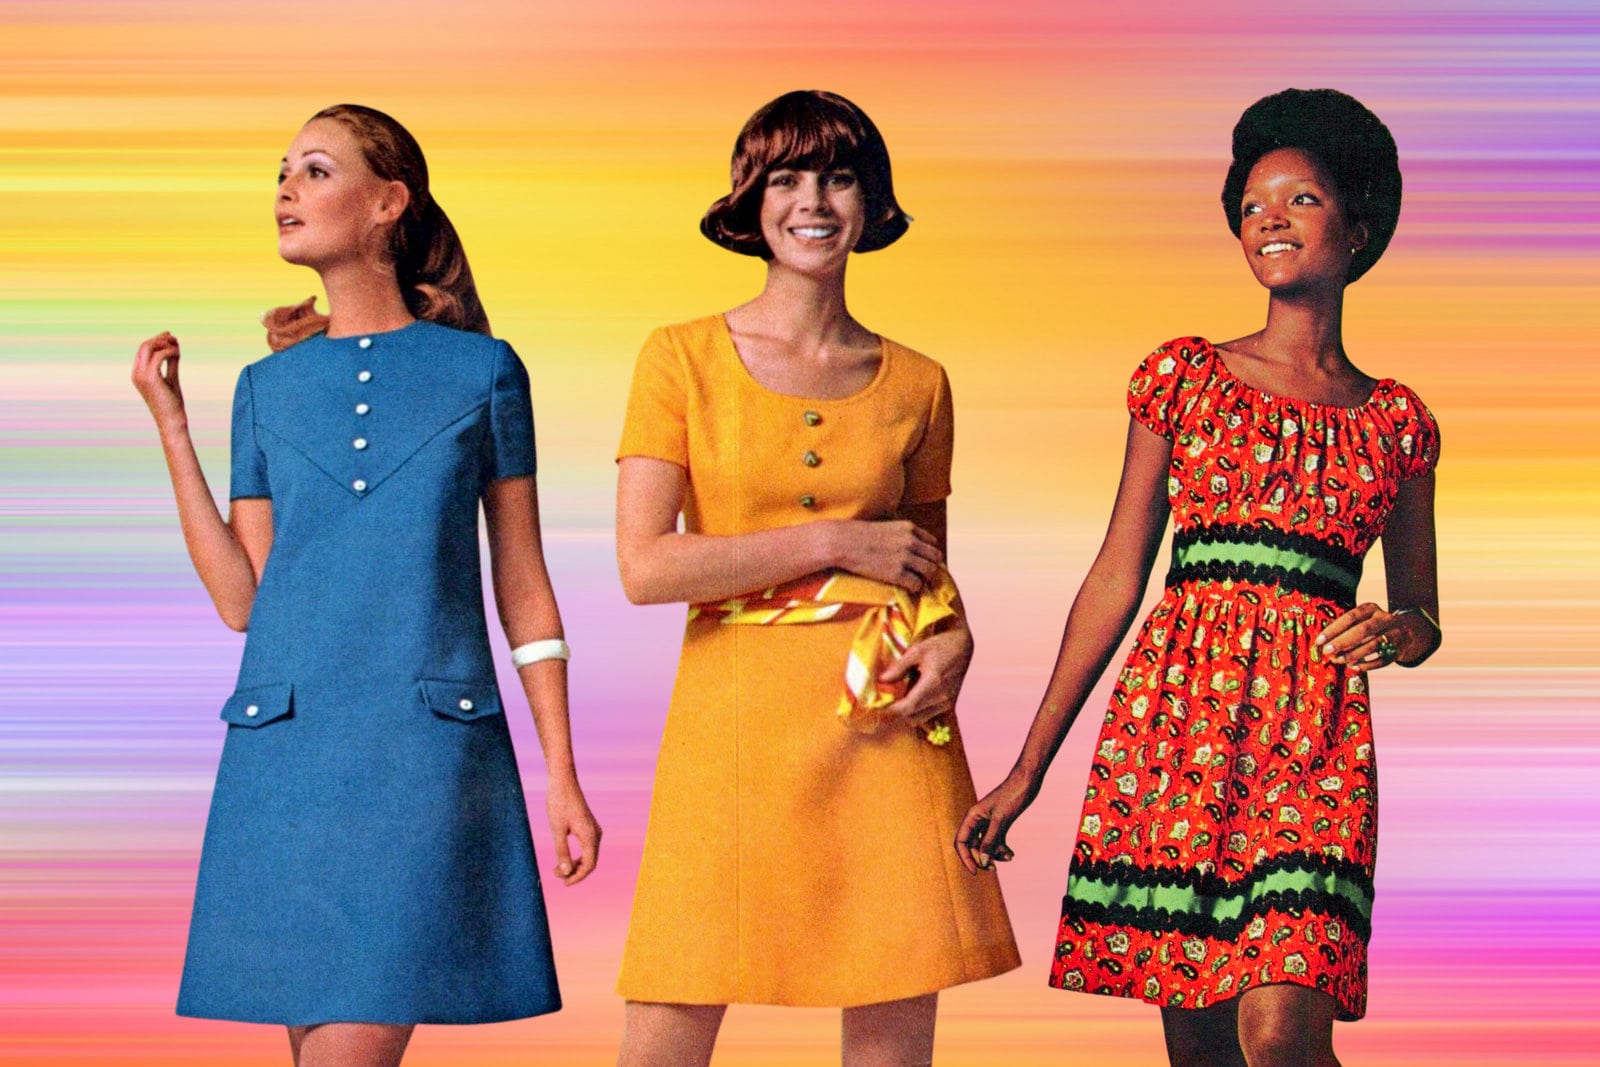
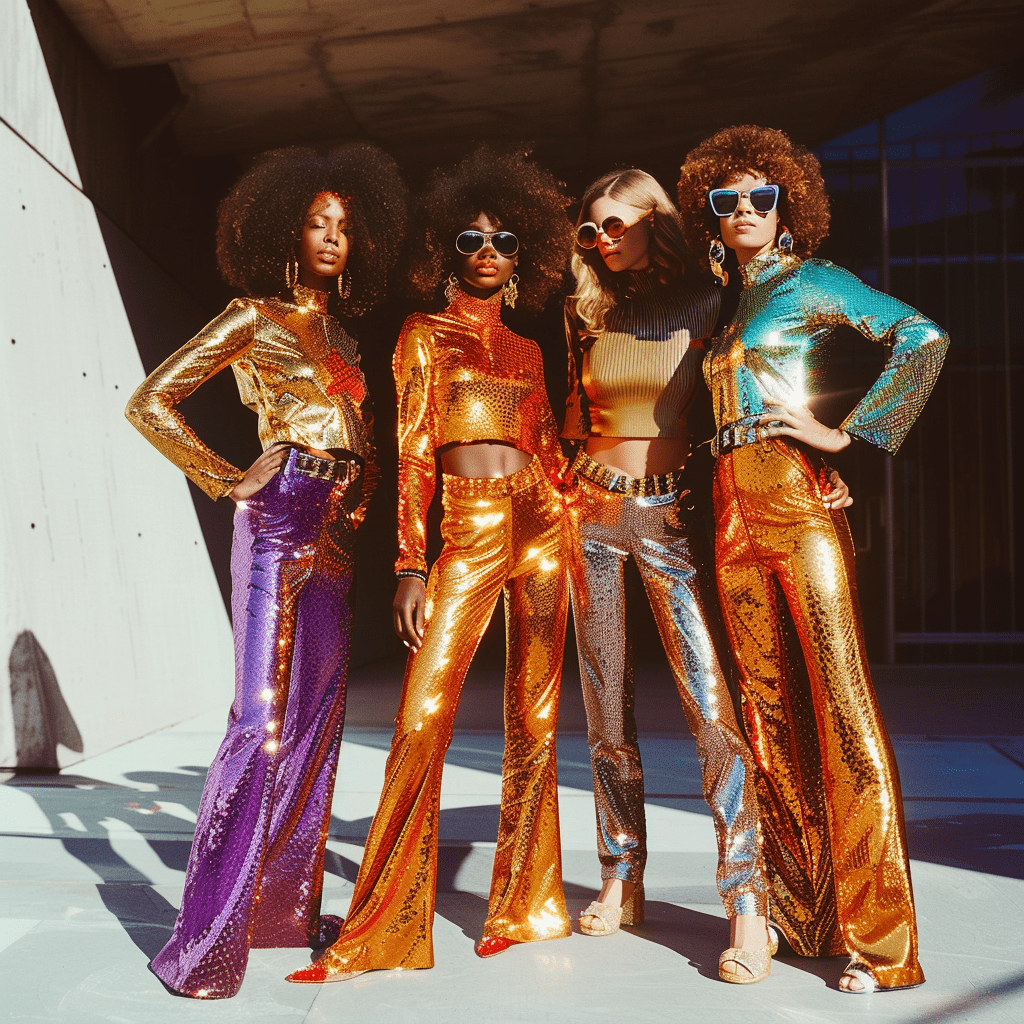
First thing, I spent a good while just looking around. Dug through some old pictures I had stashed away. Flipped through some magazines I’ve kept forever. Trying to really nail down the look I was going for. Lots of different styles back then, wasn’t just one thing. Decided I wanted something flowy, maybe with those big bell sleeves or a distinct collar.
Pattern Hunting and Fabric Choosing
Finding the right pattern was the next step. Looked through my collection, didn’t have exactly what I pictured. Found one that was close-ish, a simple maxi dress pattern. Knew I’d have to change it up quite a bit. That’s part of the fun sometimes, making it your own.
Then, the fabric. Oh, the fabric! I went down to the shop, the one with bolts stacked high. Spent ages just touching things, draping them over my arm. Needed something with the right weight and, crucially, the right print. Found this polyester blend, quite bold, lots of geometric shapes in oranges and browns. Felt very 70s. Grabbed a few yards of that, plus lining and a zipper.
Getting Down to Business: Cutting and Sewing
Got home, cleared the big table. Spread that fabric out flat. Took my time pinning the pattern pieces – the modified ones I’d sketched out. Measuring twice, cutting once, all that jazz. Cutting accurately is key, especially with slippery fabric like this poly.
- Started with the main body pieces, the front and back panels. Sewed those shoulder seams first.
- Then tackled the sleeves. Decided on those wide, sort of fluttery sleeves. Took a bit of fiddling to get the gathers right where they met the shoulder.
- Attached the sleeves to the bodice. Always feels like a milestone, that bit.
- Putting in the zipper came next. A long back zipper. Took it slow, pinned it carefully. Used the zipper foot on my machine. Had to unpick a small section once, wasn’t sitting quite flat, but got it sorted.
- Then the collar. Wanted that slightly oversized, pointed collar look. Interfaced it first to give it some body. Attached it to the neckline. That really started to make it look like the dress in my head.
Finishing Touches and Frustrations
Sewed up the side seams, creating the full shape of the dress. Tried it on carefully at this point. Fit wasn’t too bad, maybe needed a tiny adjustment under the arms.

Hemming was a bit of a pain, I won’t lie. The fabric wanted to stretch and wiggle. I let it hang overnight first, to let the bias drop. Then pinned it up really carefully. Ended up hand-stitching the hem for a cleaner finish. Took longer, but looked better.
Gave the whole thing a final press. Important step, makes everything look neat and professional. Or, well, as professional as my kitchen-table sewing gets!
The Final Result
And there it was. Standing back and looking at it. A proper 1970s dress, made by me. The print, the shape, the collar – it all came together pretty much how I imagined. Feels good, you know? Taking some fabric and turning it into something you can actually wear. Took a few evenings, a bit of patience, especially with that hem, but totally worth it. Ready for a throwback party now, or maybe just swishing around the house feeling groovy.
