")
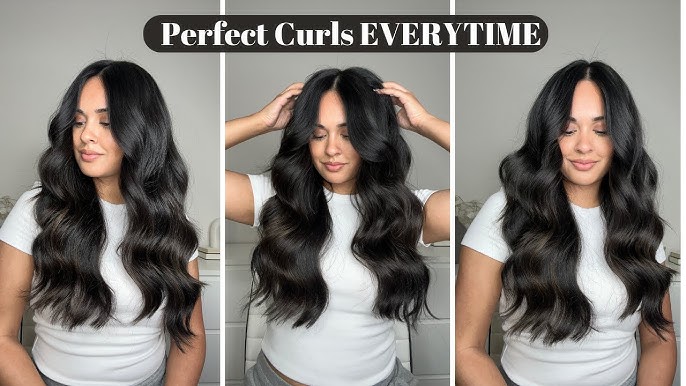
Alright, so I’ve been meaning to share how I finally got the hang of this styling gadget. For ages, I’d see those gorgeous, beachy waves and think, “How hard can it be?” Well, let me tell you, my first few tries were… interesting. More like a frizzy, uneven mess. But, like with most things, I stuck with it, messed around a bit, and now I’ve pretty much got it down to a science. Or, well, my science anyway.

My Approach to Getting Those Waves
So, here’s what I do, step-by-step. It’s not rocket science, but there are a few things I learned make a big difference.
-
Prep is key, seriously. I always start with dry hair. Like, bone dry. If it’s even a tiny bit damp, it just doesn’t work right and probably sizzles, which is not good. I spray on a bit of heat protectant too. Learned that lesson the hard way after noticing my ends looking a bit tragic.
-
Then, I section my hair. I’m not super precise like a hairstylist, no fancy clips all over the place. I just kind of pull the top half up and clip it out of the way. Then I work with the bottom layer first. Makes it less overwhelming, you know?
-
I get the iron heated up. Mine has a few settings. I usually go for a medium heat. Too low and nothing happens, too high and I’m scared I’ll fry my hair off. You gotta find what works for your hair type. Mine’s pretty average, not too fine, not too thick.
Okay, so once it’s hot, I grab a section of hair, maybe an inch or two wide. Not too thick, or the heat won’t get through evenly. I open up the barrels of the waver and position it near the roots – but not too close to my scalp, ouch! Then I just clamp it down. I hold it for, I don’t know, maybe 5 to 8 seconds? I just count in my head. You kind of get a feel for it. You don’t want to hold it too long.
Then, the important bit: I unclamp it, and move the iron down that same section of hair, overlapping slightly where the last wave ended. You line up the first barrel of the waver with the last bend you made. That’s how you get that continuous S-shape. I keep doing that all the way down to the ends. For the ends, I sometimes clamp it for a shorter time, or leave them a bit straighter for a more modern look. Depends on my mood.
I just repeat this process, section by section, layer by layer. It takes a little patience, not gonna lie. Especially if you have a lot of hair like I do. I usually put on a podcast or some music. Makes the time go faster.
Here’s a thing I figured out: Don’t brush the waves out immediately. Let them cool down completely. This helps them set. Once everything is cool, I gently run my fingers through them to break them up a bit and make them look softer and more natural. Sometimes I use a tiny bit of hairspray, sometimes not. Depends if I need them to last all day and night.
It reminds me of when I was trying to learn to bake sourdough bread during that whole craze a while back. My first few loaves could have been used as doorstops, no joke. Solid. As. A. Rock. My family still teases me about it. But I kept tweaking the flour, the water, the kneading time, and eventually, I got a decent loaf. This hair thing felt similar. Lots of trial and error, a few weird-looking attempts, and then finally, click! It just works.
So yeah, that’s my experience with this waver. It went from being a slightly intimidating tool I bought on a whim (you know how it is, you see something online, and suddenly you need it) to something I actually use pretty regularly when I want a bit of a different look. It’s not an everyday thing for me, too much effort for that, but for a weekend or a night out, it’s pretty fun.
