So, my old belt finally bit the dust the other day. The leather just cracked right through near the buckle. Annoying. Couldn’t find one I liked in the shops – they all felt kinda plasticky or were way too expensive for what they were.
I thought, how hard can it be to make one? I’ve seen folks do it online. Seemed straightforward enough. Decided to give it a shot myself.
Getting Started
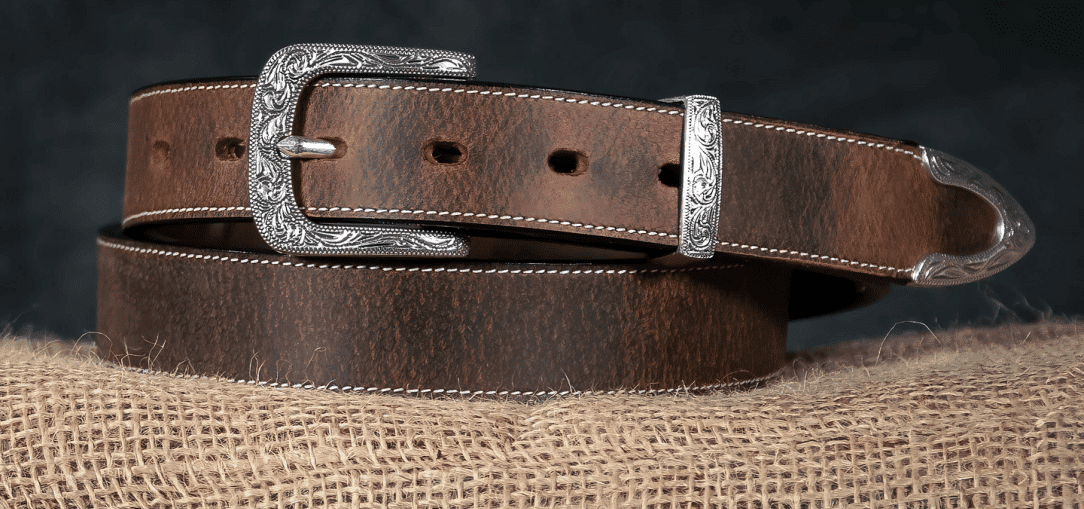
First up, needed the main ingredient: leather. Found a place online that sells leather strips specifically for belts. Picked up a nice, thick strip of brown leather. Looked pretty good when it arrived. Also grabbed a simple, solid brass buckle. Nothing too fancy.
Already had some basic tools lying around from other projects: a sharp utility knife, a ruler, a mallet, and one of those rotary hole punch tools. Figured that would be enough to get me started.
Putting it Together
Okay, step one was cutting the strip to the right length. I measured my waist loosely, then added about 8 or 9 inches extra for the overlap and the bit past the buckle. Laid the leather flat on my cutting mat, measured carefully (twice!), held my breath, and made the cut with the utility knife. Took a couple of firm passes to get through it cleanly.
Next, tackled the ends. One end needed that pointy shape. I just sort of freehanded an angled cut, then rounded the point slightly with the knife. Looked okay. The other end, where the buckle goes, needed some work. Had to thin the leather down a bit on the backside so it would fold over the buckle neatly. Used my knife carefully to shave off thin layers. Made a bit of a mess, but got there.
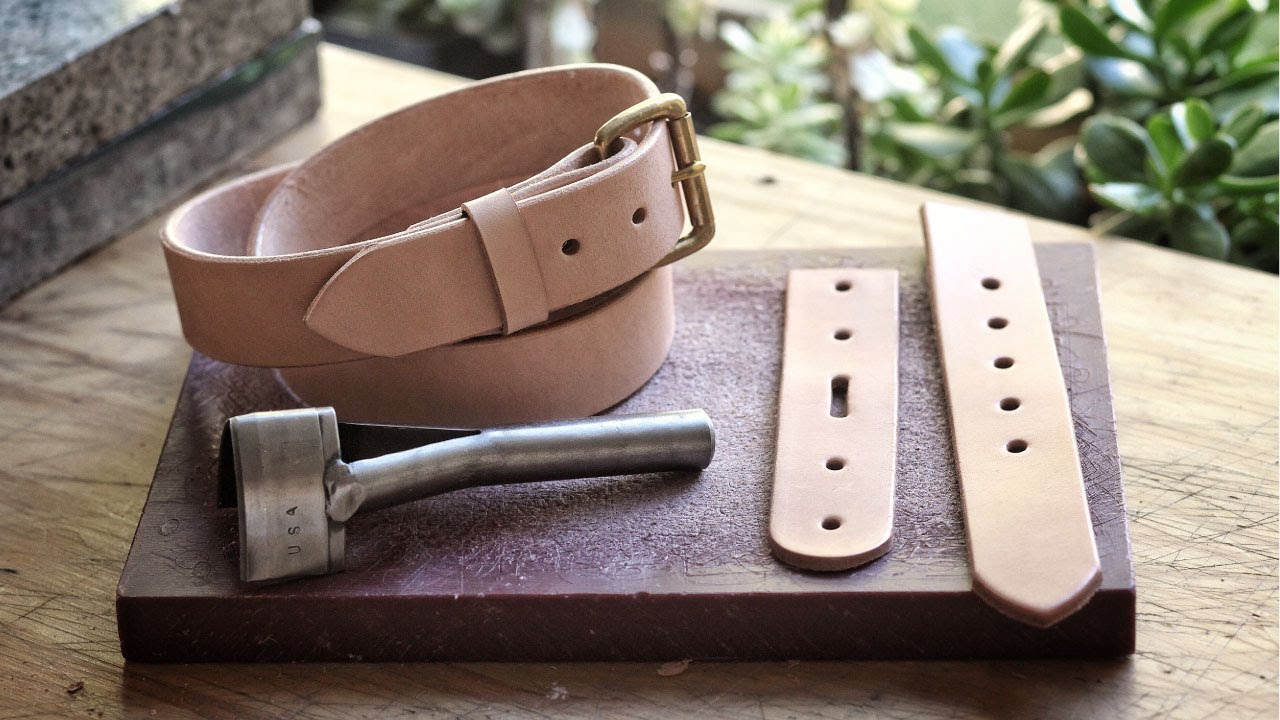
Then I had to punch the holes for the buckle itself. A slot for the buckle tongue to poke through, and two smaller holes side-by-side for attaching it. Used the rotary punch for the holes and carefully cut the slot with the knife. Folded the thinned end through the buckle, lined up the holes, and secured it. I used some simple Chicago screws I had – easier than rivets for me. Just screwed them tight.
Now for the sizing holes – the ones you actually use. Put the belt on, marked where it felt comfortable. Then used that mark as the middle hole and punched two more holes on either side, about an inch apart. That rotary punch tool worked great here. Thump, thump, thump. Five holes, job done.
The edges looked a bit raw and fuzzy after cutting. Read somewhere you should ‘burnish’ them. Didn’t have any fancy tools, so I just rubbed the edges really hard with a smooth piece of scrap wood. It actually worked surprisingly well! Smoothed them down and darkened them up a bit.
Last thing, I rubbed some leather conditioner all over the belt with an old cloth. Just worked it in really well. It darkened the leather slightly and gave it a nice soft feel.
All Done
And that was pretty much it. Stood back and looked at it. Hey, it’s a belt! It’s not absolutely perfect, a bit rough around the edges maybe, but it feels really solid. Much better than those flimsy things in the store. Feels good knowing I made it myself. Took maybe two hours, fiddling about. Pretty satisfying, actually. Definitely wearable.