
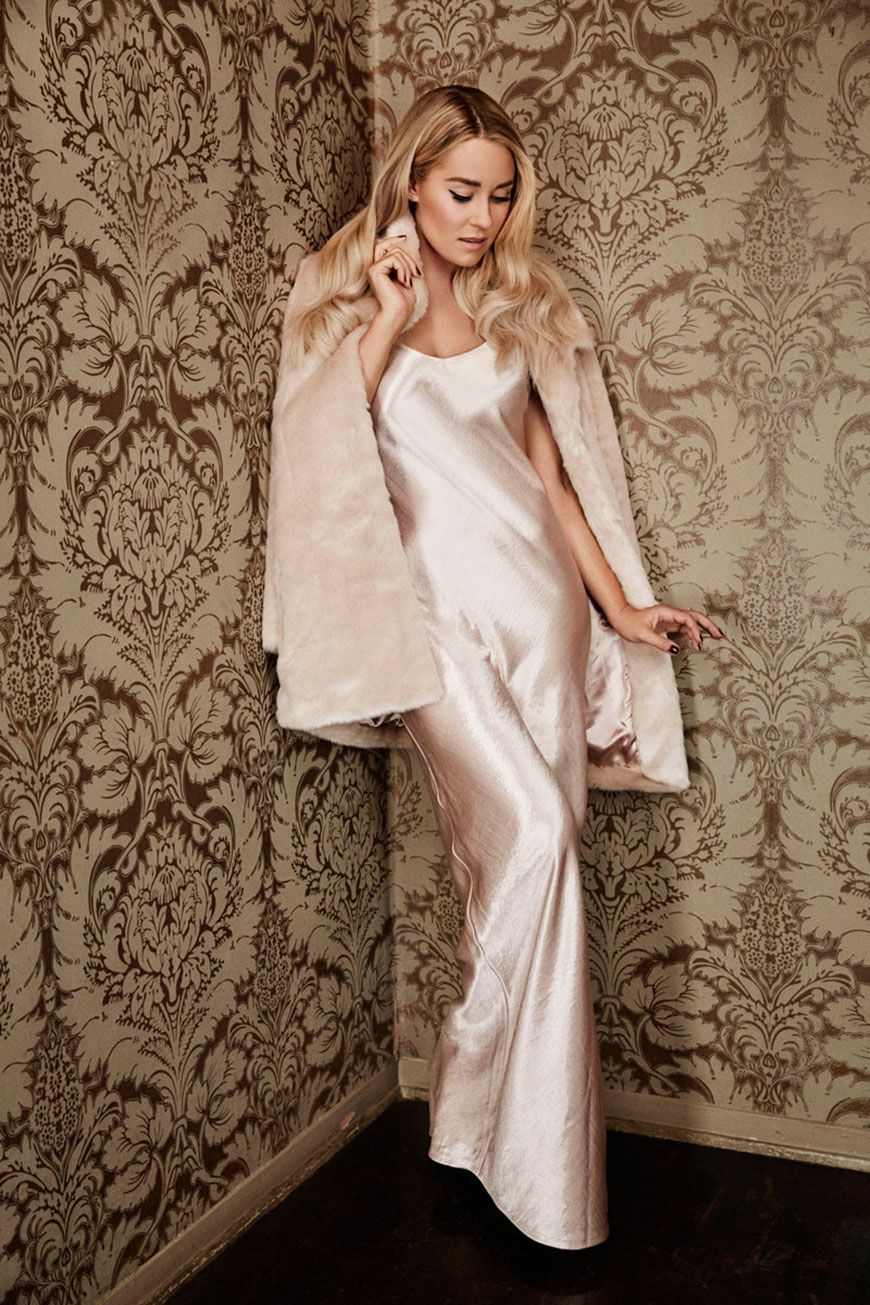
Okay, let’s talk about this dress project I tackled. I kept seeing these really breezy, kinda California-style dresses, you know, the Lauren Conrad vibe. Simple, pretty, looked comfy. I thought, hey, I could probably make something like that.

Getting the Idea and Stuff
So, first step, I spent some time just looking at pictures online. Trying to figure out the basic shape. Most seemed to have a fitted top part and a flowy skirt. Nothing too complicated, which was good. I wanted something I could actually finish, not another half-done project sitting in the corner.
Then came the fabric hunt. This part’s always a bit tricky. You see it online, it looks one way, but you gotta feel it, right? I went to a couple of local spots. Needed something light, with a nice drape. Finding the right color took ages. I didn’t want plain white, but nothing too loud either. Finally found this really soft, kinda crinkly cotton blend. Sort of an off-white, creamy color. Bought a few yards, maybe a bit more than I thought I’d need, just in case I messed up.
- Lightweight cotton blend fabric
- Matching thread
- An invisible zipper (always a pain)
- Some lightweight interfacing for the top
Putting It All Together
Alright, the actual making part. I don’t always use store-bought patterns. Sometimes I draft my own, or mix and match pieces from patterns I already have. For this one, I took a simple bodice pattern I had used before and adjusted the neckline. Made it a bit more open. For the skirt, I just wanted simple gathered panels. Easy peasy.
Cutting the fabric is always nerve-wracking. Measure twice, cut once, they say. I laid it all out on my big table, pinned the pattern pieces down real careful. Smooth fabric can be shifty, gotta watch out. Got the main pieces cut: front bodice, back bodice pieces, skirt panels.
Sewing time. Started with the bodice. Did the darts first to give it some shape. Then sewed the shoulder seams and side seams. I added the interfacing to the neckline facing to give it a bit more structure so it wouldn’t flop around. Attached the facing – that always makes it look neater.
The skirt was straightforward. Just sewed the side seams of the panels together to make a big loop. Then I ran a couple of lines of basting stitches along the top edge to gather it. Pulling those threads to get the gathers even takes patience. Fiddly work, this. Got it gathered up to match the width of the bodice.
Attaching the skirt to the bodice – always feels like a milestone. Pinned it like crazy, easing in the gathers, making sure it looked even all the way around. Sewed that seam. Then, the zipper. Ugh. Invisible zippers. I have a love-hate relationship with them. Ripped it out once because it wasn’t sitting flat. Second time was the charm, mostly. It’s hidden, that’s the main thing.
Finishing Up
Last bits. Hemming the skirt. I let the dress hang overnight first. Sometimes fabrics drop a bit unevenly, especially flowy ones. Checked the length, trimmed it so it was even, then did a simple narrow hem. Didn’t want anything bulky at the bottom. Gave the whole thing a good press with the iron. Makes such a difference, gets rid of all the little wrinkles from handling it.
And… done. Stood back and looked at it. Yeah, not too bad. It actually looked like the pictures in my head. Tried it on. Felt light and comfortable. Perfect for warmer weather. It’s satisfying, you know? Taking some flat fabric and turning it into something you can actually wear. Took a few evenings, had some moments where I nearly threw the zipper across the room, but got there in the end. Pretty happy with this one.