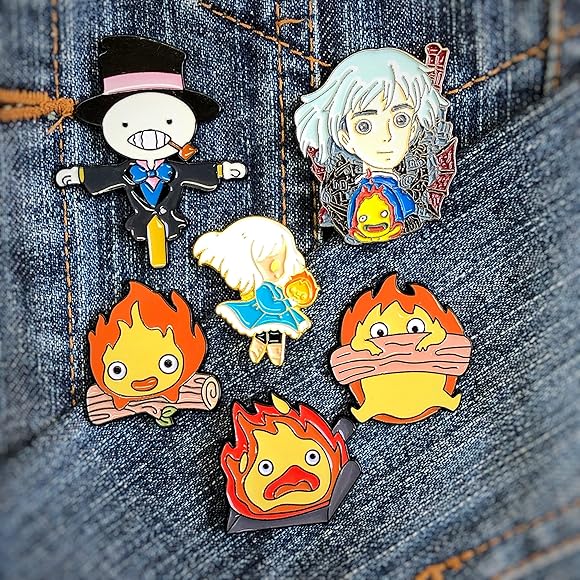
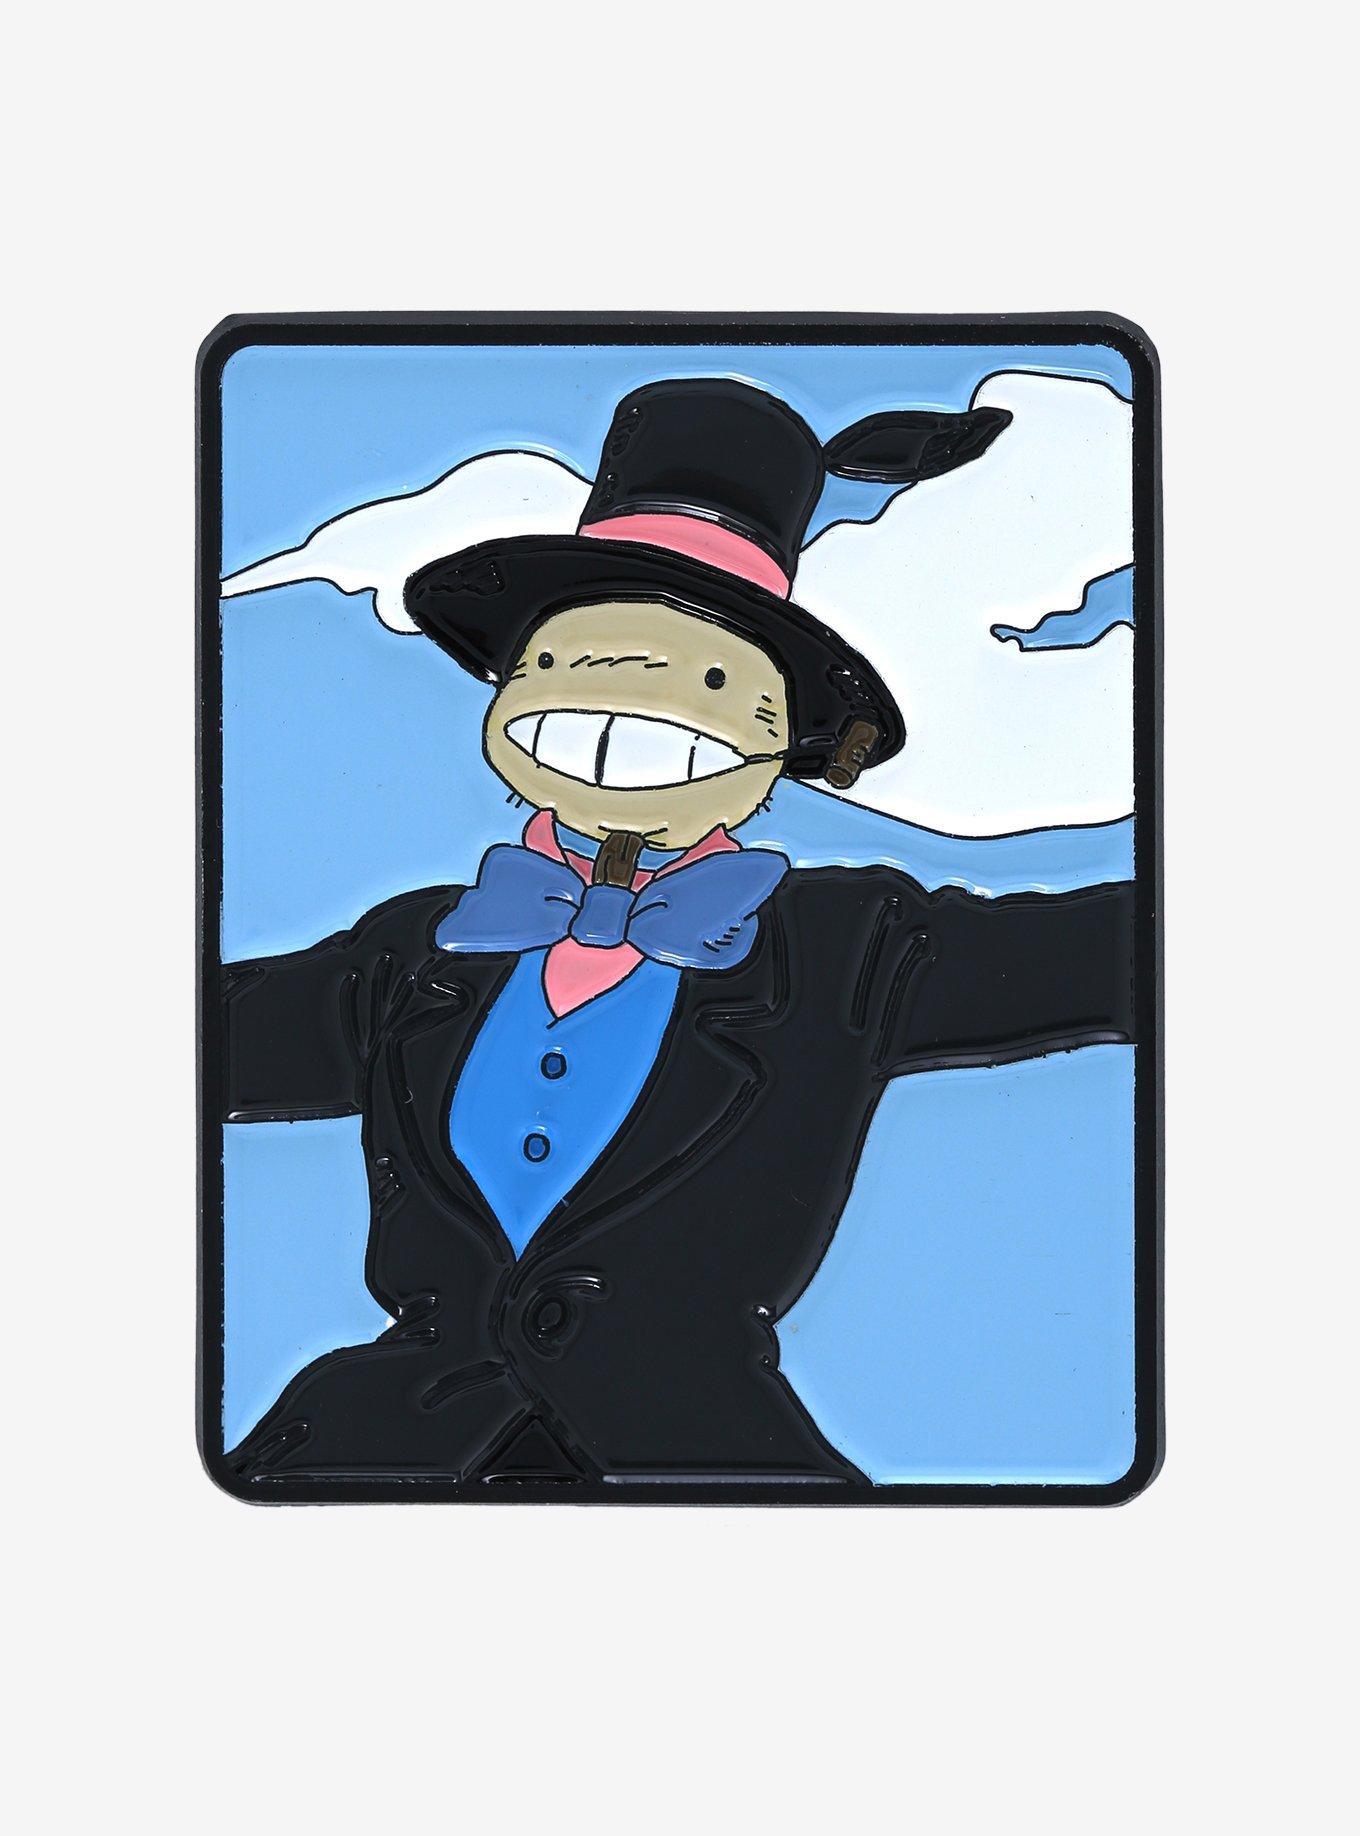
Okay, here we go, my attempt at sharing my “turniphead brooch” making experience!

Alright folks, so I finally got around to making that Turniphead brooch I was talking about! Been putting it off for ages, but I’m pretty stoked with how it turned out. Let me walk you through the whole shebang.
First things first, gathering the goods. I needed some polymer clay (went with a nice earthy brown), some wire for the loop and pin back, acrylic paints (greens, browns, and a touch of red for the cheeks), varnish, and of course, my trusty sculpting tools. Oh, and a brooch pin, can’t forget that!
Next up, sculpting the head. I started by rolling the clay into a ball, then gently shaping it into that kinda lumpy, turnip-like head shape. Turniphead’s got this slightly uneven texture, so I used a needle tool to poke little divots all over. It’s tedious, but it really adds to the charm, you know?
Then, the details. I rolled tiny balls of clay for the eyes, and used the end of a paintbrush to make the indents for the pupils. The mouth was just a simple curved line, nothing fancy. For the twiggy hair, I rolled thin snakes of clay and carefully attached them to the top of his head. Made sure they were all wonky and sticking out at different angles, just like in the movie.
Now, the wire loop. Before baking, I carefully inserted a small piece of wire into the top of the head to create a loop for hanging. Bent it into a secure loop, making sure it was firmly embedded in the clay.

Baking time! Followed the instructions on the clay package, popped it in the oven, and waited impatiently. Once it was cool, I gave it a once-over to make sure everything was solid.
Time for some painting! I started with a base coat of dark brown, then layered on lighter browns and greens to create a mossy, earthy effect. Added a tiny bit of red to the cheeks for that cute, blushing look. The eyes got a coat of black paint to make them pop.
Once the paint was dry, I applied a couple of coats of varnish to protect the paint and give it a nice, glossy finish. Let it dry completely between coats.
Finally, attaching the pin back. I used some strong adhesive glue to attach the brooch pin to the back of the head. Made sure it was centered and securely attached. Clamped it down and let it dry overnight.
And that’s it! Finished! Honestly, I’m super happy with how it turned out. It’s a little wonky, a little imperfect, but that’s what makes it so charming, right? Can’t wait to wear it and show it off! It was a fun project. Might even try making some other characters from the movie next!


