
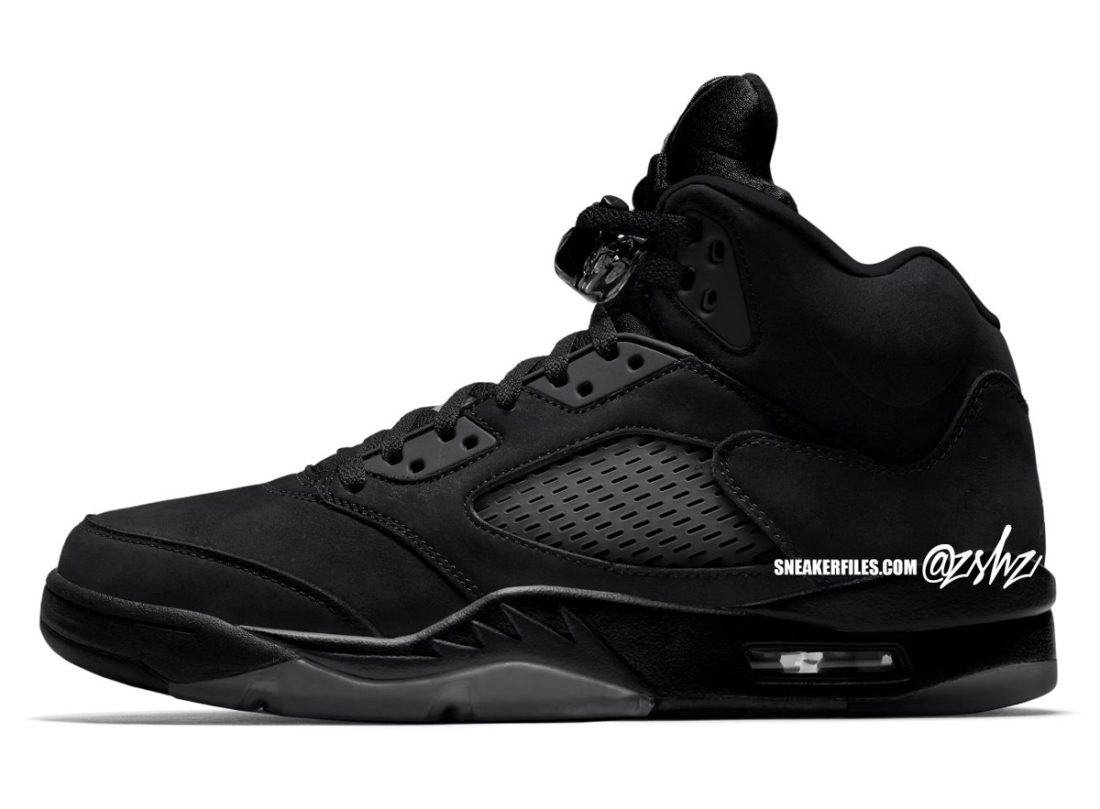
Alright, let’s dive into my latest sneaker project: the Retro 5 Black Cats. Been wanting to do these for a while, finally got around to it!
First things first, I grabbed a pair of beat-up Retro 5s. Didn’t matter too much about the original colorway, just needed a solid base to work with. Made sure the soles weren’t completely shot, you know? That’s a pain to fix.
Next up: prep work. This is crucial, people! I spent a good couple of hours just cleaning the shoes. Used a stiff brush, some mild soap, and lots of elbow grease. Then, I went over them with acetone to strip off any existing finishes or waxes. You gotta get the surface ready to accept the new paint. Don’t skip this step, trust me!
Then came the fun part: taping. Man, this takes forever. I used masking tape to carefully cover all the areas I didn’t want to paint – the midsoles, the eyelets, the Jumpman logo on the tongue. Patience is key here. Take your time, make sure the lines are clean, and press the tape down firmly to prevent any bleeding.
Okay, now for the painting. I went with a flat black acrylic paint specifically designed for leather. Used an airbrush for a nice, even coat. Did several thin layers, letting each layer dry completely before applying the next. This is way better than slapping on one thick coat, which will just crack and peel later. Thin coats, people, thin coats! Probably did like four or five layers in total.
After the black paint was dry, I moved on to the detailing. The Black Cats have these cool reflective accents, so I used some reflective paint on the side panels. Again, airbrush for the win! Also added some black paint to the midsoles with a fine brush to make them look fresh.
Once everything was painted and dry, I started removing the tape. This is always a little nerve-wracking, hoping I didn’t screw anything up. Luckily, everything looked pretty clean. A few minor touch-ups here and there with a small brush, but overall, it came out great.
Finally, a protective coat. Applied a matte clear coat to seal everything in and protect the paint from scuffs and scratches. Let that dry overnight.
And that’s it! New pair of Retro 5 Black Cats. Took a while, but totally worth it. I’m pretty happy with how they turned out. Next project? Maybe some custom Air Force 1s…