Alright, let me tell you about my Rick Owens Cuban heel adventure. It was a journey, let me tell ya.
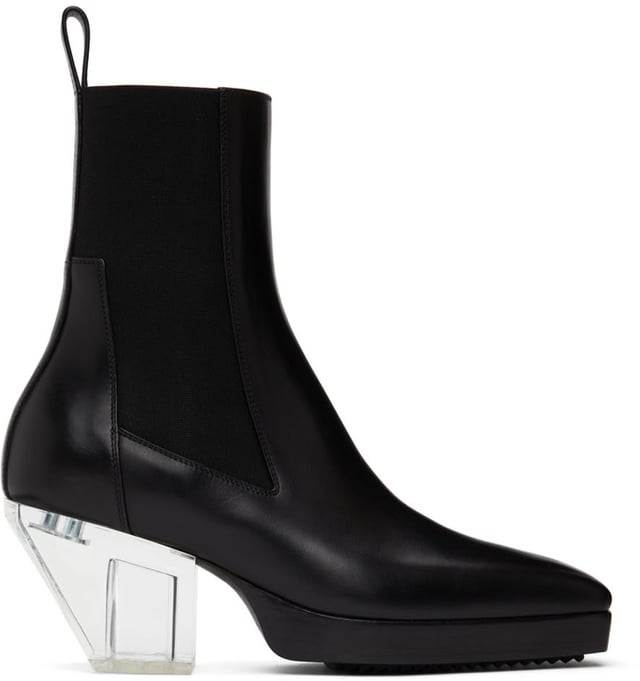
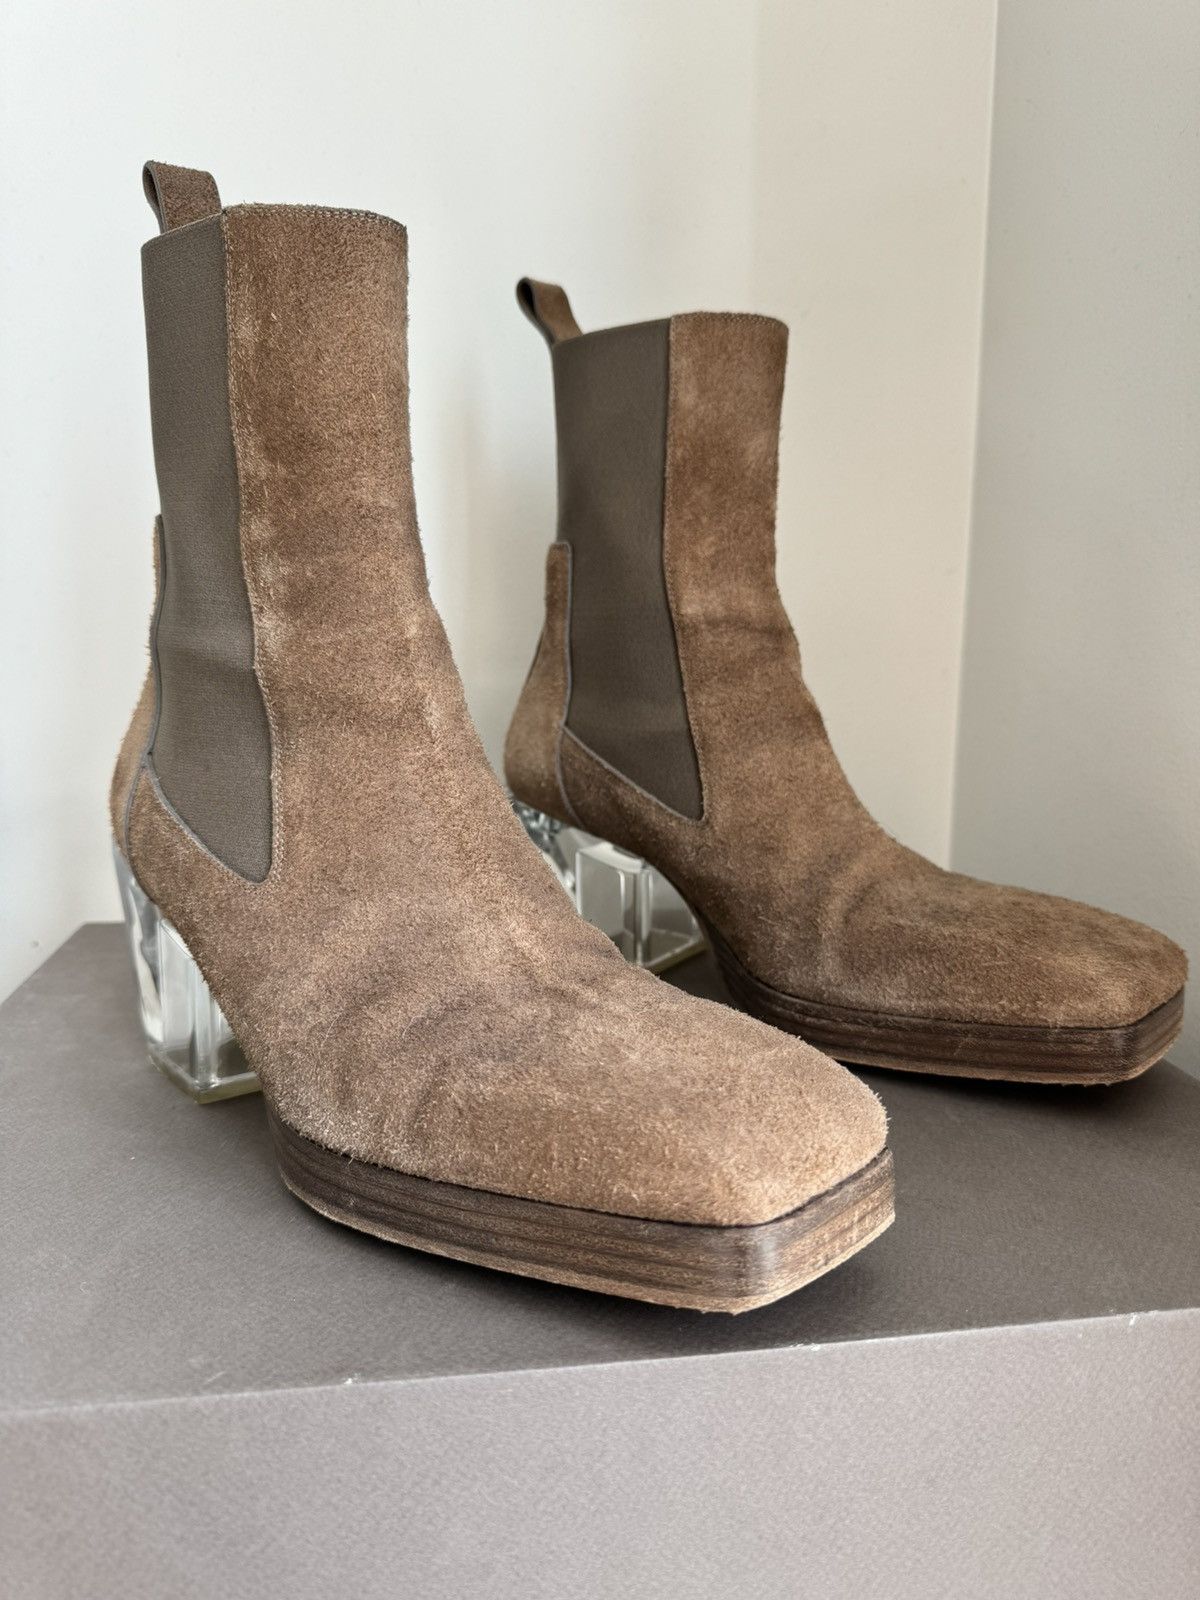
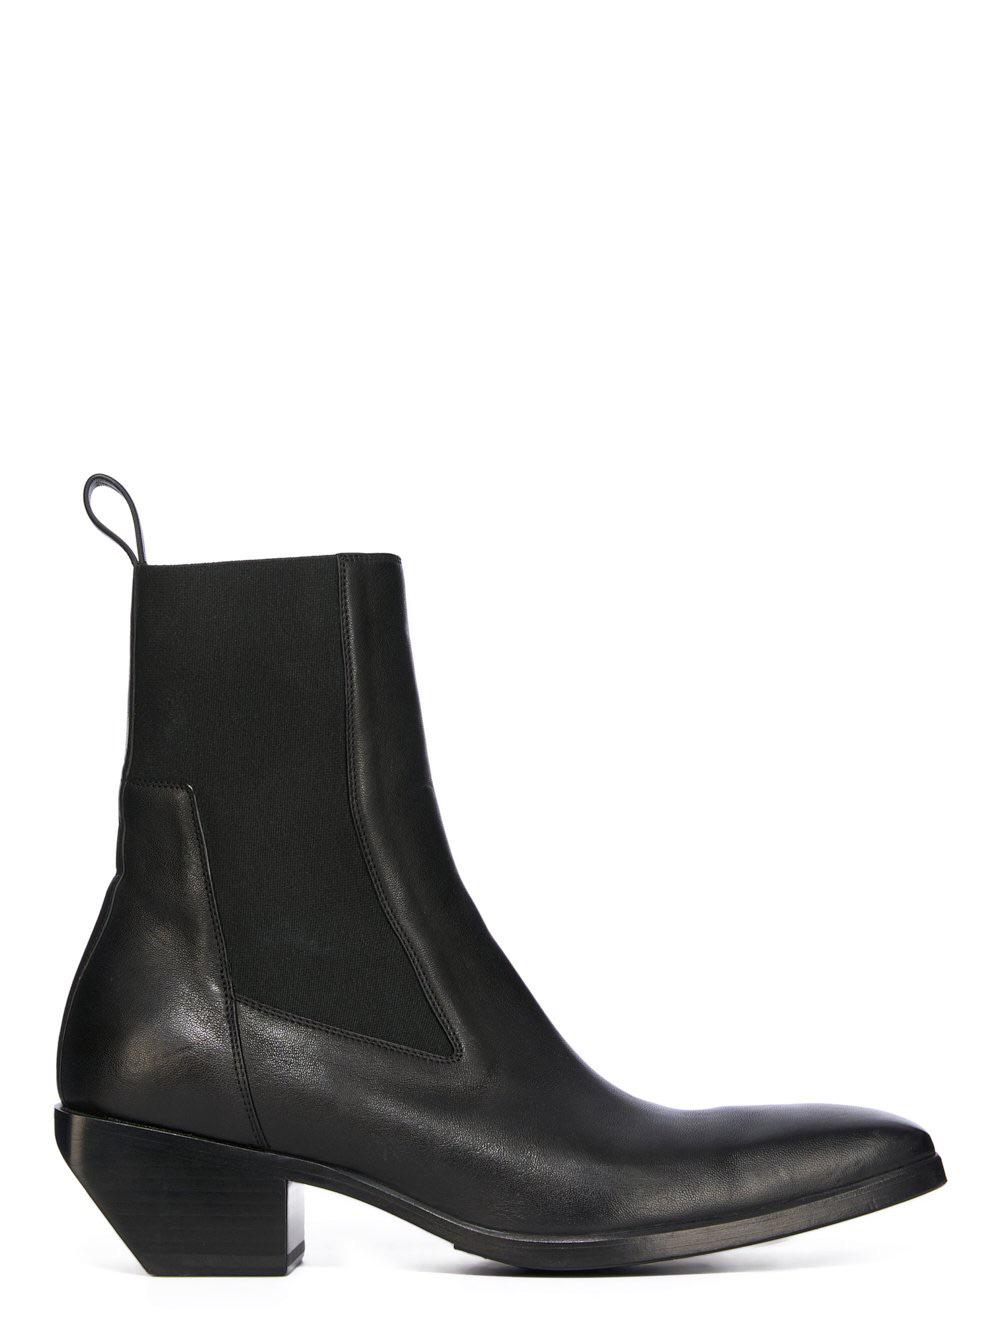
So, it all started with me drooling over these Rick Owens boots online. You know the ones, the Cuban heel joints that everyone and their momma seems to be rocking? I wanted a piece of that action. But the price tag? Ouch. That was a major roadblock.
First thing I did, like any sane person, was hit up the resale market. Grailed, eBay, all the usual suspects. Spent hours scrolling, comparing prices, checking conditions. Found a few that looked promising, but something always felt off – either the size was wrong, the condition was sus, or the seller had zero feedback. Sketchy.
Then, I thought, “Screw it, I’m gonna try to DIY this.” Yeah, I know, ambitious, right? I figured I could at least get something similar without dropping a grand. Found some cheap Chelsea boots at a thrift store. They were kinda beat up, but the shape was alright. The leather was…questionable, but hey, it was a starting point.
Next up: the heel. That iconic Cuban heel is the whole point, right? I spent a good chunk of time researching heel types, materials, construction. Watched a bunch of cobbling videos on YouTube. Felt like I was back in school, except this time, I was actually interested. Found a local shoe repair shop that sold heel blanks. Bought a couple different sizes, just in case I messed up.
The actual process was…messy. Cutting the old heel off the Chelsea boots was way harder than it looked in the videos. I ended up using a combination of a saw, a chisel, and a whole lot of elbow grease. Almost lost a finger a few times. Seriously, wear gloves, kids.
Then came the shaping of the new heel. This was where my lack of experience really showed. I tried using a wood rasp, but it was taking forever. Eventually, I just went for it with a belt sander. Big mistake. Took off way too much material in one go. Had to start over with a new heel blank. Second time around, I was a bit more careful, but still not perfect. It was definitely more “rustic” than I intended.
Attaching the heel was another challenge. I used a combination of glue and screws. Probably overkill, but I wanted to make sure that thing wasn’t going anywhere. Clamped it all together and let it dry for 24 hours. Fingers crossed.
The final result? Let’s just say it wasn’t exactly runway-ready. The heel was a little wobbly, the leather on the boots looked even cheaper now that I’d messed with them, and the overall aesthetic was more “mad scientist” than “Rick Owens.” But hey, I made ’em myself. And they were definitely unique. I wore them out a few times, got some interesting looks, and eventually, they ended up in the back of my closet.
Did I achieve the Rick Owens Cuban heel look? Nah, not even close. But did I learn a ton about shoe construction and my own limitations? Absolutely. And that, my friends, is worth more than any designer price tag.
So, yeah, that’s my Rick Owens Cuban heel story. A cautionary tale, maybe. But also a reminder that sometimes, the journey is more important than the destination. Now, I’m saving up to buy the real deal. Lesson learned.