
Okay, so, check it – I’m gonna spill the beans on this “Jordan Tiffany Blue” project I tackled. It was a wild ride, let me tell ya.
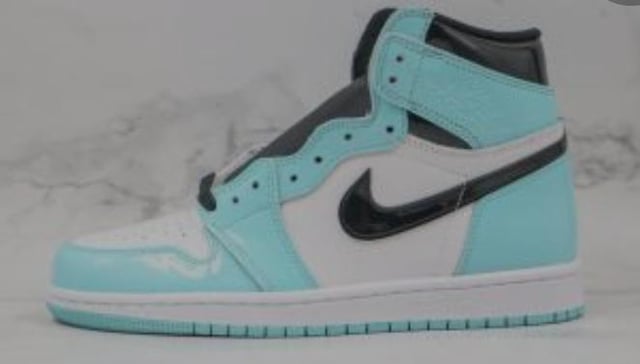
The Vision: I had this crazy idea stuck in my head: a pair of Jordans decked out in that iconic Tiffany Blue. I’m talking seriously fresh kicks that would turn heads. Not some official collab, but a custom job, my own creation.
Gathering Supplies: First things first, I needed the right Jordans. I opted for a pair of all-white Jordan 1 Mids. Clean slate, you know? Then came the fun part – the Tiffany Blue paint. I spent ages online trying to find the perfect shade. Ended up grabbing an acrylic leather paint kit off of Amazon that looked promising. Also stocked up on masking tape, paint brushes, sandpaper, and some leather sealant to protect my masterpiece.
Prep Work is Key: This is where the elbow grease came in. I started by prepping the leather on the Jordans. Gave ’em a good wipe down with some alcohol to remove any dirt or grease. Then, I lightly sanded the areas I planned to paint. This helps the paint adhere better, preventing it from cracking or peeling later on. Trust me, don’t skip this step!
Masking Mania: Next up, the super tedious but crucial masking process. I carefully taped off all the areas I didn’t want to get paint on – the soles, the swoosh outline (because I wanted to keep it white), the tongue, etc. This took FOREVER. Seriously, like two hours of meticulous taping. But again, worth it in the end. A clean mask equals a clean paint job.
Painting Time: Alright, time for the main event! I started with a thin layer of the Tiffany Blue paint. Let it dry completely, then added another coat. And another. I ended up doing about three coats to get a nice, even coverage and that vibrant color I was after. Patience is key here. Don’t try to slather it on all at once, or you’ll end up with a gloppy mess.
De-Masking and Details: Once the paint was completely dry (I waited a full 24 hours just to be safe), the moment of truth arrived: de-masking! Slowly and carefully peeled off all the tape, revealing those crisp, clean lines. Man, that was satisfying. I then went back in with a super fine brush and touched up any tiny imperfections or areas where the paint had bled a little. Details matter!
Sealing the Deal: Finally, I applied a couple of coats of leather sealant. This protects the paint from scratches, scuffs, and fading. Plus, it gives the shoes a nice, subtle sheen. Let the sealant dry completely, and boom – done!
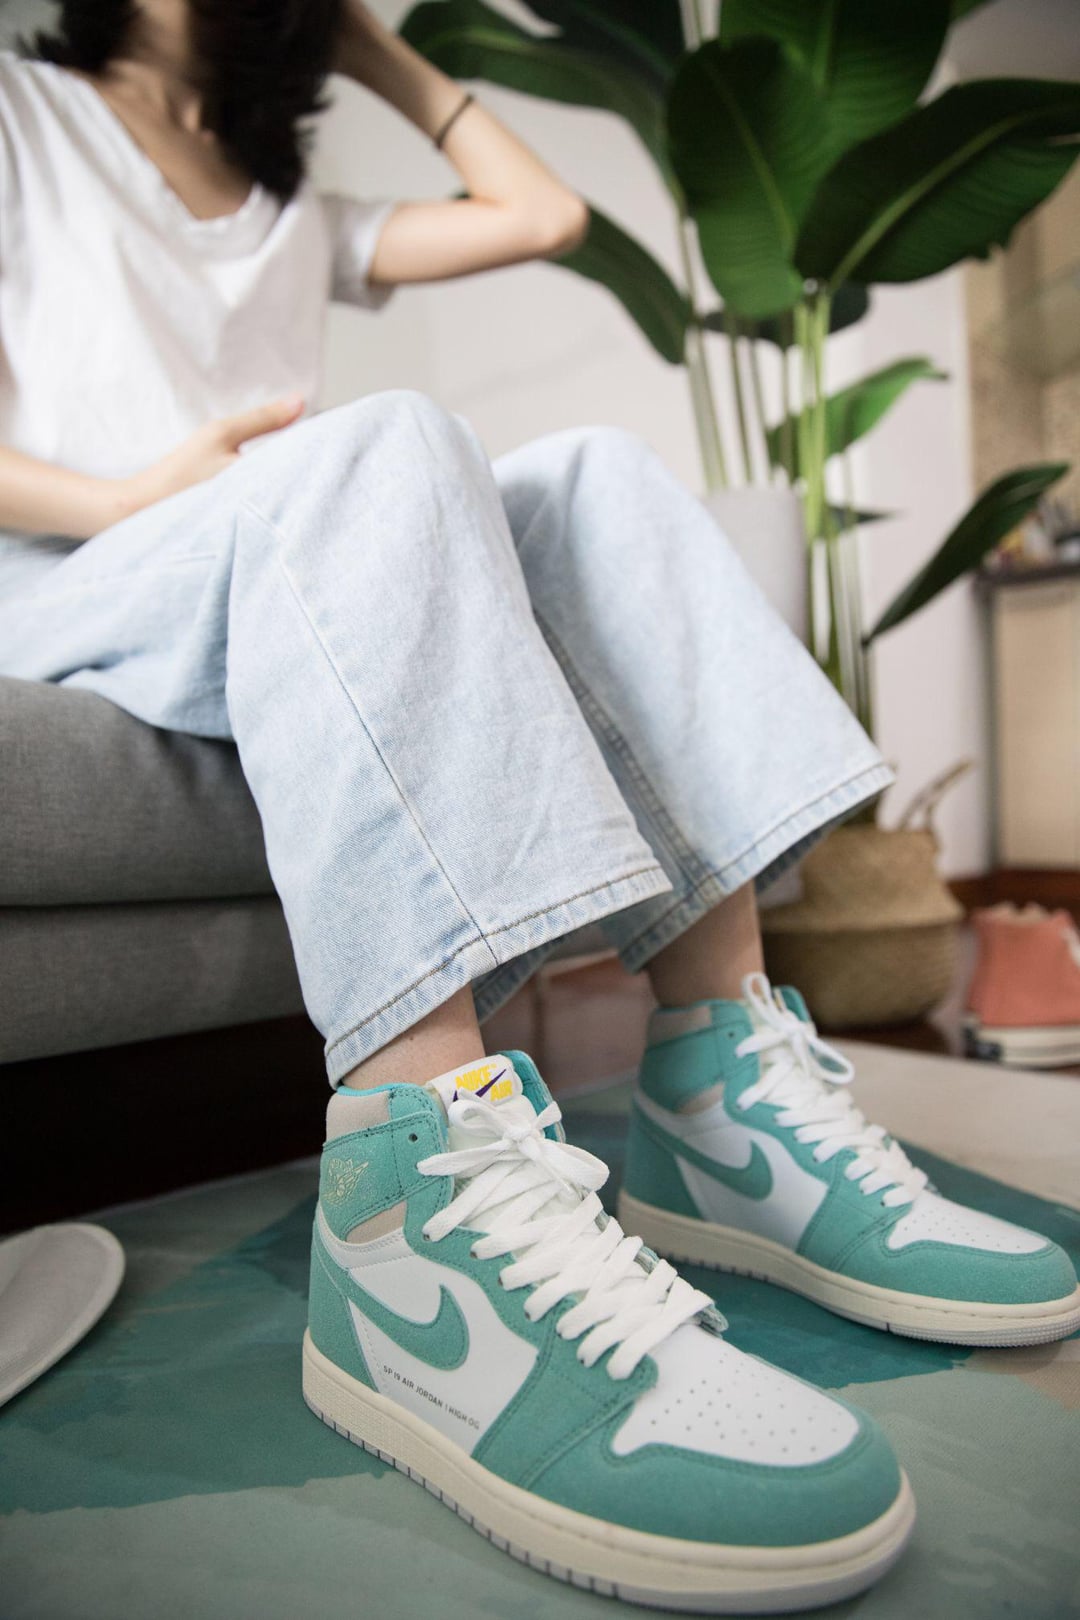
The Result: A pair of custom Jordan 1 Mids, rocking that iconic Tiffany Blue. It wasn’t easy, and there were definitely moments where I wanted to throw the whole project in the trash, but seeing the finished product made it all worthwhile. Super happy with how they turned out. Get tons of compliments whenever I wear them. Next project? Who knows… maybe a Supreme-inspired Air Force 1?