
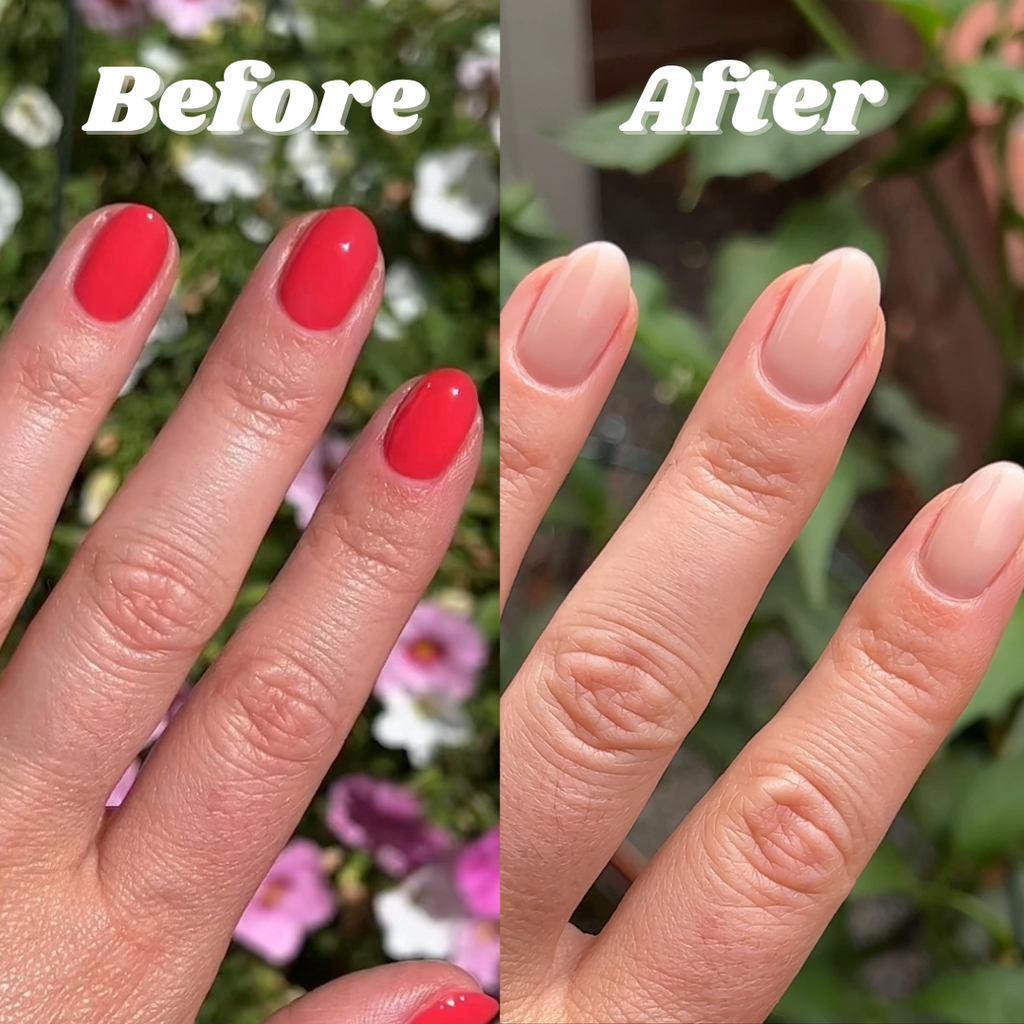
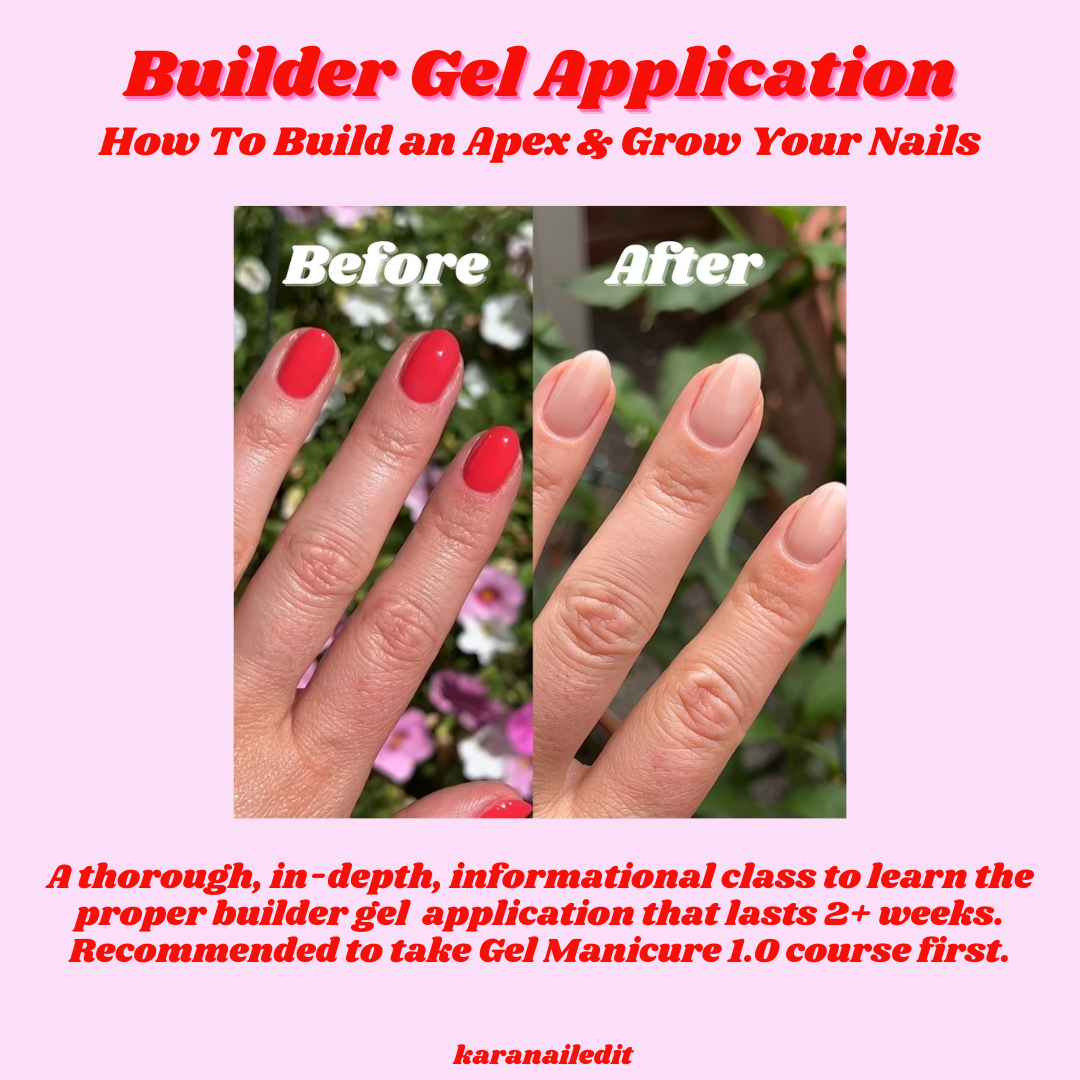
Alright, so I finally got around to doing a gel builder overlay on my natural nails today. It’s something I’ve been meaning to try for ages to give my nails a bit more strength, because honestly, they’ve been peeling like crazy lately. Here’s pretty much how it went down.
Getting Started: The Prep Work
First off, I had to get my nails completely clean. I removed the sad remnants of my last regular manicure. Then, I spent some time shaping them. I went for a sort of rounded square shape this time, just using my regular nail file. Nothing fancy.
Next came the cuticle work. I pushed them back gently – didn’t want to get too aggressive. After that, I lightly buffed the surface of my natural nails. Just enough to take the shine off, you know? The goal is to help the gel stick better. It feels wrong roughing them up, but gotta do it. Then I wiped all the dust off really well with some alcohol wipes. Can’t have any dust or oils messing things up.
Applying the Gel Builder
This was the part I was most focused on. I grabbed my gel builder – it’s a clear one. Before that, though, I applied a nail prep dehydrator, let it air dry for a sec, and then put on a layer of primer just on the natural nail. Again, letting that air dry completely. These steps are supposed to be super important for making it last.
Okay, builder time. I started with a really thin layer, kind of like a base coat, making sure to cover the whole nail but staying away from the skin. Cured that under my LED lamp for 60 seconds.
Then came the building part. I scooped up a bigger bead of the builder gel. Placed it sort of in the center of my nail, a bit away from the cuticle. Then I used my brush to gently guide it, kind of floating it over the nail to build up a nice shape – trying to get that little curve, the apex, for strength. This took some fiddling, honestly. The gel wants to level itself out, which is helpful, but you have to work kinda quick before it runs into the sidewalls. I did this nail by nail, curing each one immediately after I was happy with the shape. Sometimes I turned my finger upside down for a few seconds before curing to help gravity pull the gel into a nice apex shape. Cured each nail again, maybe a bit longer this time just to be sure.
Shaping and Finishing Up
Once all nails were built and cured, they had that sticky layer on top. I wiped that off thoroughly with an alcohol wipe. Then came more filing! I used a file to refine the shape and smooth out any lumps or bumps on the surface. Got the edges nice and crisp. After filing, I used a buffer to make the surface really smooth. Wiped off all the dust again – seriously, dust is the enemy.
Finally, the shiny part! I applied a thin layer of gel top coat over the builder gel. Made sure to cap the free edges to prevent chipping. Cured that for the final time, usually 60 seconds does the trick for my lamp.
Last step: wiped off the final sticky layer from the top coat (if it was the kind that has one) and then massaged some cuticle oil into the skin around my nails. They always look so thirsty after all that alcohol and filing.
And that was pretty much it! My nails feel way stronger now, which is exactly what I wanted. They look smooth and have a nice plumpness to them. It took a fair bit of time, especially getting the builder gel application smooth, but I’m happy with how they turned out for a home attempt. Definitely feels more protective than just regular polish.