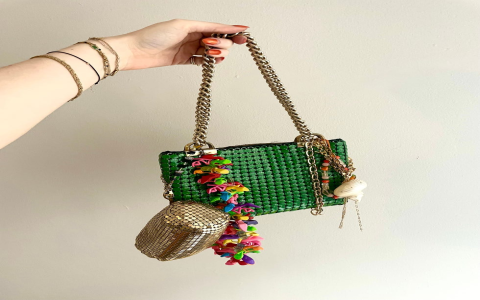
Alright, so check it out, I decided to spice up my old coach bag the other day. It was just sitting there, looking kinda plain, and I was like, “Nah, we gotta do something about this.”

First thing I did was dig through my stash of craft stuff. I had this chain lying around – nothing too fancy, just a basic metal chain I picked up at a craft store ages ago. I figured it would add some edge to the bag.
Then, I grabbed the bag and started playing around with where I wanted the chain to go. I didn’t want it dangling all over the place, but I wanted it noticeable. I decided to run it across the front, kinda diagonally.
Okay, here’s where it got a little tricky. I needed to figure out how to attach the chain without wrecking the bag. I didn’t want to sew it on directly, because that would be a pain if I ever wanted to remove it. Plus, the leather is kinda thick.
So, I opted for these little metal clasps I found. They’re like mini carabiners. I clipped them onto the chain at even intervals. Then, I carefully poked tiny holes in the bag (I know, risky move!) using a leather awl. Just big enough for the clasps to go through.
I threaded the clasps through the holes and secured them on the inside of the bag. I reinforced the inside with some heavy-duty fabric glue, just to make sure everything stayed put. I let it dry completely, like overnight, to be safe.

After it dried, I checked to make sure the chain was secure and wouldn’t snag on anything. And that was it! The bag looks way cooler now. It’s got this kinda rock-n-roll vibe that I’m really digging.
What I used:
- Old Coach bag (obviously)
- Metal chain
- Small metal clasps (like mini carabiners)
- Leather awl
- Heavy-duty fabric glue
Tips:
- Measure everything twice before you start poking holes. Seriously.
- Don’t use too much glue. A little goes a long way.
- Let it dry completely before you start using the bag. Patience is key!
Final Thoughts
Honestly, it was a pretty easy project, and it made a huge difference in the look of the bag. I’m already thinking about what I’m going to customize next! Maybe some studs or patches? Who knows!

