
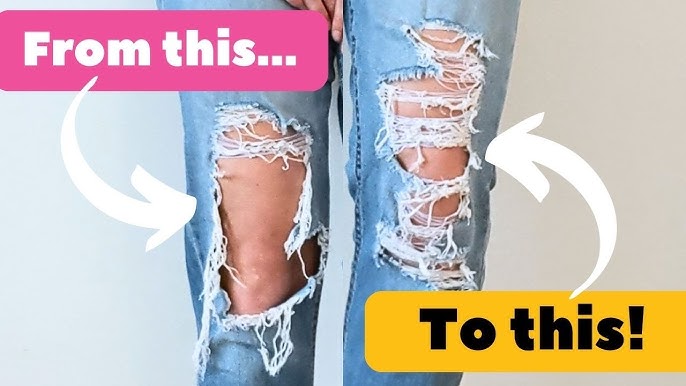
So, I’d been seeing these ripped jeans everywhere, you know? The ones that look like they’ve been through a warzone but cost a small fortune. I thought, no way am I paying that much. I’ve got perfectly good old jeans lying around, ones I don’t really wear anymore.
Getting Started with the Project
First thing, I dug out this pair of old blue jeans. They’ve been sitting in the back of my wardrobe for, well, ages. Still fit okay, but just a bit plain, you know? I figured, what’s the worst that could happen? If I completely messed them up, well, they weren’t getting much love anyway.
I didn’t go out and buy any fancy tools for this. Nosiree. I just grabbed a pair of pretty sharp kitchen scissors, a piece of sandpaper I found in the garage – the coarse stuff – and, believe it or not, a pair of tweezers from the bathroom cabinet. That was my entire toolkit. Pretty basic, eh?
Then, I actually put the jeans on. Stood in front of the mirror, bent my knees, squatted a bit, trying to see where the rips would look most natural, like where they’d wear out on their own. Made a few light marks with a chalk pencil I had lying around. The knees seemed like the obvious place to start.
The Actual Ripping Process
Okay, so then came the moment of truth. Making that first cut. Always a bit nerve-wracking, cutting into perfectly good fabric, even if it is old. I just went for it. Made a couple of horizontal slits across one knee, then the other. Not too big to start with.
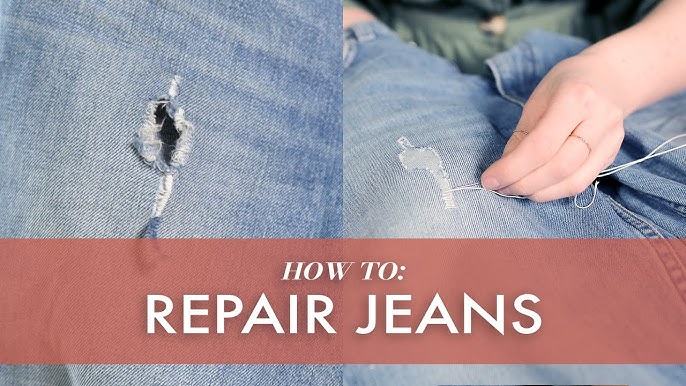
After making the initial cuts, I started messing with the threads. This is where the tweezers came in handy. You basically cut a few horizontal lines close to each other, and then you start picking out the vertical blue threads with the tweezers. It leaves behind the white horizontal threads. This part took ages, I’m not gonna lie. It was quite fiddly, pulling out thread by thread. My fingers got a bit sore, actually. I just sat there in front of the TV, pulling threads for what felt like hours.
Once I had some decent-looking frayed areas, I took the sandpaper. I rubbed it along the edges of the cuts I’d made to make them look more worn and soft. I also used it on other areas, like around the pocket edges and a bit on the thighs, just to give that overall distressed look. I might have gotten a bit overenthusiastic on one spot near the knee, and the hole ended up a little larger than I’d initially planned. Oops. But hey, it’s all part of the charm, right? Adds character.
When I thought I was done with all the cutting, plucking, and sanding, I threw the jeans into the washing machine and then the dryer. I read somewhere that this helps to fluff up the frayed edges and make the whole thing look a bit more natural and less, well, ‘just done’.
How They Turned Out
So, the big reveal. How did they look? Honestly, not too shabby! They definitely have that homemade vibe, they don’t look like they came straight off a high-fashion runway, but I actually quite like that. They’re unique to me.
It was pretty satisfying, doing it myself. Saved a few quid, which is always nice, and I’ve basically got a ‘new’ pair of trendy jeans. My daughter even said they looked pretty cool, so I guess that’s a seal of approval. It’s funny, isn’t it? Years ago, if your jeans were ripped, it meant you were poor or just couldn’t be bothered. Now, people pay top dollar for it. Times change, eh? But yeah, it was a fun little afternoon project. If you’ve got an old pair of jeans and a bit of patience, I’d say give it a go. Just remember to start small with the rips; you can always make them bigger, but you can’t really go back once you’ve cut too much.