")
So, I was staring at my closet the other day, right? Had this party coming up, and the theme was a bit spooky, but I wasn’t feeling the whole complicated costume thing. Honestly, I’m more of a last-minute person when it comes to these things. I remember last year, I tried to make this super elaborate vampire getup, spent ages on it, and then it was just uncomfortable all night. Never again, I told myself.
The Spark of an Idea
Anyway, I was thinking, what’s easy but still looks cool? I remembered seeing something ages ago about a simple skeleton look. And then it hit me – a skeleton, but like, it’s wearing clothes. Not just a skeleton print on clothes, but the illusion of bones underneath everyday stuff. It felt a bit more clever, you know? Plus, like the internet says, costumes don’t always have to be terrifying. Sometimes just fun is good enough, and I was aiming for that.
First thing, I needed some basic materials. I’m all about using what I’ve got, so I rummaged around for old t-shirts. Found a black one and a white one – perfect. You definitely need contrasting colors for this to pop.
Getting Started with the Bones
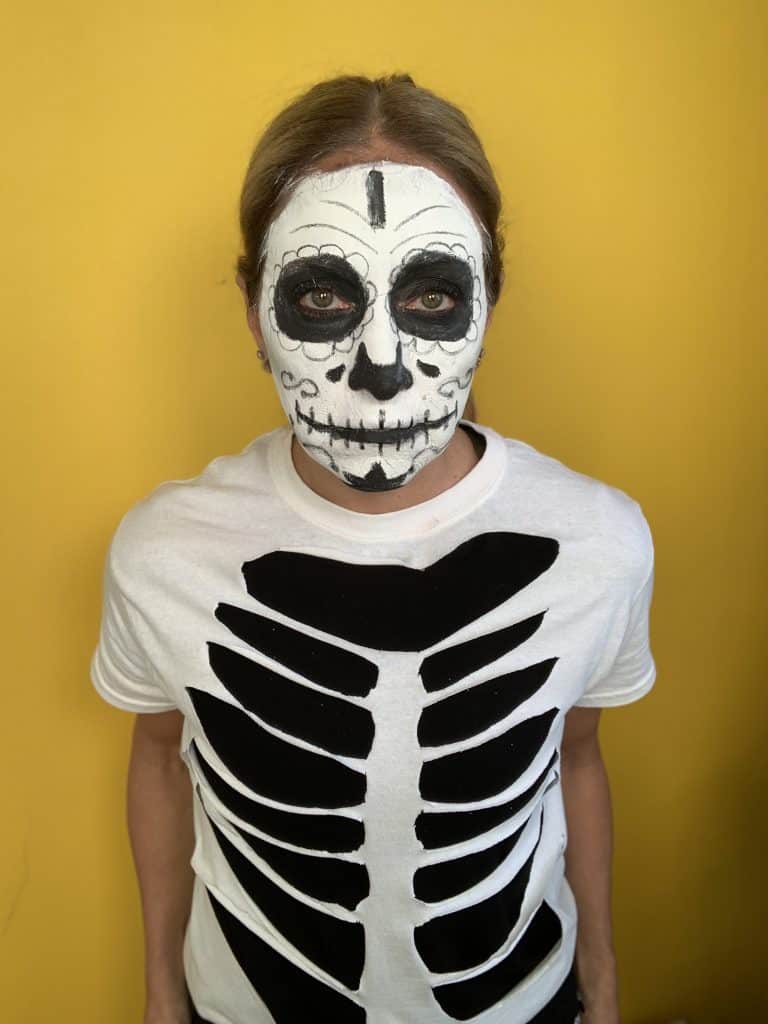
I grabbed the black t-shirt first. This was going to be my “bone” layer. I laid it flat and just sort of eyeballed where the rib cage would be. I wasn’t going for anatomical perfection here, just the general idea. I used some chalk I found in a drawer to sketch out some rib shapes. Nothing fancy, just some curved lines and ovals. Then, the scary part – cutting!
- I took some sharp fabric scissors. Seriously, sharp scissors make all the difference.
- Carefully, I started cutting out the shapes I drew. The chalk lines were a good guide.
- I made sure not to cut through the sides of the shirt, just the front panel where the ribs would show.
It was a bit fiddly, especially around the curves, but I took my time. The great thing is, it doesn’t have to be perfect. Jagged edges kind of add to the look, I think. Makes it a bit more rugged.
Putting It All Together
Once I had the “rib cage” cut out of the black shirt, the next step was super simple. I just pulled the white t-shirt on first. Then, I layered the black t-shirt, the one with the cutouts, right over the top of it. And bam! Instant skeleton illusion. The white fabric showing through the black cutouts looked just like bones.
To make it look like the skeleton was “in clothes,” I then threw on an old, unbuttoned flannel shirt over the whole thing. I made sure the “ribs” were peeking out from under the flannel. It gave that cool effect, like you’re seeing through the clothes to the bones underneath. I also paired it with some dark jeans. The key was to have the “bones” visible but partially obscured by the outer layer of clothing.
Finishing Touches (Optional)
I thought about doing some face paint, like a skull, but I was running short on time. Honestly, even without it, the effect was pretty good. The layered shirts did most of the heavy lifting. If you wanted to, you could totally do the same kind of cutting technique on the sleeves of a long-sleeved black shirt to make arm bones, and then wear a contrasting color underneath.
So yeah, that was my adventure in making a “skeleton in clothes.” It was way easier than my disastrous vampire attempt from the year before, and I was actually comfortable! Plus, it got a few good comments at the party. Sometimes the simple ideas are the best, right?
