I decided to tackle ribbed knitting yesterday because I kept messing up my sweater edges. Grabbed some leftover chunky yarn – the light blue one from my failed beanie project – and size 8 needles. Started with casting on 20 stitches like always.
The Confusion Phase
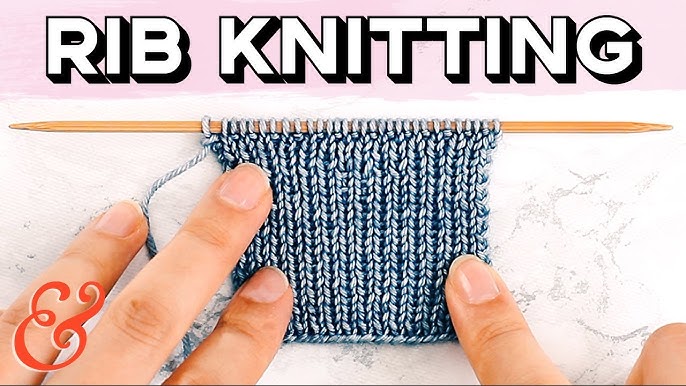
First row went totally sideways. Thought I remembered the pattern was just knit one, purl one. But when I flipped my work, the stitches looked like a toddler’s scribbles. My purls were too loose, knits too tight, and half the yarn slipped off the needle halfway through. Took a photo to zoom in and realized I’d twisted every other purl stitch backwards. Facepalm moment.
Picture Rescue Mission
Dug through my phone gallery for last year’s workshop pics. Found step-by-step shots showing how the yarn should loop front-to-back for purls. Propped the phone against my coffee mug like a mini monitor. Copied the hand positions exactly:
- Pointer finger tensioning yarn tighter for purls
- Needle tips touching like in pic #3
- Making tiny stitches instead of my usual long pulls
Took 15 minutes just to finish two rows. Slow but no more slipped stitches.
Lightbulb Moment
Around row six, something clicked. Didn’t need to check pictures anymore. My hands finally got the rhythm: knit under, purl over, repeat. The bumpy texture started looking uniform. Got cocky and sped up – instantly dropped three stitches. Had to backtrack with a crochet hook (always keep one nearby!).
By row fifteen, I made a proper stretchy ribbed band! Pinched it to show the bounce in photos. Still has one wonky section where I purled twice by accident, but it’s my first legit ribbing that actually looks like the tutorial pictures. Next attempt: no coffee distractions.