
Okay, let me tell you about this little project I did, building a sort of ‘metronome watch’.
The Idea
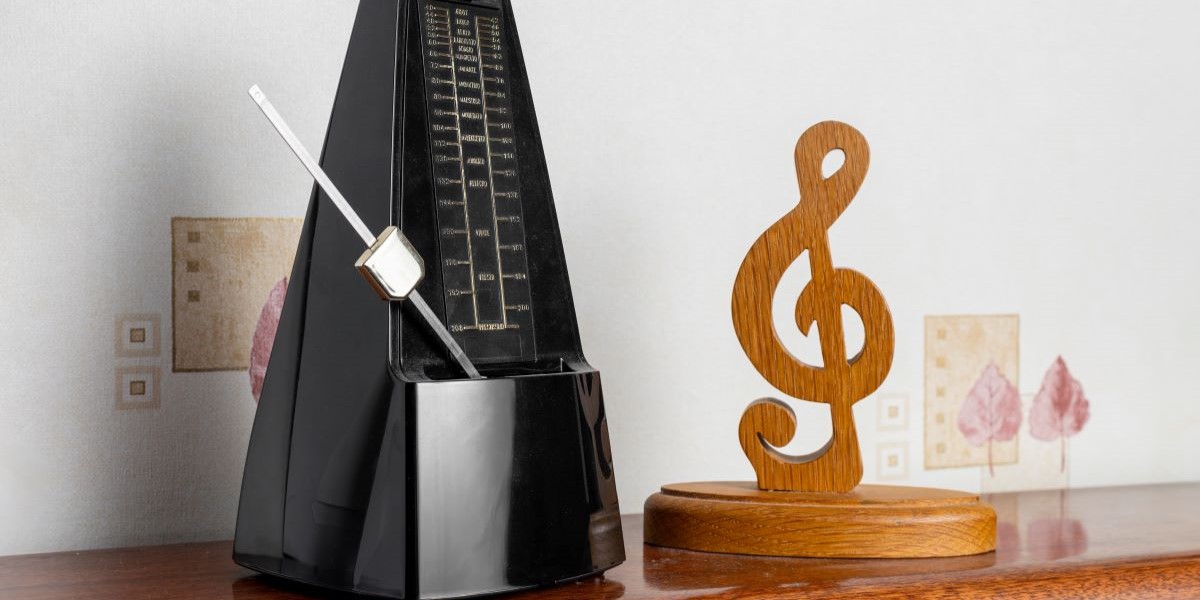
So, I play a bit of music, you know, just for fun. And keeping time is always a thing. I have metronome apps on my phone, sure, but sometimes I just want something on me, something I can feel, especially when I’m trying to be quiet. A ticking metronome can be annoying, and looking at a blinking light isn’t always practical. I thought, wouldn’t it be neat to have a simple vibrating metronome right on my wrist? Like a watch, but just for tempo. So, I figured, why not try and build one myself?
Getting the Bits and Pieces
First thing, I needed the brain. I grabbed a small microcontroller, something like an Arduino Nano or maybe one of those tiny ESP boards, I forget which one I settled on first. Small was key. Then, I needed a way to feel the beat, so I looked for tiny vibration motors, the kind they put in phones. Found some cheap ones online. For setting the tempo, I thought maybe a couple of simple push buttons – one for speeding up, one for slowing down. And of course, a small battery to power the whole thing, probably a little LiPo battery. Oh, and a way to maybe see the tempo, so a really basic, small OLED screen seemed like a good idea. Lastly, I needed a strap. Found a simple nylon watch strap online.
Putting it Together (The Messy Part)
Alright, so the parts arrived. I didn’t try to make it look like a watch straight away. I got out my breadboard and jumper wires. First goal: make the microcontroller blink an LED at a set rate. That was easy enough, plenty of examples online for that basic stuff. Then, I hooked up the vibration motor. Getting that to pulse correctly took a bit more fiddling. These tiny motors need a little kick, so I had to use a transistor to switch it on and off properly from the microcontroller pin. Took some trial and error to get a distinct pulse instead of just a weak buzz.
Next up were the buttons. Hooked them up to input pins on the microcontroller. Wrote some simple code to check if a button was pressed. If the ‘up’ button was pressed, increase the tempo variable; if the ‘down’ button was pressed, decrease it. I also added some limits so it wouldn’t go crazy fast or super slow.
Then came the screen. These tiny OLEDs usually use I2C, which sounds complicated but really just means connecting two wires (plus power and ground). Found a library to make drawing stuff on the screen easier. Got it to display the current tempo (beats per minute, BPM) as a number. So now, when I pressed the buttons, the number on the screen changed, and the vibration pulse speed changed too. Progress!
Making it Wearable-ish
Okay, the breadboard setup worked, but it was a mess of wires. Not exactly wearable. This was the tricky part. I needed to get everything off the breadboard and connected permanently, and somehow stuffed into a small package. I ended up soldering the components directly to a small piece of perfboard. It was fiddly work, especially keeping everything compact. I connected the battery (carefully!) and added a small switch to turn it on and off.
For the ‘case’, I didn’t get fancy. I actually designed a very simple enclosure in TinkerCAD, basically just a tiny box with cutouts for the screen and buttons, and loops for the watch strap. I have a small 3D printer, so I printed it out. It wasn’t pretty, took a couple of tries to get the dimensions right so everything fit snugly, but it worked.
I carefully tucked the perfboard with the microcontroller, motor, screen, and battery into the 3D printed case. Snapped the lid on. Threaded the nylon strap through the loops. It looked… homemade. Definitely homemade. But it was a self-contained unit!
Testing and Fixing
Time to try it out properly. I put it on my wrist. Turned it on. Set a tempo using the buttons. The little motor buzzed away against my skin. Cool! I used a metronome app on my phone to check the accuracy. It was… close. Not perfect. The timing drifted slightly, especially at faster tempos.
So, back to the code. I had to tweak the timing loops. Instead of simple delays, I started using the microcontroller’s internal timer functions more precisely. This made a big difference. It wasn’t studio-grade accurate, probably, but for practice, it felt much more stable. I also realized the vibration was a bit weak sometimes, depending on how tight the strap was. Didn’t really fix that, just learned to wear it snug.

The Result?
So, what I ended up with is this chunky, 3D-printed thing on a watch strap. It’s got two buttons on the side, a tiny screen showing the BPM, and it vibrates on my wrist to the beat. It’s definitely not something you’d buy in a store. The battery lasts a few hours, maybe more, I haven’t timed it exactly. Charging involves opening the case and connecting the LiPo charger, which is a bit clunky.
Here’s the lowdown:
- It works: It does the basic job I wanted – provides a tactile metronome beat on my wrist.
- It’s custom: I built it exactly how I needed it (well, mostly).
- It was fun: The process of figuring things out, hitting dead ends, soldering tiny things, and finally getting it to work was really satisfying.
It’s not the prettiest gadget, and the battery situation could be better, but I made it! It’s a functional little metronome watch, born out of a simple idea and a bit of tinkering. Pretty happy with how this little project turned out.