
Okay, so I was messing around the other day and really needed this specific image: a left black croc, and the kicker was it absolutely had to have a transparent background. You know how it is, sometimes you just get an idea and you gotta see it through, or maybe it was for a little project, can’t quite recall which. It just popped into my head that this was exactly what I needed.

First things first, I had to actually get a picture of a croc. I hopped online, probably just typed in “black croc shoe” or something super simple like that into a search engine. Man, you get a ton of results, but finding a good, clear one, specifically showing the left shoe, and not at some weird, artsy angle? That took a bit of scrolling, let me tell you. Some were blurry, some had crazy busy backgrounds already, which I knew would just make my future job harder. Eventually, after a bit of digital digging, I found one that looked promising enough. Not perfect, but workable. So, I downloaded it to my computer.
Then, I opened it up in my trusty old image editor. You know, the one I always use for these kinds of quick jobs, nothing too fancy. I stared at it for a second. The background wasn’t super complicated, thankfully, but it was definitely there, all solid and very much not transparent. And I needed it gone. Vanished. Poof.
So, I got to work. This is where the real effort, or sometimes the real headache, begins. I started by trying to select just the croc itself. My go-to for a first attempt is usually one of those quick selection tools, to see if it can magically figure out the edges. It did an okay job, surprisingly, but you know how those rubbery croc edges are, especially with all those little holes? Yeah, it wasn’t a perfect one-click solution. I had to zoom way in, really get close, and then meticulously add a bit to the selection here, remove a tiny bit there. I probably spent a good chunk of time just on that, refining the selection. I wanted it clean, you know? No fuzzy bits of the old background clinging on for dear life. Once I was reasonably happy that the selection was tight around the croc, I think I inverted the selection to grab the background, and then just hit delete. Sometimes I use a layer mask, which is probably the ‘proper’ way, but for quick stuff like this, if the selection is good, delete works fine. Made sure the layer was actually capable of transparency, of course – that’s a basic step you can’t forget.
Then I had to double-check a couple of things. Was it actually the left shoe? The filename didn’t say, and honestly, after staring at it for a while, sometimes your eyes play tricks on you. I looked at it carefully. Yep, seemed like the left one. If it hadn’t been, I would’ve just flipped it horizontally. That’s usually a super easy command in most editors. And the black color? The original image was pretty black, but I remember I might have tweaked the levels or brightness/contrast just a tiny bit. I wanted it to be a really solid, deep black, not a washed-out greyish black, and to make sure no weird reflections were making it look off.
Finally, the moment of truth: saving it. This is crucial for transparent backgrounds. I had to make absolutely sure I saved it as a PNG file. If you save it as a JPG, all that hard work making the background transparent goes down the drain, because JPGs don’t support transparency. You just end up with a solid white or black background again. No good. So, PNG it was, with transparency checked.
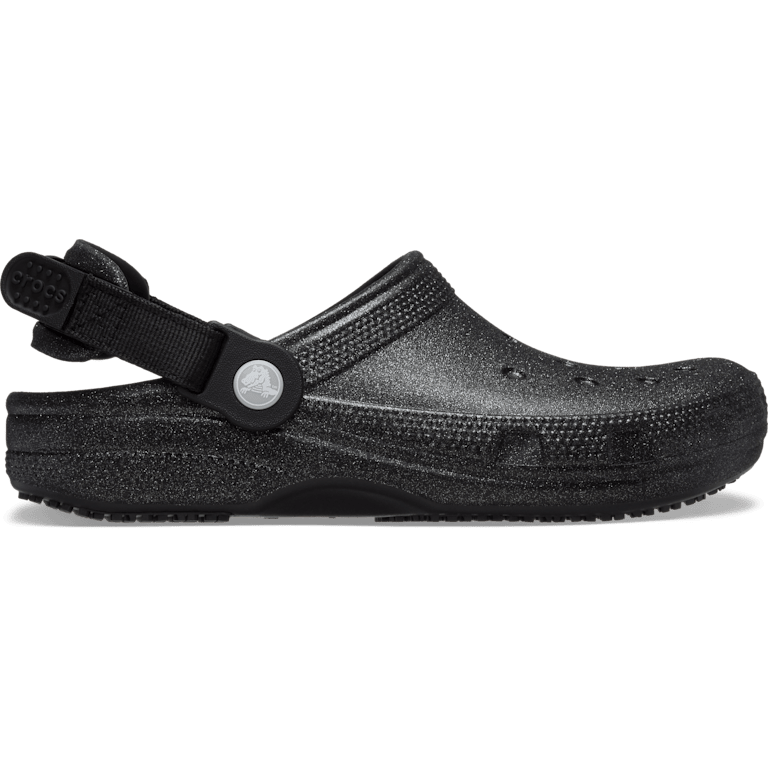
And that was pretty much it. I stood back (metaphorically, of course, I was just sitting at my desk) and looked at my shiny new “left black croc transparent background” image file. Not bad, if I do say so myself. It was ready for whatever grand plan I had conjured up for it. Sometimes these little image editing tasks take more patience than you’d initially think, especially getting those selections just right, but getting it done and looking good is always pretty satisfying.