Okay, so I’ve always been a huge fan of Emma Watson, not just for her acting, but also for her ever-evolving style. Her hairstyles, in particular, are always so chic and inspiring. So, I decided to do a little deep dive and try out some of her most iconic looks myself. It was a bit of a journey, let me tell you!
The Pixie Cut Experiment
First up, I tackled the big one – the pixie cut. Now, I’ve never had hair that short before, so this was a HUGE step. I spent hours scrolling through pictures of Emma’s various pixie phases, from the super short, almost boyish cut to the slightly longer, more textured versions.
I finally took the plunge and booked an appointment with my hairdresser. I showed her a bunch of photos, and we talked about what would work best with my face shape and hair texture. I was nervous, I’m not gonna lie, but also super excited.
The actual cutting process was surprisingly quick. Snip, snip, snip, and chunks of my hair were falling to the floor. It felt…weird. But also kind of liberating? When she was done, I looked in the mirror and…wow. It was definitely a shock, but I actually loved it! It felt so fresh and modern.
- Styling the Pixie: I quickly learned that styling a pixie cut requires some effort. I experimented with different products:
- Texturizing cream: This was great for creating a slightly messy, “I woke up like this” look.
- Pomade: Perfect for adding definition and shine, especially for a more polished look.
- Hairspray: for hold.
It took a bit of trial and error to figure out what worked best, but I eventually got the hang of it.
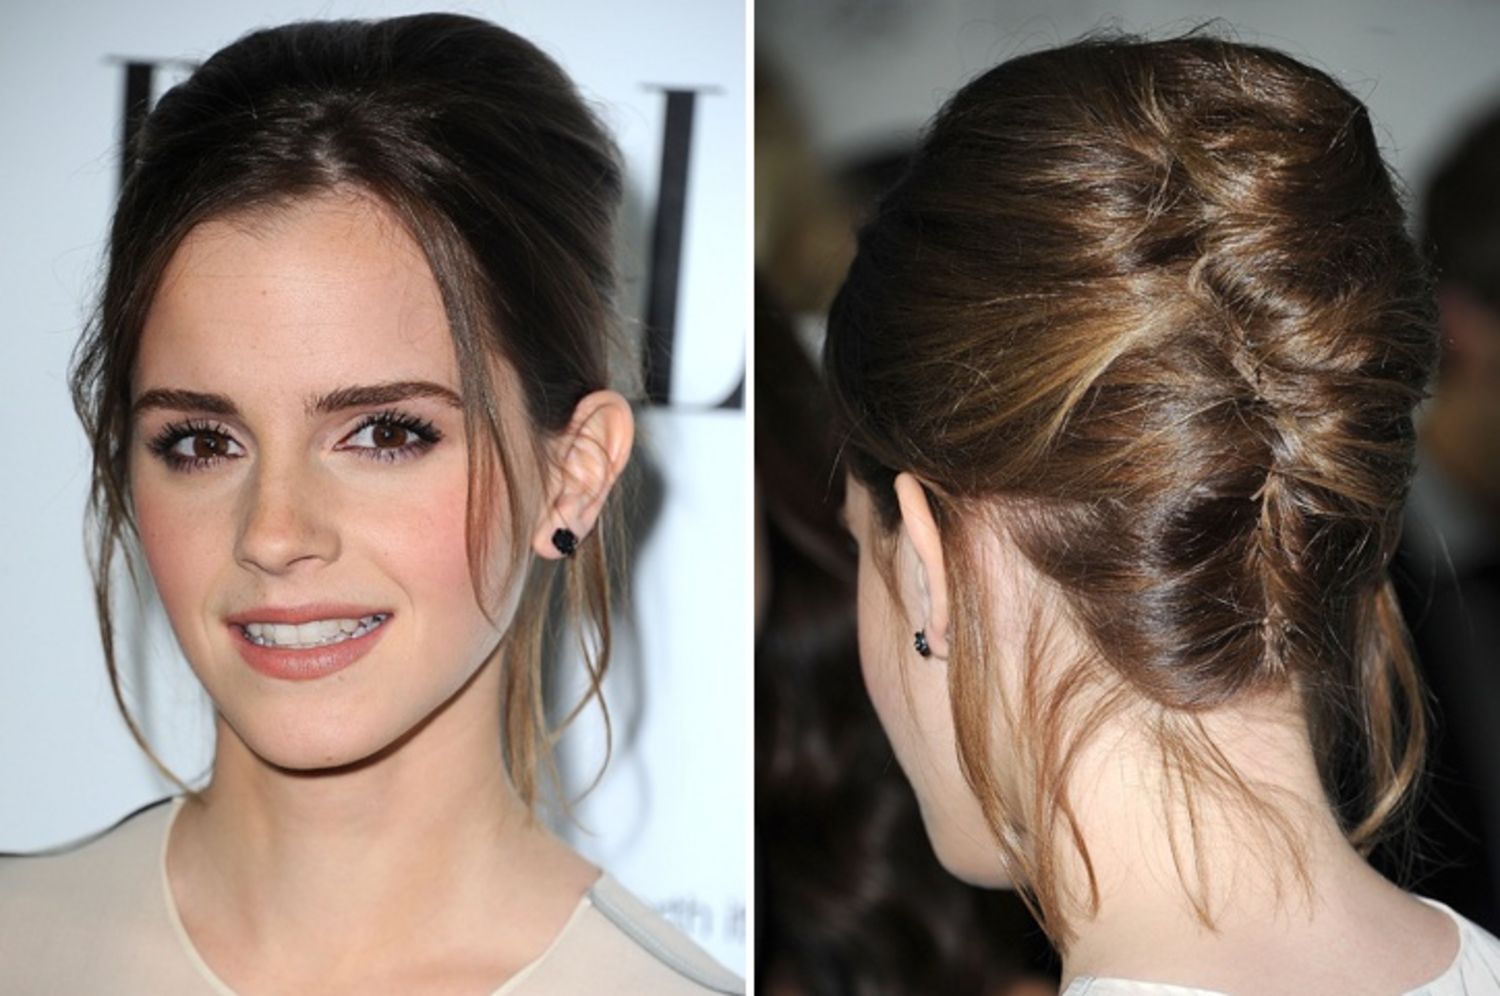
The “Sleek and Straight” Phase
Next, I wanted to try recreating Emma’s signature sleek and straight look. This seemed a lot easier than the pixie cut, but it still presented some challenges.
My hair is naturally wavy, so getting it perfectly straight requires some serious heat styling. I invested in a good quality straightener and some heat protectant spray (very important!).
The process involved:
- Blow-drying my hair straight, using a round brush to create volume at the roots.
- Sectioning my hair and carefully straightening each section, making sure to get it super smooth.
- Finishing with a shine serum to add extra gloss and tame any flyaways.
It took a while, but the end result was pretty good! I felt very sophisticated and put-together. It’s definitely a look I’d wear for a special occasion.
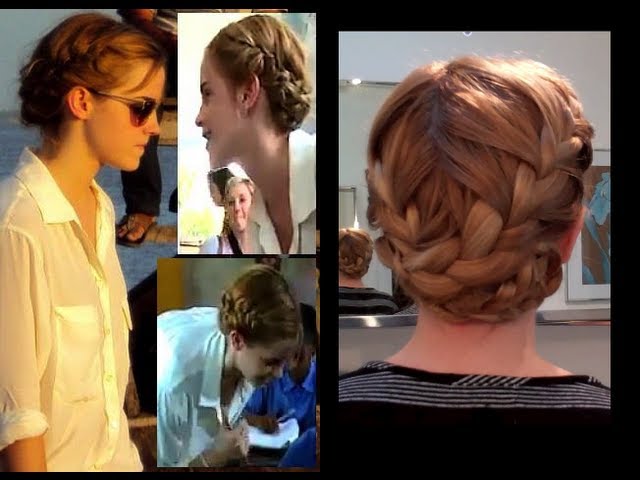
Braids and Updos
Emma has also rocked some amazing braided hairstyles and updos over the years. I’m not the most skilled braider, but I gave it my best shot.
I started with a simple French braid, following a YouTube tutorial (thank goodness for those!). It was…a bit messy, to say the least. My arms got tired, and the braid ended up looking a bit lopsided. But hey, practice makes perfect, right?

I also tried a few different updos, like a messy bun and a sleek chignon. These were a bit easier to manage, and I found that bobby pins are my best friend! A little bit of hairspray helped to keep everything in place.
The Final Verdict
Overall, this whole Emma Watson hairstyle experiment was a lot of fun! It pushed me out of my comfort zone and helped me discover some new styles that I actually really like. I may not have mastered every single look, but I definitely learned a lot along the way. And who knows, maybe I’ll even keep the pixie cut for a while! It’s surprisingly versatile.