My Messy First Attempt at Window Bears
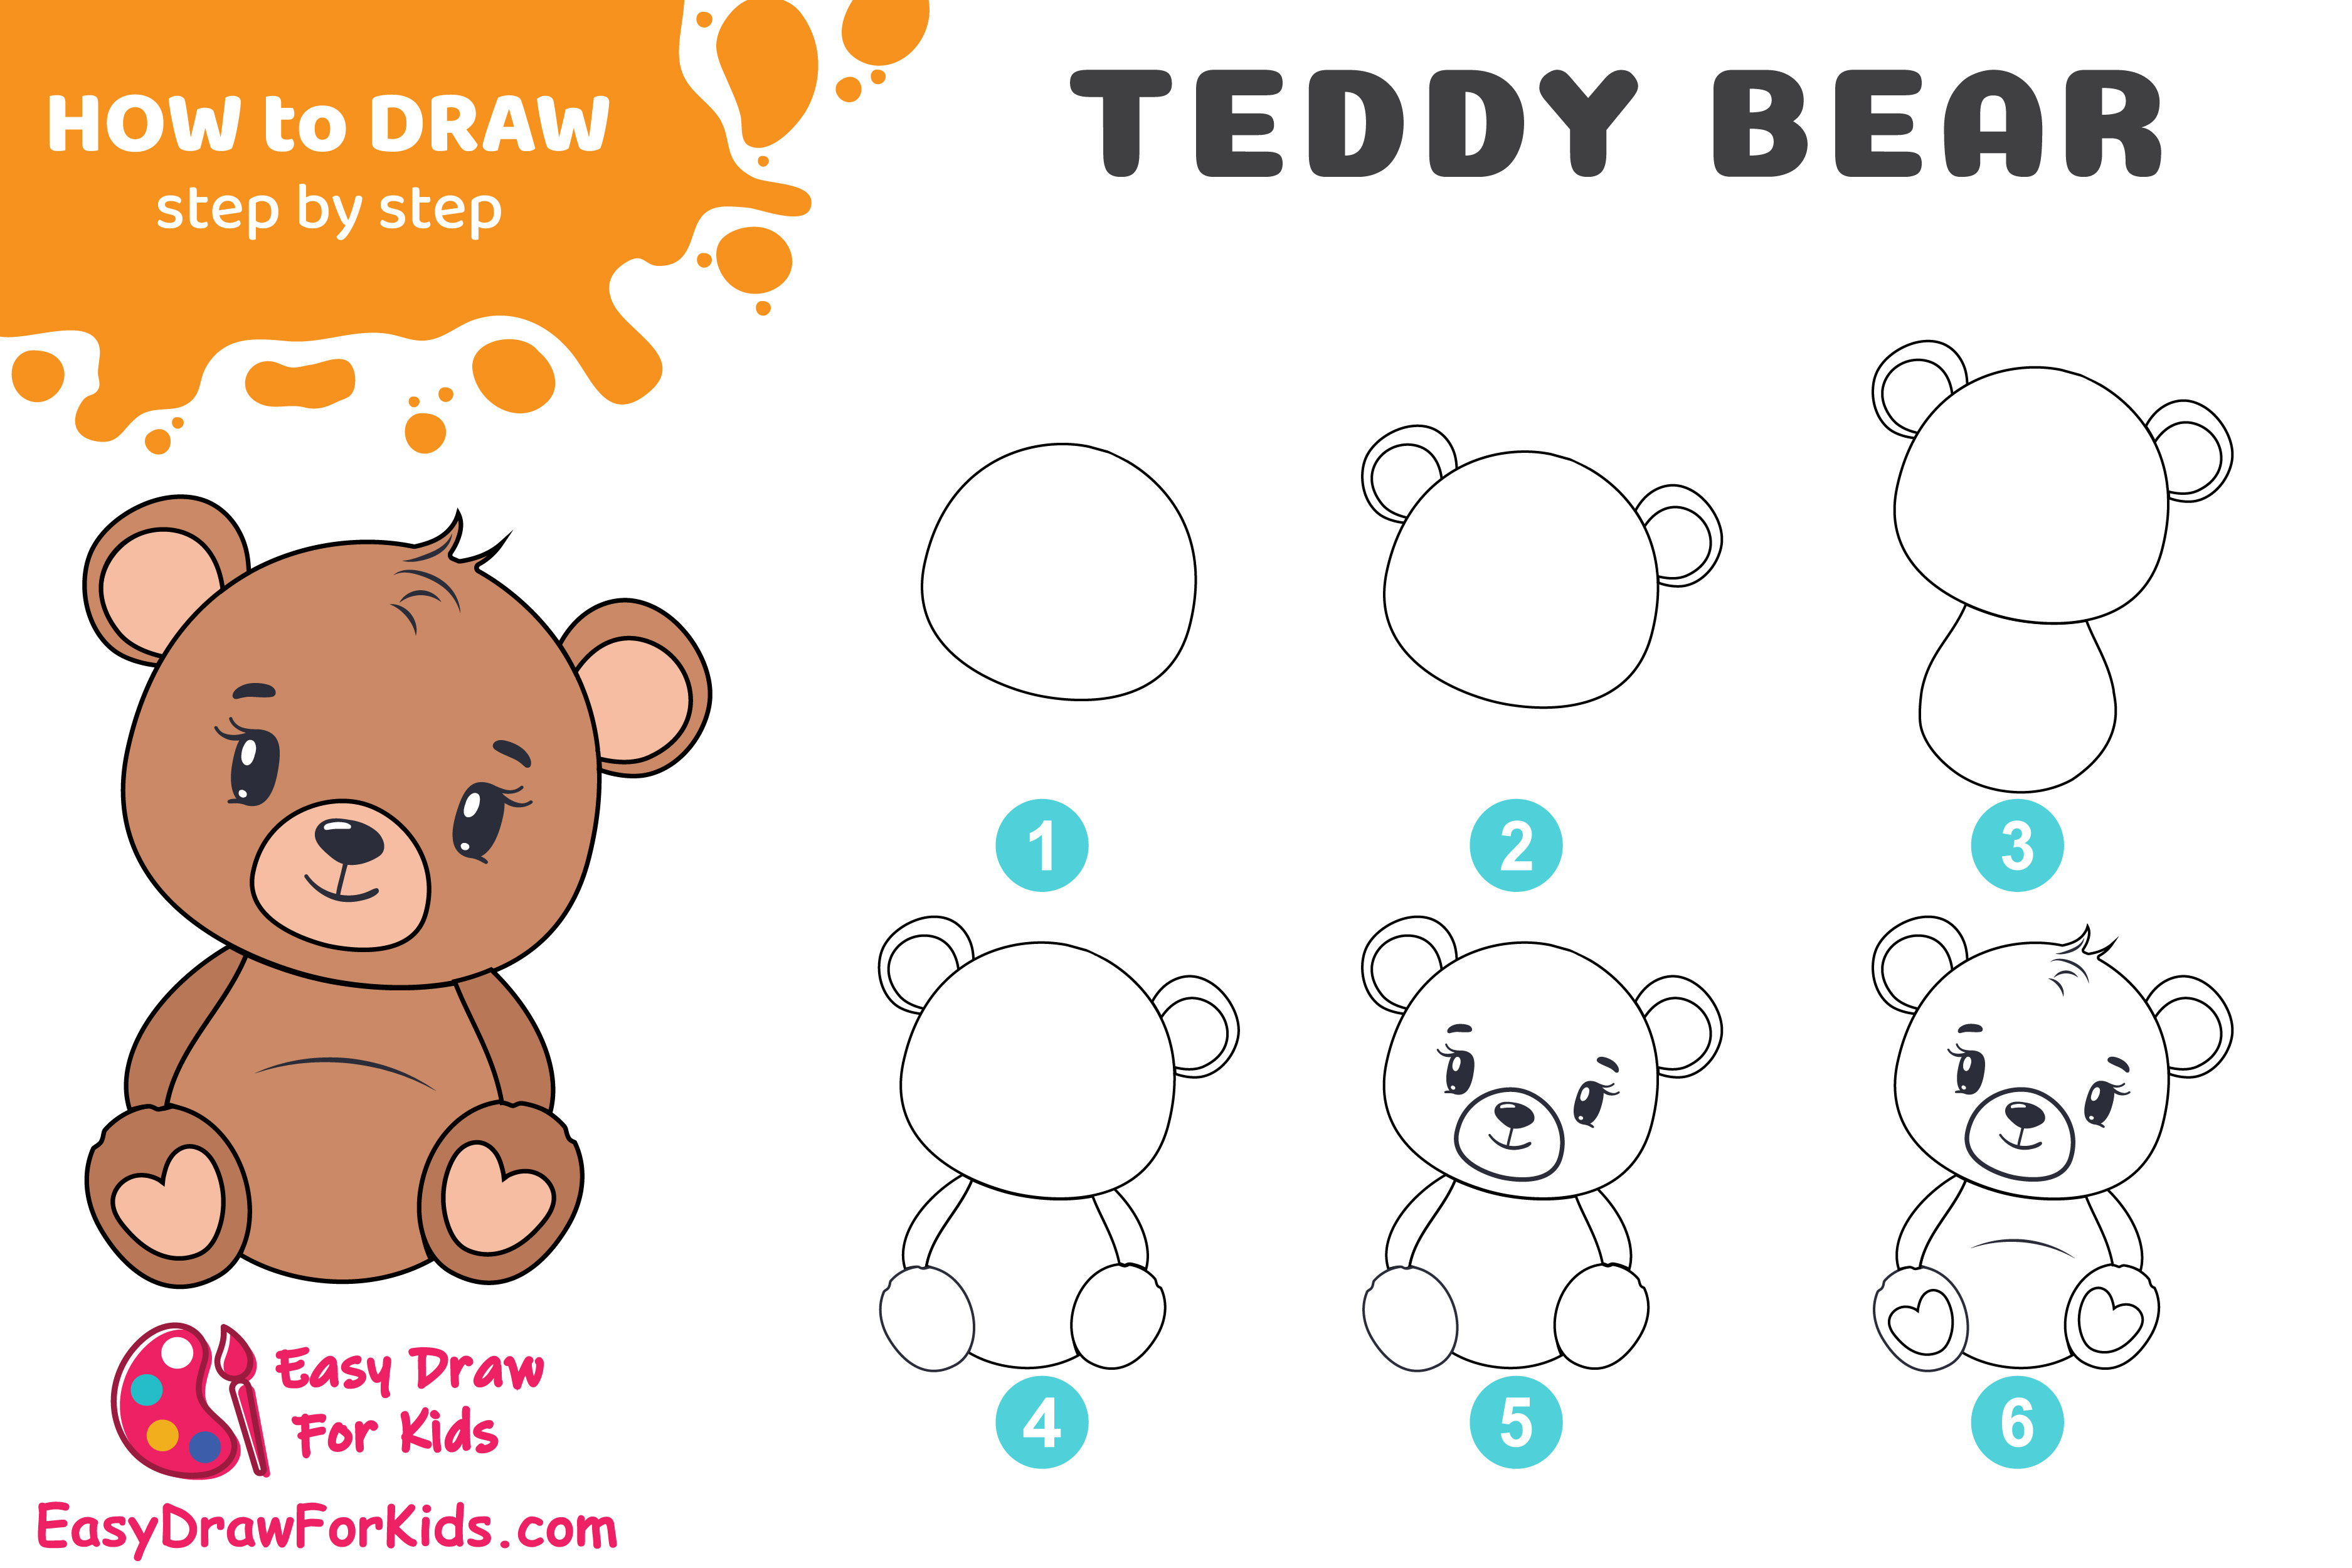
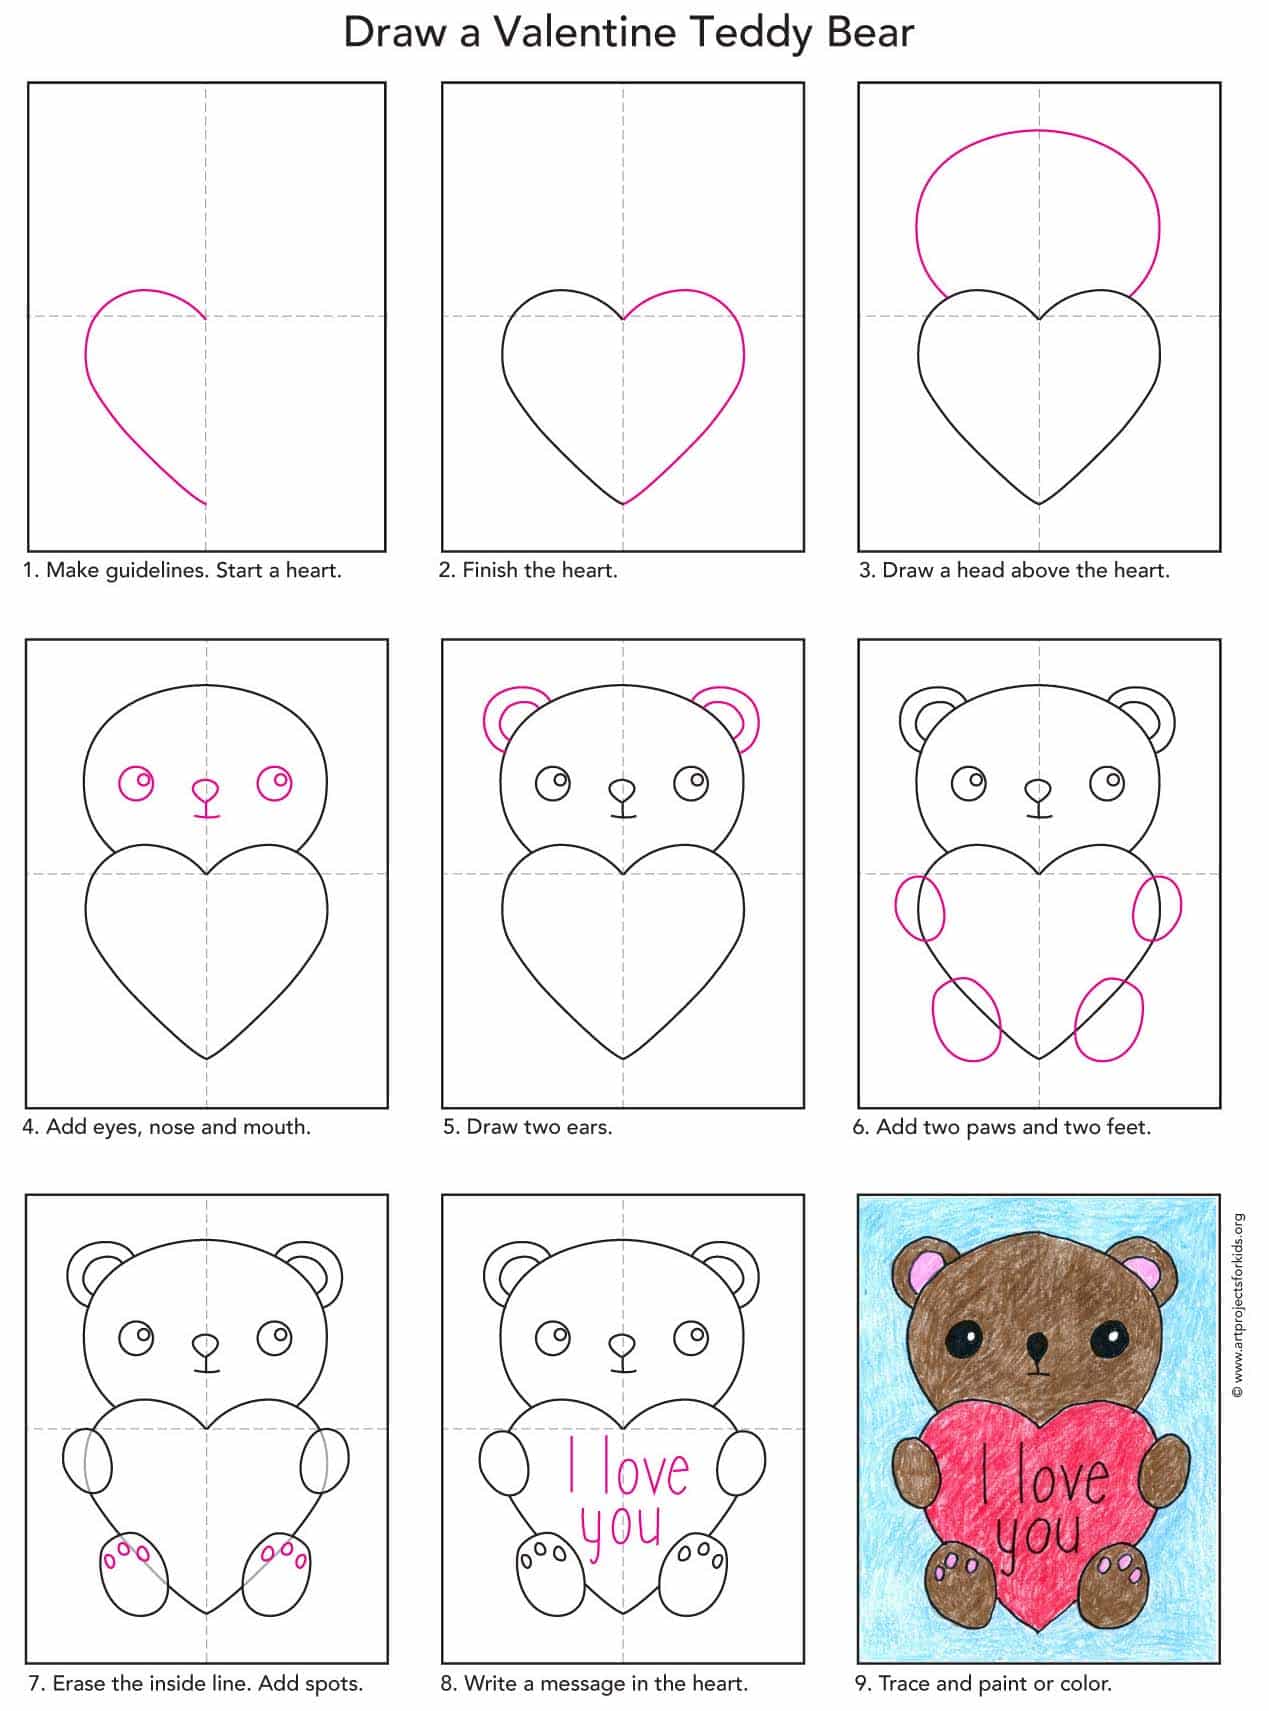
Was scrolling TikTok late last night, half-asleep, and saw this adorable cartoon bear plastered on someone’s window. Looked easy enough, right? “5 simple steps for beginners” – the title practically dared me. So yeah, got my hands dirty this morning. Here’s how it actually went down.

Step 1: Gathering the Junk
Dragged myself to the craft bin I swore I organized last month. Spoiler: it was chaos. Dug out:
- A roll of clear contact paper (bought years ago for shelf lining? Who knows).
- Black permanent markers – found three, only one worked, obviously.
- Scissors that felt duller than my motivation after coffee number one.
- Rubbing alcohol and a sad paper towel scrap to “clean” the window.
Couldn’t find tape anywhere. Used leftover gift-wrapping ribbon. Classy.
Step 2: The “Simple” Outline

Cleaned a small patch of my living room window. Smudged it worse with the dry part of the towel. Gave up. Stuck the contact paper sticky-side UP onto the window, like the video said. Pulled out the one working marker. My brain said “cute cartoon bear,” my hand drew… blobs. Settled for a head outline. Ears looked like cooked noodles. Forgot the muzzle entirely. Sharpied over my mistakes until it vaguely resembled a bear head. Kinda.
Step 3: Cutting Like a Kindergartener
Peeled the contact paper off the window (nearly tore it). Stuck it onto my coffee table – sticky-side down this time? So confusing. Grabbed the rusty scissors. Started cutting my wobbly bear outline. Fingers stuck together. Made jagged cuts near the ears. Got marker smudges everywhere. Was sweating. Pretty sure I cut one ear smaller than the other. Looks like my bear had a close encounter with a lawnmower.

Step 4: The Sticky Situation
Peeled the backing off my cutout. It immediately folded onto itself like clingy plastic wrap. Spent five minutes prying it apart with the scissors point. Finally smoothed it onto the window. Full of air bubbles. Tried squeezing them out, just smeared the marker ink inside the bubbles. Now my bear looks like it has weird acne. Couldn’t get the ears flat. Corners kept popping up. Used that stupid ribbon like tape to hold ’em down. Looks slightly more like a bear bandage now.
Step 5: Standing Back to Judge
Took three steps back. My DIY bear? Looks like a sad, lopsided panda someone forgot to feed. You can totally see the bubbly zits and ribbon “fixes.” But you know what? From the sidewalk… it’s definitely a bear. Or at least a weird hamster. Point is, I made it myself without burning the house down.
Final Thoughts (Sweat Included)
Beginner project? Hah! Maybe if your grandma helps. Contact paper is Satan’s cling film. Permanent markers smell worse than my neighbor’s cat box. Cutting curves? Don’t even start. But honestly? It was kinda fun messing up. Feels like a weird little trophy on my window now. Next time maybe I’ll try… a circle. Circles seem easier. Or maybe just give up and buy stickers. Huge victory today: didn’t glue myself to the window.

