
So, I’d been mulling over the idea of creating a new plush toy for a good while. My trusty old desk companion, a little critter I’ve had for ages, was starting to look a bit, shall we say, overly cherished. And you know how it is, you see all these cool custom plushies online, and that DIY itch just starts nagging at you.

I didn’t just want any standard plush, though. I was aiming for something with a real visual kick, something that looked super vibrant and, well, brand spanking new. That’s when I got this notion of using techniques that would make the design appear like fresh ink, really sharp and bold.
Getting the Gear Together
First off, I had to sort out this whole “fresh ink” concept. I wasn’t planning on actually tattooing fabric, that’s for sure. After a bit of poking around online, I found these fabric markers that claimed to deliver incredibly vivid colors, almost like drawing with proper liquid ink. Some folks were also chatting about simple DIY methods for printing designs onto fabric at home. I decided to start with the markers; it seemed like the less complicated route for a first attempt.
So, I went ahead and ordered a set. And, naturally, I needed some plain, light-colored fabric. I figured cotton would probably take the ink best. Plus, the usual suspects for plush-making:
- Needles and thread (my sewing prowess is, let’s just say, rudimentary)
- Plenty of stuffing
- A decent pair of fabric scissors
Let me tell you, finding good quality plain fabric that wasn’t outrageously priced turned into a bit of an expedition. It took a few visits to various shops before I found what I needed.
The Moment of Truth: Inking the Fabric
Alright, so the fancy markers finally showed up. They looked quite professional, I must admit. I grabbed a spare piece of that cotton fabric I’d bought. You’ve got to test these things, haven’t you? The last thing I wanted was to mess up the main piece right from the get-go. And it was a good job I did test it!
On my first try, the ink bled a bit more than I was happy with. It wasn’t quite giving me that super crisp “fresh ink” effect I had in my head. More like slightly smudged ink. I reckoned I was either pressing down too hard, or maybe the fabric was a tad too thin despite my efforts to choose carefully. So, I had another go, much lighter touch this time. Bingo! Way better. It still wasn’t like something off a laser printer, but it had that handmade, vibrant feel I was aiming for. It looked, well, genuinely inked.
Then came the task of drawing the actual design. I’m no Picasso, but I had a fairly simple, kind of geometric pattern in mind. I sketched it out lightly with a pencil first – a little trick I picked up from somewhere. Then, ever so slowly and carefully, I went over the lines with those “fresh ink” markers. I think I was holding my breath for half of it, no joke. One wrong move and, well, disaster.
From Flat Ink to Puffy Friend
Once the ink was completely dry – and I gave it a generous amount of time, trust me – it was time to actually construct the plush. This is where my patience (and my sewing abilities) really faced a trial. I cut out two pieces of the inked fabric, making sure the designs were facing inwards. Pinned them all together. So far, so good, I thought.
Then came the sewing. Oh, the sewing. I used my ancient sewing machine for the main seams, which protested a bit but eventually got the job done. But for the more intricate parts? That was all hand sewing. My stitches are not going to be winning any competitions, let’s put it that way. It was a slow, painstaking process. Lots of re-threading the needle. And yes, I definitely pricked my fingers a few times. Pretty standard for me when I get near a needle.
Leaving a small opening, I carefully turned it right side out. The big reveal! The inked design actually looked pretty neat. The colors were still holding up, nice and bright. Then came the stuffing. I probably went a bit overboard with it, as I wanted it to be nice and firm. Stitching up that final little hole as neatly as possible was another mini-adventure in itself. Let’s just say it has a unique, handmade character.
So, How’d My Fresh Ink Plush Turn Out?
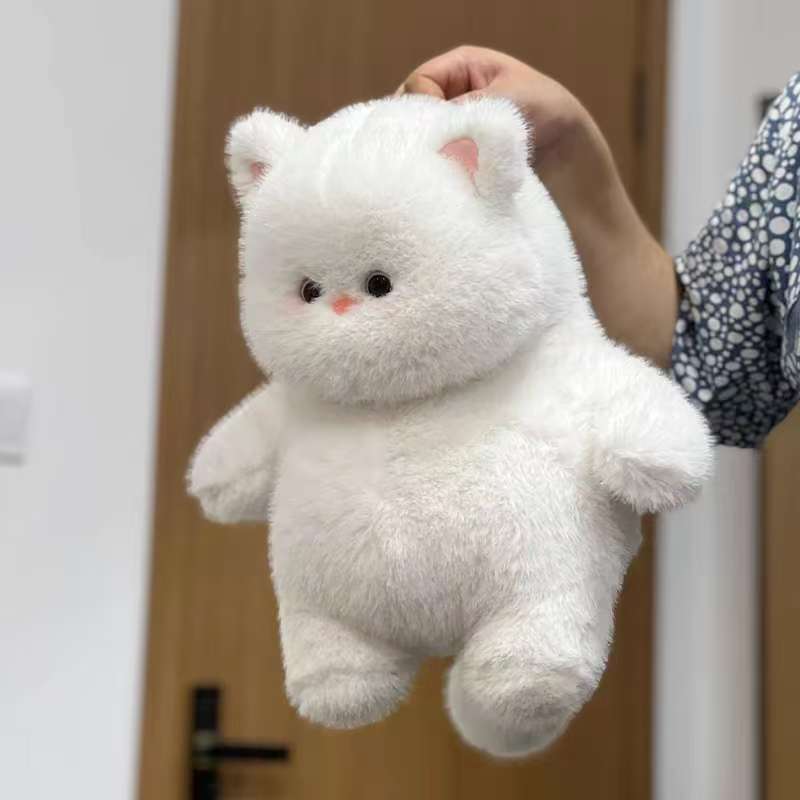
And there it was. My very own “fresh ink” plush. It’s not flawless, not by any stretch of the imagination. The shape is a little… unconventional. And if you inspect it closely, some of my stitches are a bit on the wild side. But you know what? I made it myself. The colors from those special markers really do stand out; they give it that lively, freshly-created look I was hoping for.
This whole endeavor was definitely a big learning curve. Those “fresh ink” markers are pretty cool, but you absolutely have to be patient with them and do your test runs first. And as for sewing? Well, let’s just say I’m still on a journey with that skill. But it was enjoyable, in a sort of challenging, problem-solving kind of way. It’s got that undeniable handmade charm, and frankly, it looks a whole lot more interesting than anything I could have just picked up from a store.
Would I tackle something like this again? Yeah, I reckon I would. Perhaps I’ll try a different design, or be brave enough to attempt a more complicated shape next time. For now, my new plush is sitting proudly on my desk, looking all bright and inky. It’s a good little reminder that sometimes, just diving in and giving something new a shot is worth all the effort, even if you’re just kind of winging it as you go along.