You know, it all started because I was just sick and tired of those little bottles of antibacterial gel disappearing into the black hole of my bag. Or worse, leaking. What a mess. Every time I actually needed it, especially when I was out doing my weekly grocery run during that whole crazy period a while back, it was a whole production to dig it out. Seemed like such a simple problem, but it drove me nuts.

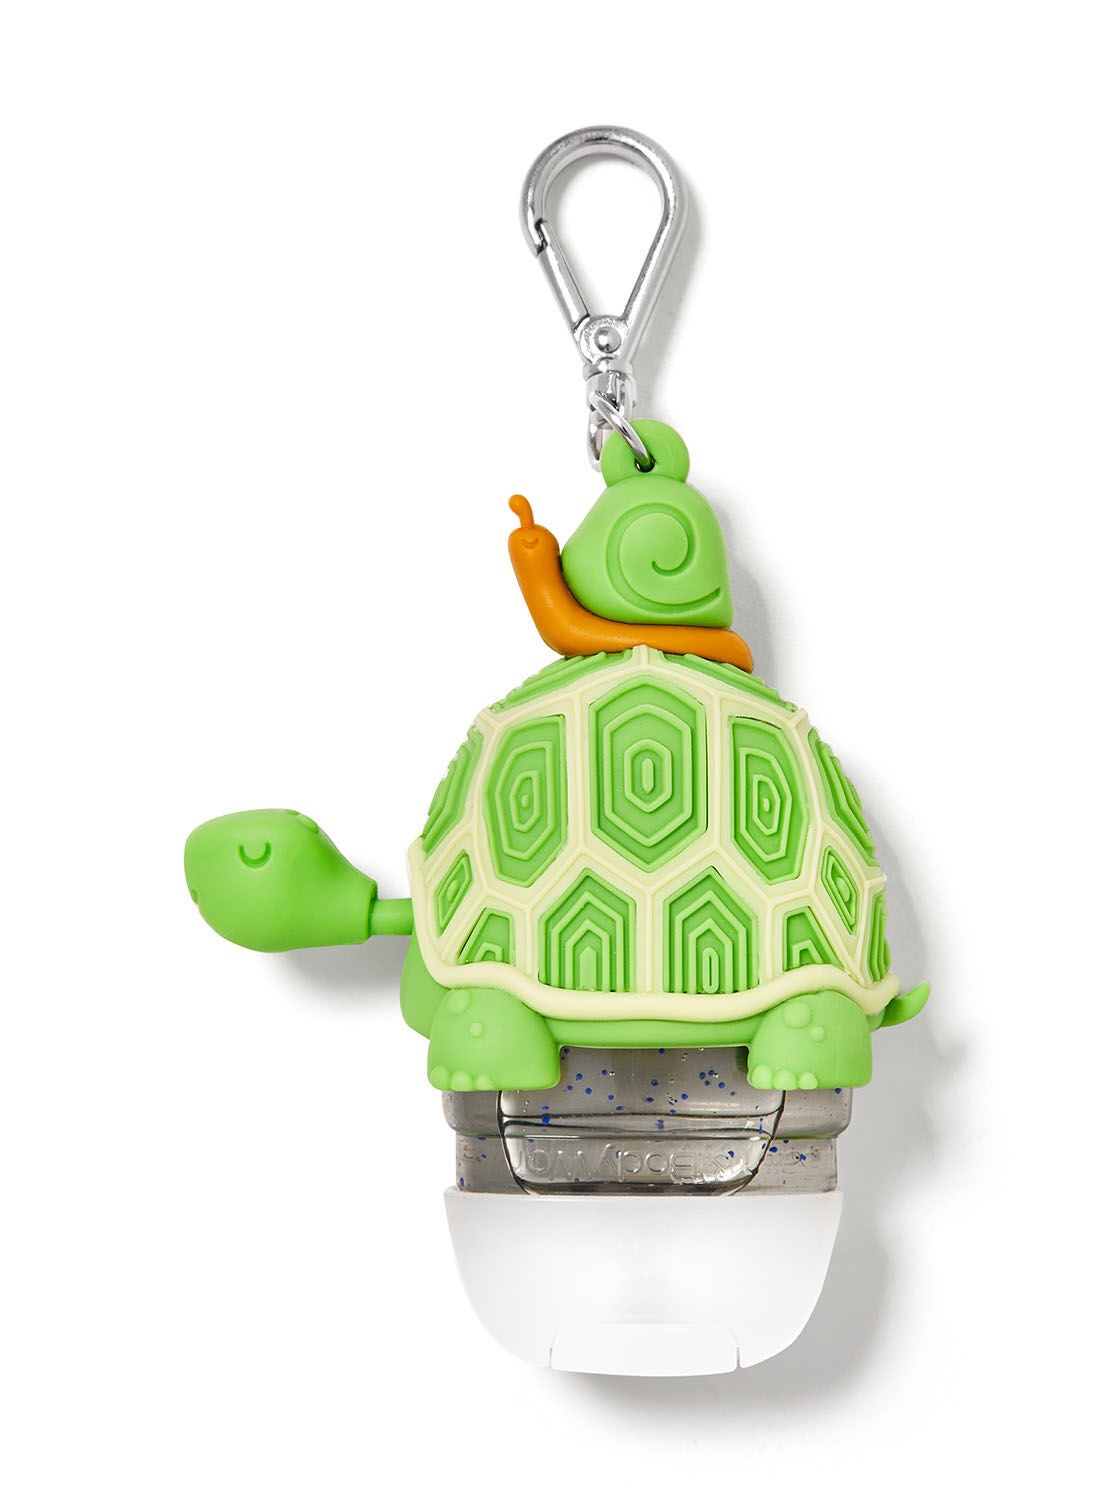
I’d see folks with those little holders clipped to their bags, looking all organized. So, I bought a couple. Flimsy things. One broke the first week – the little plastic clip just snapped. The other one, the gel bottle kept slipping out. Useless. Paid good money for them too, well, more than they were worth, that’s for sure. It got me thinking, like a lot of things do when they don’t work right. Why pay for something that doesn’t even do its job properly?
So, I Decided to Make My Own Thing
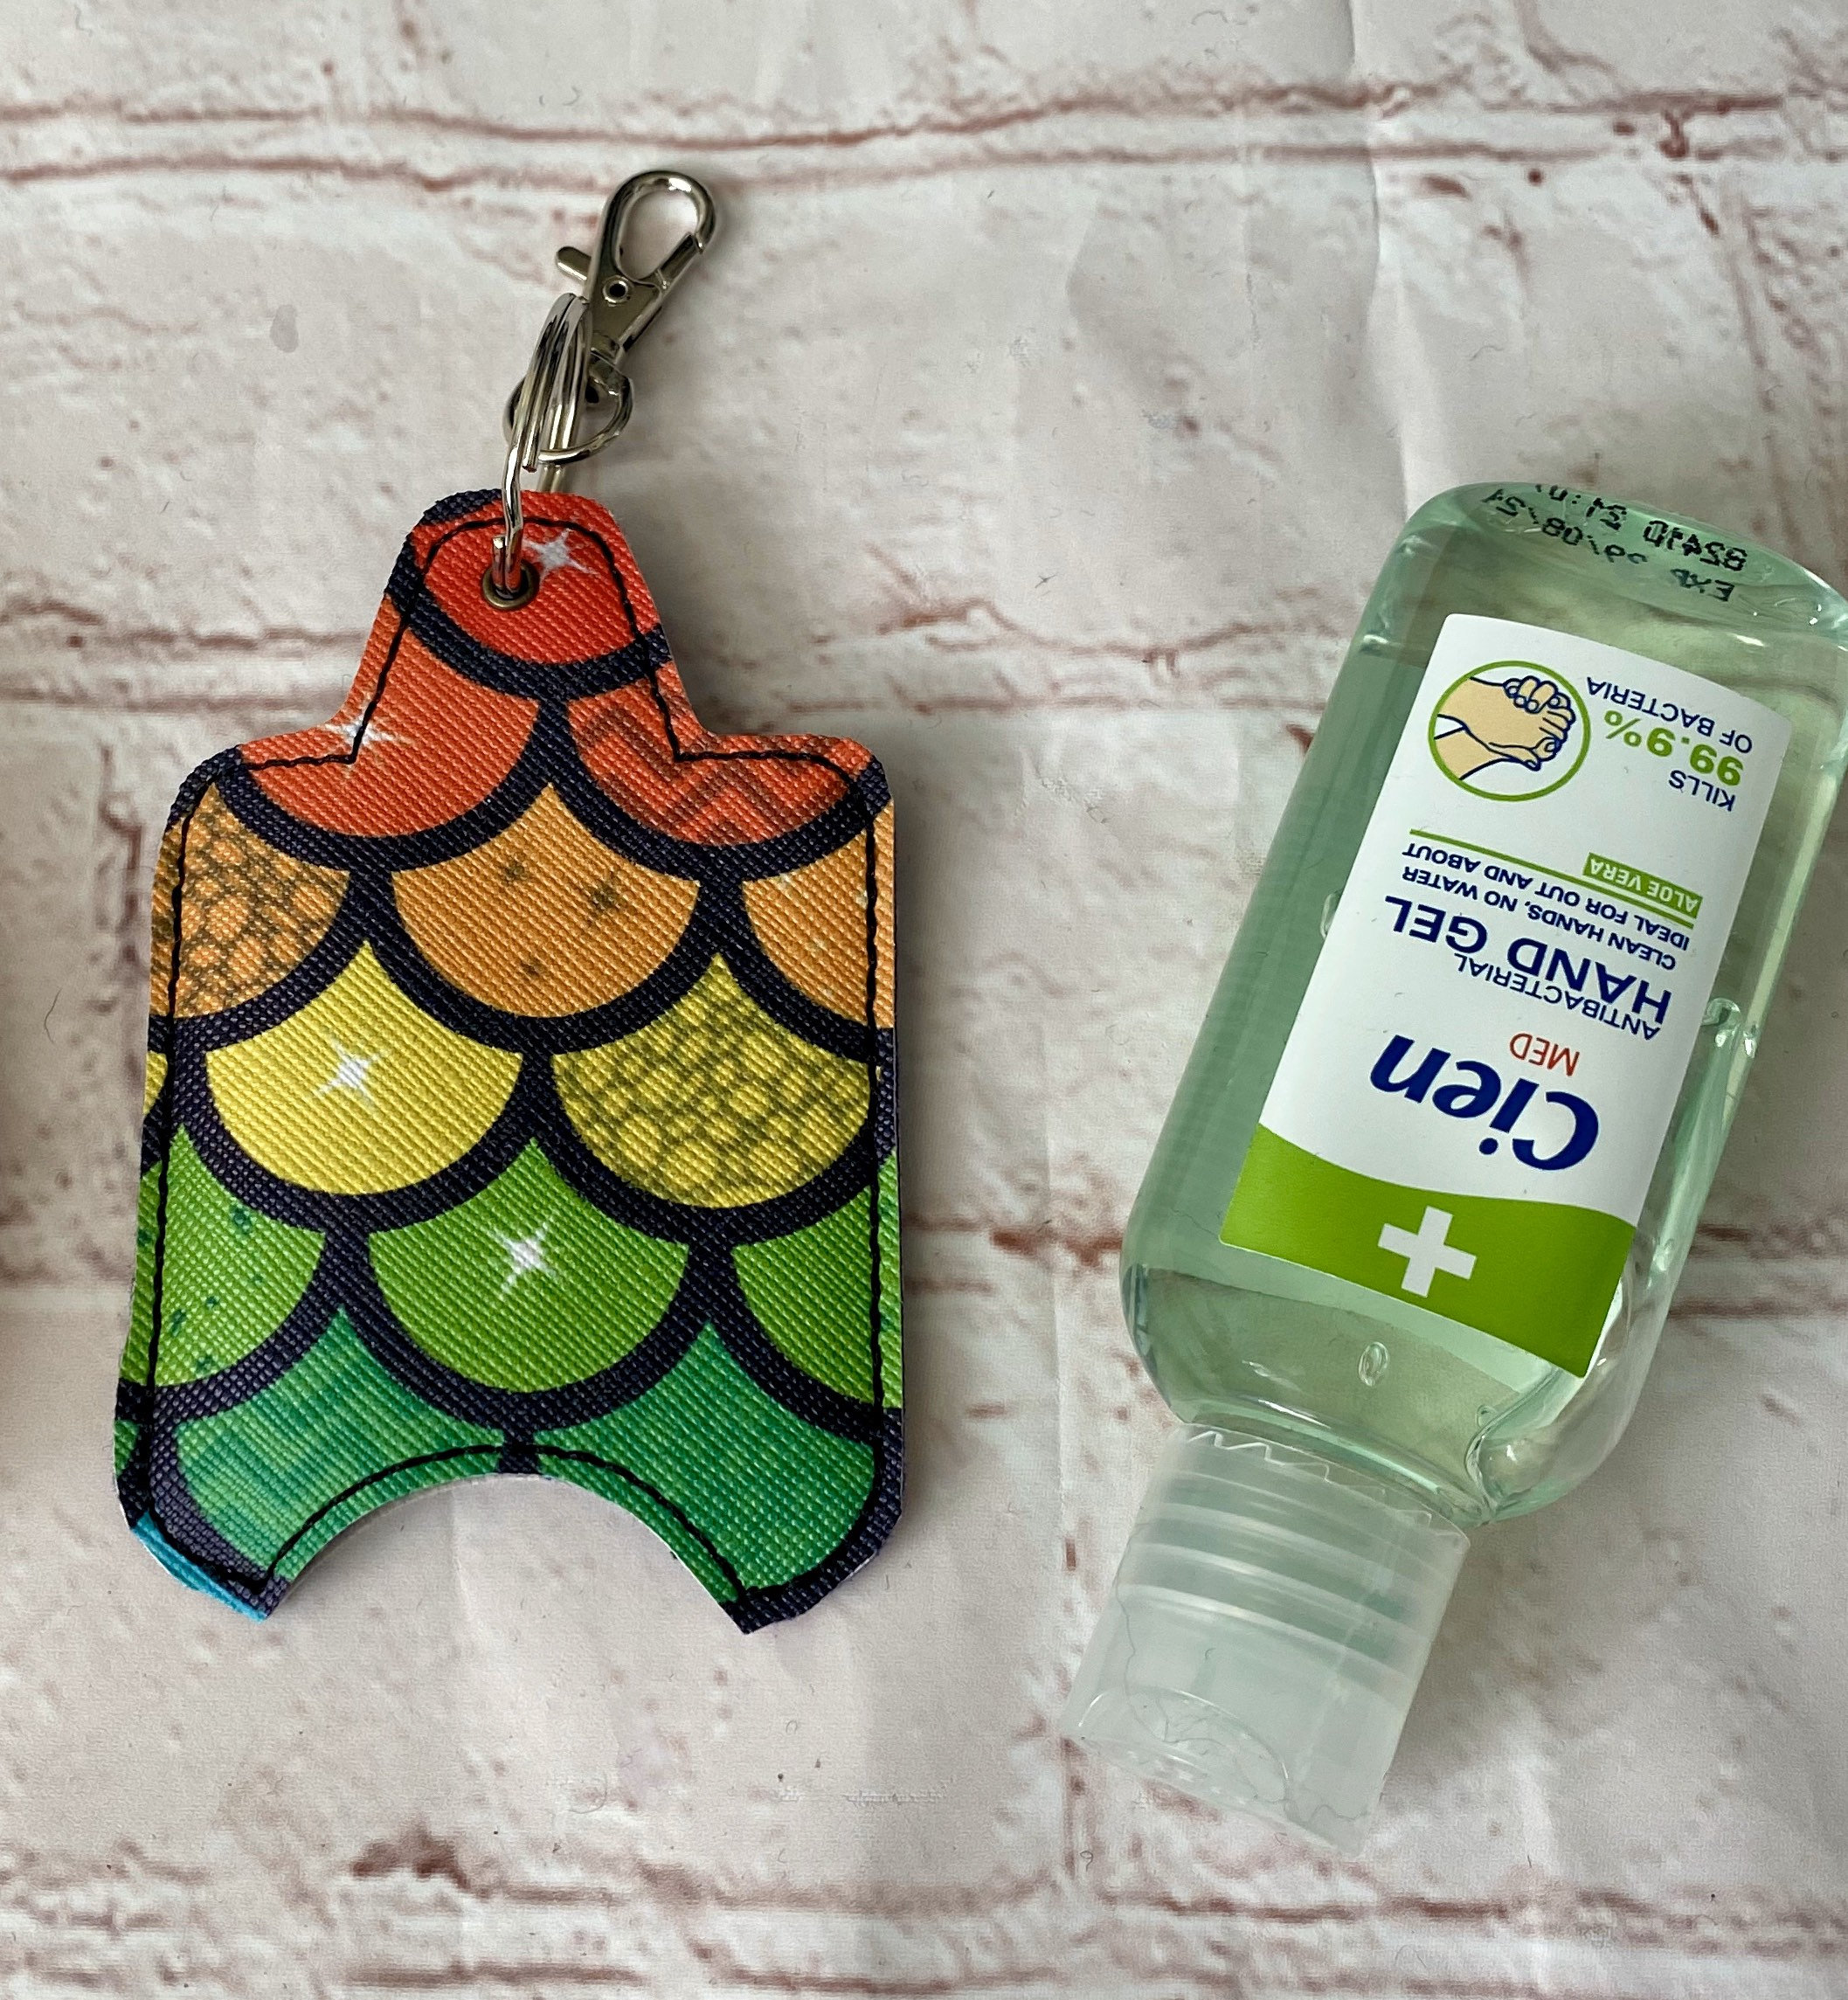
I figured, how hard could it be? I’m not exactly a master craftsman, but I can manage a few straight stitches. I wanted something sturdy, something that would actually hold the darn bottle, and maybe not look like it came out of a cereal box. Something that felt like mine, you know?
First, I rummaged around for materials. I’m a bit of a hoarder when it comes to bits and bobs of craft stuff. Luckily, I had some leftover fabric from an old project – a sturdy canvas type, not that flimsy stuff they use for cheap totes. Perfect. And I found a decent metal clip, the kind you see on keychains, much better than those cheap plastic ones that feel like they’ll break if you look at them wrong.
- Some tough fabric (that canvas was a good find)
- A good quality metal clip (salvaged from an old lanyard, I think)
- Needle and strong thread (because my sewing machine was acting up that day, figures, always when you need it)
- One of those little gel bottles to use as a template, obviously
Then, the actual making part. I’m not gonna lie, my first attempt at a pattern was a bit wonky. I laid the bottle on the fabric and sort of drew around it, adding a bit for seams. Measured twice, cut once, or so they say. Well, my “measuring” was more like eyeballing it against the bottle and hoping for the best.
I started sewing. Hand sewing, mind you. Took a bit longer, but it felt more… I don’t know, solid. More control. I made a simple pouch, making sure it was snug enough so the bottle wouldn’t just fall out if I leaned over or if the bag got tossed around a bit. Tested it a few times, shoving the bottle in and out. Then I stitched a small loop at the top, folded the fabric over a few times for extra strength, and sewed that down really well. Attached the clip to that loop, and that was pretty much it. The whole thing probably took me less than an hour, including the head-scratching part.

It wasn’t going to win any design awards, let me tell you. A bit rough around the edges, stitches weren’t perfectly straight. But you know what? It worked. That little bottle stayed put. Clipped it to my bag, and it was right there when I needed it. No more digging, no more leaks, no more frustration. It felt good, actually using something I’d made myself, something that solved a real annoyance.
Sometimes, the simple solutions you make yourself are the best. They might not be perfect or factory-finished, but they do the job, and there’s a bit of satisfaction in that. Beats paying for junk that breaks in a week, any day. I even ended up making a few more for family members. They liked ’em. Said they were better than the store ones. Can’t argue with that, can you? It’s funny how a small, practical project can make daily life just that tiny bit easier.

