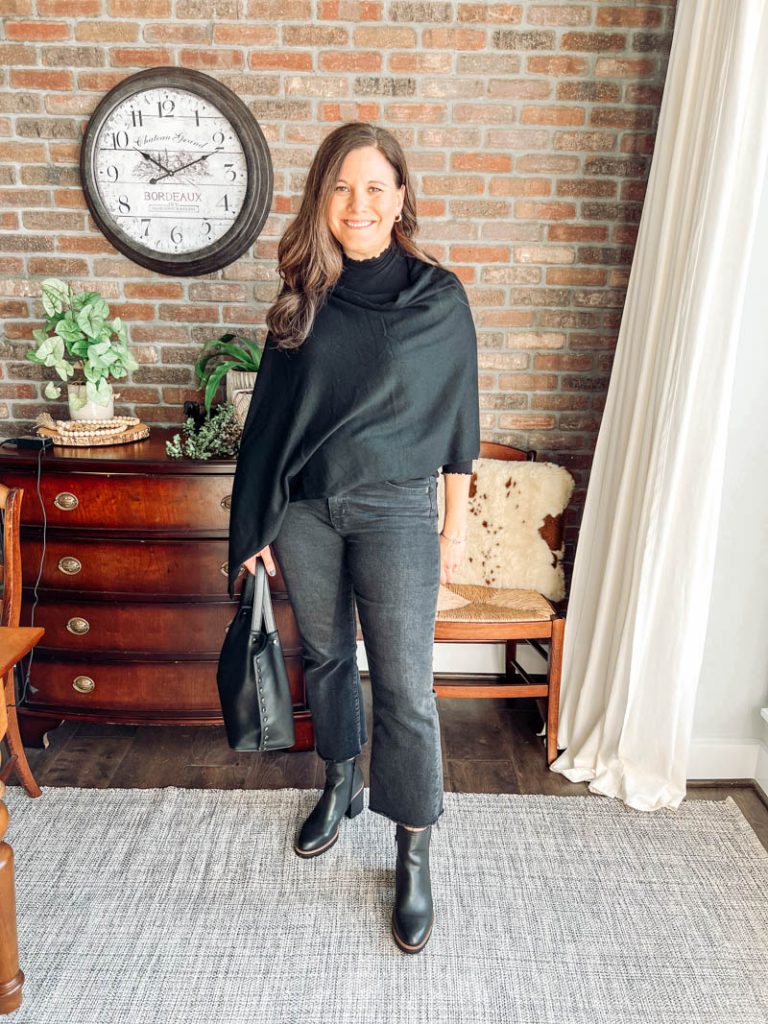
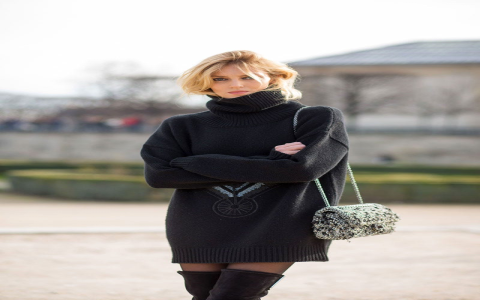
So, I decided I needed one of those turtleneck cape sweaters. You see them around, looking all cozy and stylish, and I thought, why not try making one myself? It’s always a bit of a gamble, taking on a new project, especially when you’re kind of figuring it out as you go.

Getting Started with the Idea
I’d been feeling a bit chilly, and none of my usual sweaters felt quite right. I wanted something I could just throw on, something warm but not too restrictive. A cape, but with a turtleneck to keep my neck warm – that sounded like the perfect combination. I didn’t really use a super strict pattern, more like a general idea I had in my head, pieced together from things I’ve seen.
First off, I had to pick out the yarn. This is always a crucial step. I spent a good while at the craft store, touching everything. I ended up choosing a really soft, kind of chunky wool blend in a nice neutral color. I figured if I was going to put all this effort in, it had to be comfortable, right? Got my needles, the right size for the yarn, and I was ready to go.
The Actual Making Process
I started with the turtleneck part. Cast on the stitches, and just did a simple rib stitch for a good long while until it was tall enough to fold over nicely. That part was pretty straightforward, just a bit of repetitive knitting, which can be quite relaxing sometimes. You just get into a rhythm.
Then came the cape itself. This is where I had to think a bit more. I wanted it to drape well, so I knew I’d need to increase stitches gradually to make it flare out.
- I started increasing after the turtleneck, placing markers so I knew where to add stitches on each round (or row, depending on how you go about it).
- It was slow going at first, you know, when the project is still small. But bit by bit, it started to take shape.
- There was one evening, I remember, I was knitting away, watching some TV, and I completely messed up my stitch count. Had to unravel a good hour’s worth of work. That’s always frustrating, isn’t it? But, well, it’s part of the process. You just sigh, pull it out, and start that bit again.
The main body of the cape was just a lot of stockinette stitch. I kept trying it on, holding it up against myself to see how the drape was looking and to decide on the length. I didn’t want it too long, just enough to cover my shoulders and upper arms comfortably.

Finishing Touches and Thoughts
Once I got it to the length I was happy with, I cast off. Then came the part I always procrastinate on: weaving in the ends. It’s such a small thing, but it feels so final. But, got it done. I didn’t bother with any fancy blocking for this one, the yarn draped pretty nicely on its own once it settled.
And you know what? I was pretty pleased with how it turned out. It’s not perfect, store-bought perfect, but it’s mine. It’s exactly what I wanted – warm, comfortable, and a bit unique. I’ve worn it a few times already, and it feels great. It’s funny, sometimes the things you make yourself, even with their little imperfections, end up being your favorites. It’s like, I know every stitch that went into this, every time I had to fix a mistake. Makes it a bit more special, I think.
So yeah, that was my adventure in making a turtleneck cape sweater. A bit of planning, some focused work, a few moments of “oops,” but a satisfying result in the end. Definitely worth the effort.

