
Okay, here’s my attempt at a blog post about my Nike Air yellow project, keeping your instructions in mind:
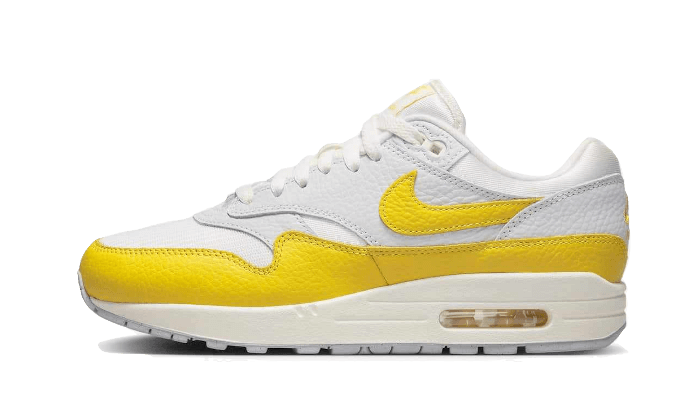
Alright, so I’ve been messing around with customizing sneakers for a while now. Lately, I got it into my head that I NEEDED a pair of yellow Nike Airs. Not just any yellow, mind you, but a specific shade. Think sunshine mixed with a little bit of lemon zest. You know, that perfect bright, happy yellow.
First things first, I had to find a base shoe. Scoured eBay, StockX, the usual suspects. Ended up grabbing a used pair of Air Force 1s – white, naturally. Didn’t want to fight with a pre-existing color. They were a little beat up, but that was fine. I actually prefer working on shoes that already have a little character.
Prep Work is Key! Seriously, don’t skip this part. It’s boring, but it makes all the difference. I used acetone (carefully!) to strip off the factory finish. Then, I went over every inch with sandpaper. Not too aggressive, just enough to give the new paint something to grip onto. Cleaned ’em up with a tack cloth afterwards to get rid of all the dust.
Now for the fun part: the paint. This is where things got tricky. Finding the exact yellow I had in my head proved to be a real challenge. I ended up buying, like, five different shades of yellow acrylic paint from the craft store. Mixed them all together, tweaking the ratios until I finally landed on the perfect hue. It was a whole chemistry experiment in my garage.
Painting itself? Multiple thin layers, that’s the secret. I used an airbrush for the main parts of the shoe. Gave it a super smooth, even finish. For the smaller details, like the swoosh, I used some fine brushes. Patience is key, people. Let each layer dry completely before applying the next one. I probably did, like, four or five coats of yellow in total.
Protect Your Work! Once the paint was dry (and I mean completely dry – waited a full 24 hours just to be safe), I applied a clear coat finisher. This protects the paint from scratches and scuffs. I used a matte finish, because I didn’t want the shoes to be too glossy. Gave them two coats of that, letting each one dry thoroughly.
The laces were next. The original white laces just didn’t work with the yellow. So, I dyed a new pair of white laces using some fabric dye. Got them to a nice, slightly darker shade of yellow. Adds a little bit of contrast.
And finally, the moment of truth! Laced ’em up, stood back, and admired my work. They came out exactly how I pictured them. Bright, sunny, and totally unique. I’ve gotten so many compliments on these things. People are always asking me where I bought them, and I get to tell them I made them myself. Pretty cool, right?
- Acetone
- Sandpaper
- Acrylic Paint (various yellows)
- Airbrush & Fine Brushes
- Clear Coat Finisher (Matte)
- Fabric Dye
- New Laces
Things I Learned:
- Mixing paint is harder than it looks.
- Thin layers are your friend.
- Patience, young Padawan.