
Okay, here’s my take on sharing my “large arched mirror” DIY project, blog-style:
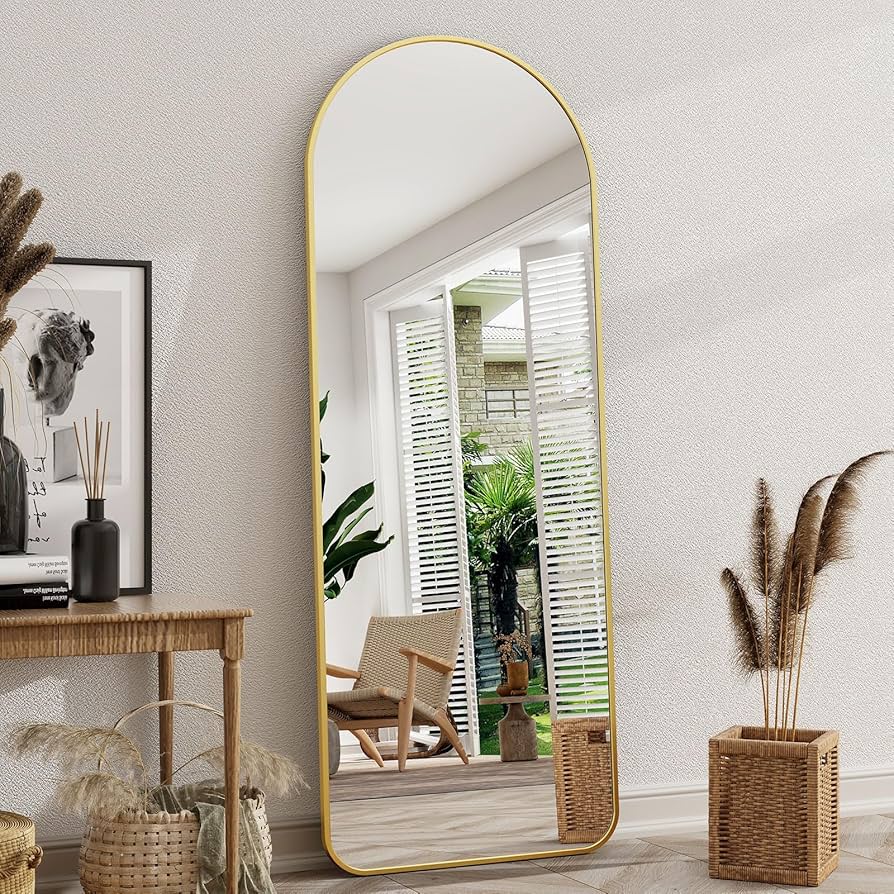
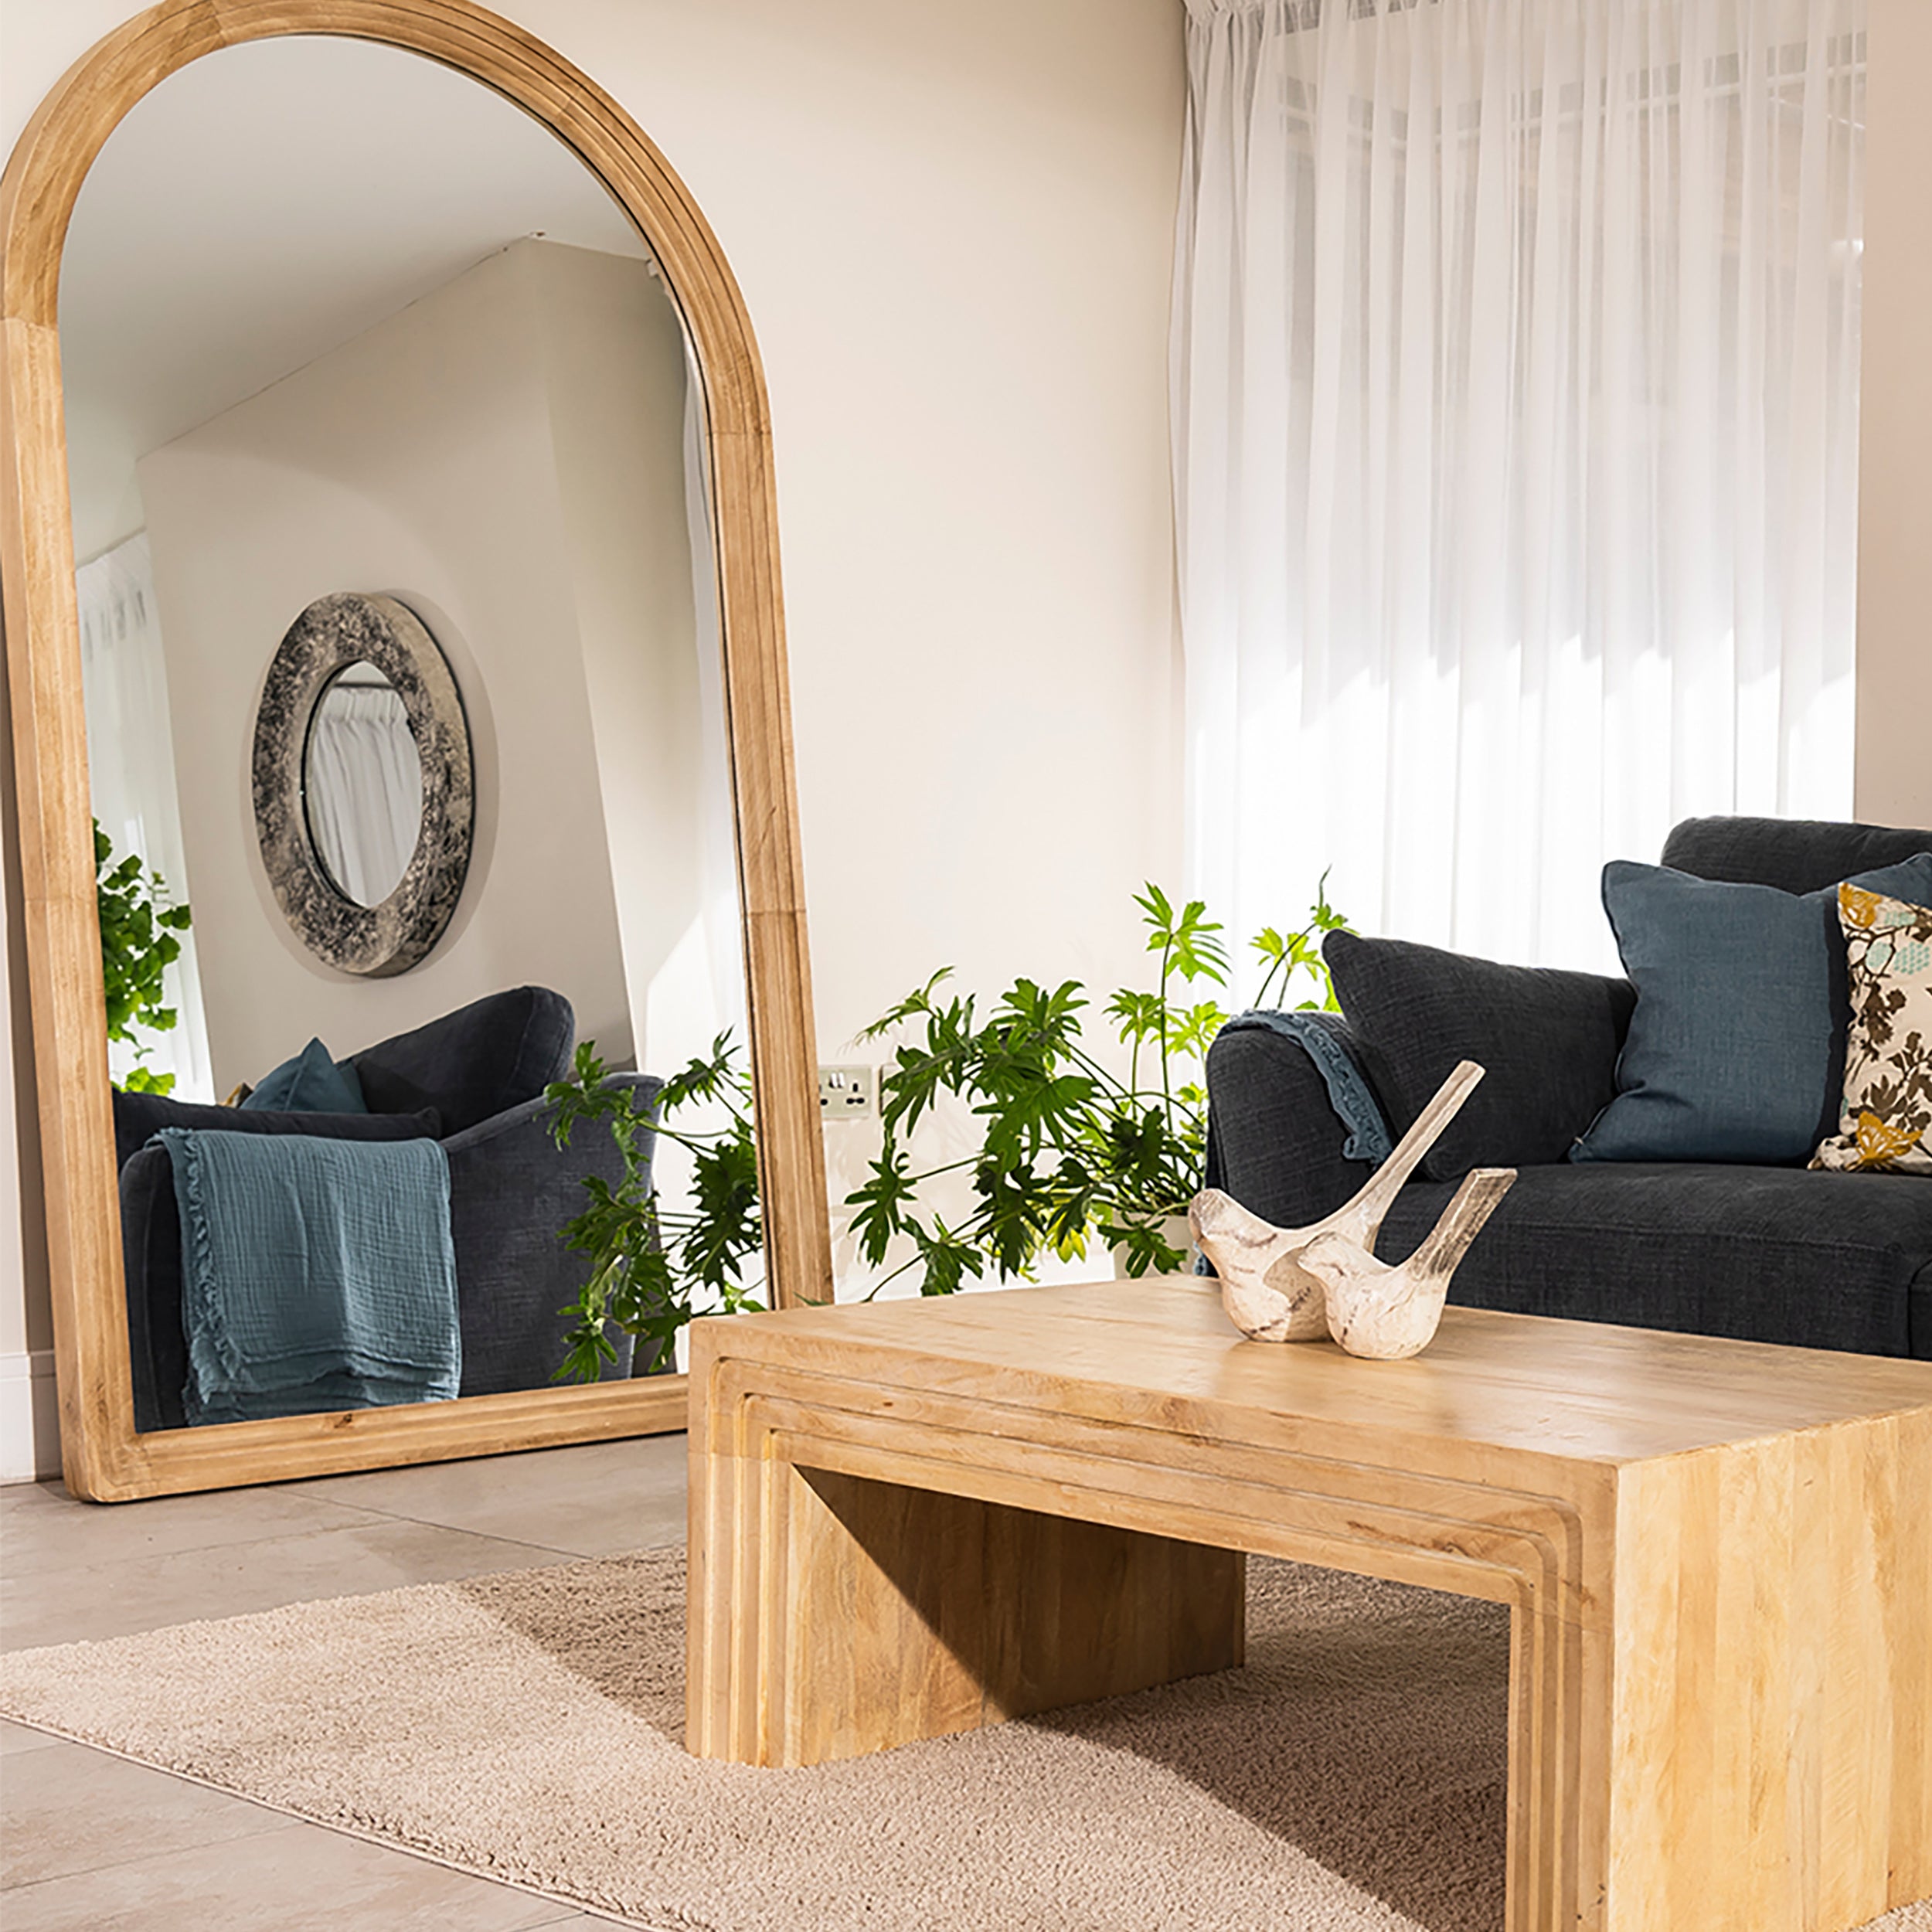
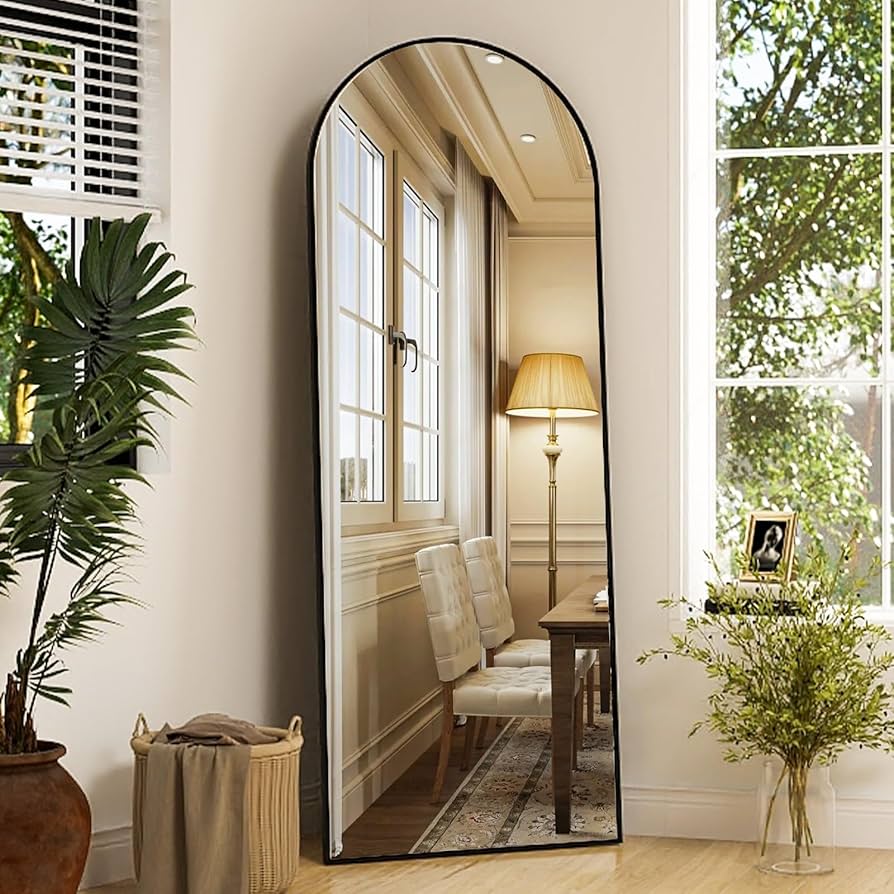
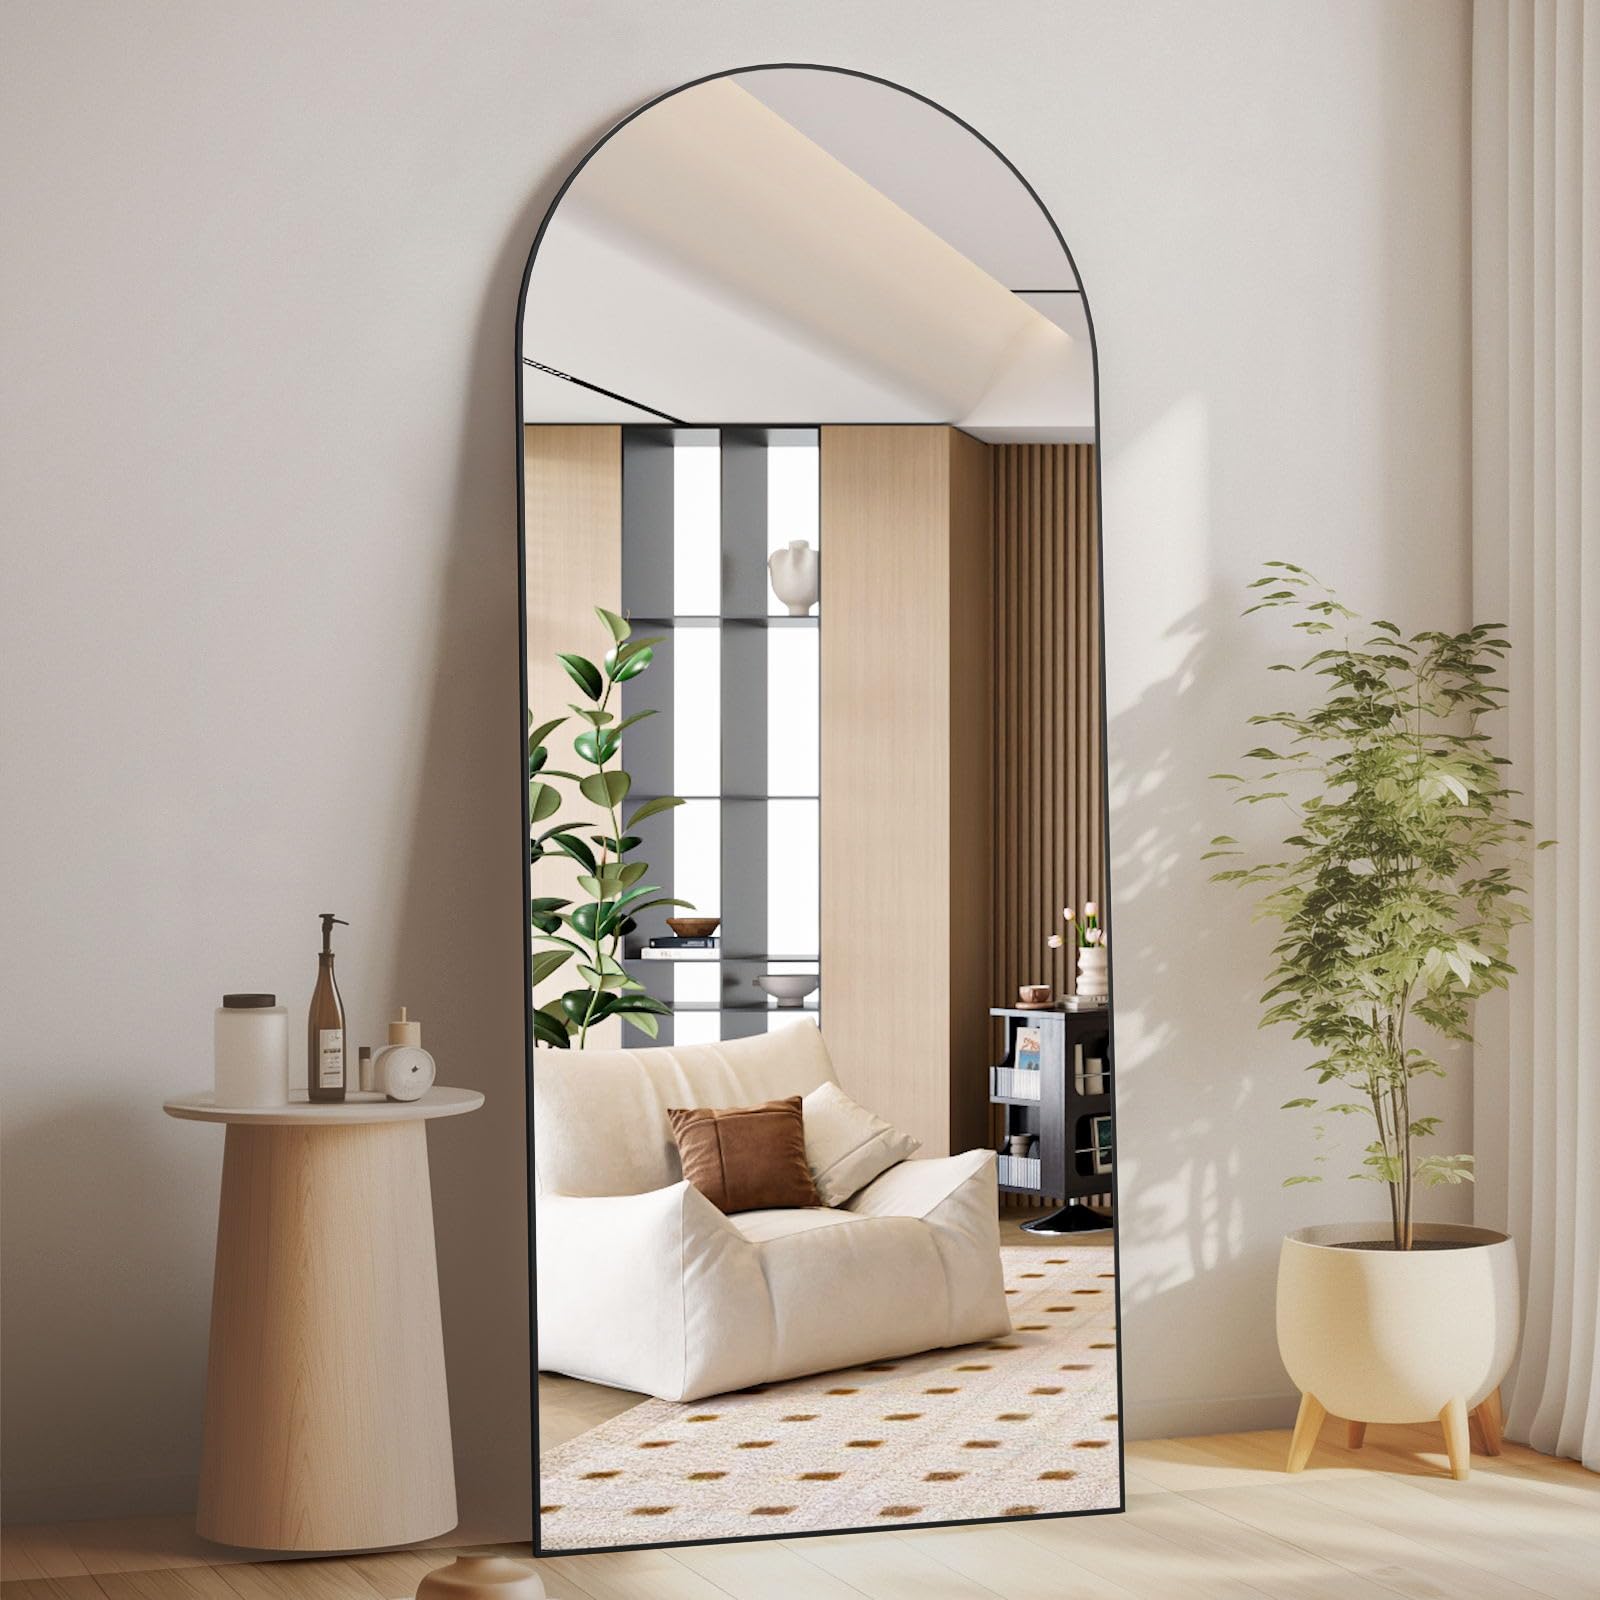
Alright folks, buckle up! Today I’m spillin’ the tea on my latest obsession: a large arched mirror. I’ve been seeing these everywhere and decided, “Heck, I can make that!” So, grab your coffee (or wine, no judgment here) and let’s dive into this DIY adventure.
Step 1: The Hunt Begins (For Inspiration & Supplies)
First things first, I hopped online and scoured Pinterest and Instagram for arched mirror inspo. Seriously, hours went by. Once I had a solid vision, I hit up my local hardware store. Here’s what I snagged:
- A large rectangular mirror (already had one lying around, score!)
- Plywood (for the frame, measure your mirror first!)
- Wood glue (the stronger the better, trust me)
- Wood filler (for hiding imperfections, because we’re not perfect)
- Sandpaper (various grits, from rough to smooth)
- Primer (to prep the wood for paint)
- Paint (I went with a classic black, but you do you!)
- Jigsaw (for cutting the arch, a must-have!)
- Clamps (lots of clamps, they’re your best friend)
- Measuring tape, pencil, safety glasses (duh!)
Step 2: Framing the Situation
Okay, so the frame is key. I measured my mirror and cut the plywood into strips to create a frame around it. Think of it like building a box around the mirror. I used wood glue and clamps to hold everything together. Let that dry overnight, because patience is a virtue (or so they say).
Step 3: Arch Enemy (or Arch Friend?)
This was the scary part. Drawing the arch. I used a large piece of cardboard to create a template. Folded it in half, drew half an arch, cut it out, and BAM! Perfect arch template. Then, I traced the arch onto the top of my frame. Jigsaw time! Wear your safety glasses, people! Cut slowly and carefully along the line. Sanding is your friend here. Smooth out those rough edges.
Step 4: Filling in the Gaps (Literally)
Wood filler to the rescue! I filled in any gaps or imperfections in the frame and especially around the arch. Let that dry completely, then sand it down until it’s smooth as a baby’s… well, you know.
Step 5: Prime Time
Priming is important! It helps the paint adhere to the wood and gives you a nice, even finish. I applied two coats of primer, letting each coat dry completely before sanding lightly.
Step 6: Paint It Black (or Whatever Color You Want)
Finally, the fun part! I painted the frame with my chosen black paint. Two coats, again, letting each coat dry completely. I even lightly sanded between coats for an extra smooth finish. Obsessed!
Step 7: Mirror, Mirror…Almost There!
Now, carefully attach the mirror to the frame. I used mirror adhesive (found at the hardware store) for this. Follow the instructions on the adhesive. Let it dry completely, usually overnight.
Step 8: Hang It Up!
Find a sturdy place to hang your masterpiece! Make sure you use appropriate hardware for the weight of the mirror. And voila! You’ve got yourself a gorgeous, large arched mirror.
It wasn’t always pretty, there were definitely some moments of frustration (the jigsaw almost got thrown out the window), but in the end, it was totally worth it. Now I have a stunning, statement piece in my home that I made myself. And that, my friends, is a feeling that can’t be beat!