
Alright, let’s dive into this ouroboros drawing thing I messed around with today. It was kinda cool, actually.
Started with the basics, you know? Just grabbed a piece of paper, a pencil (a regular HB one, nothing fancy), and an eraser. I always start with a light sketch, ’cause I know I’ll be erasing a lot.
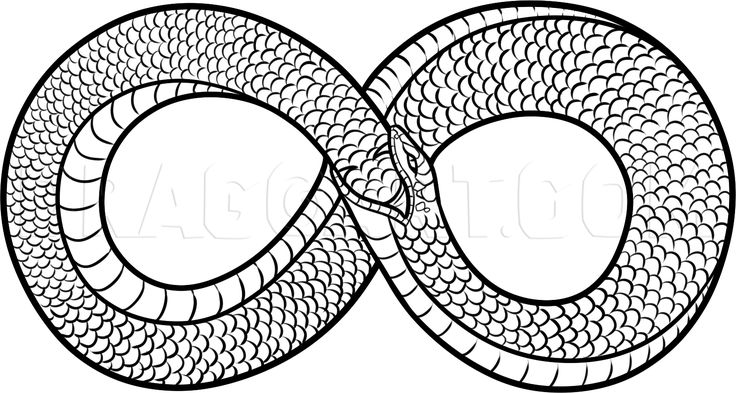
First up: the circle. An ouroboros is basically a snake eating its own tail, right? So, a circle (or close enough to one – mine was a bit wonky at first) is the foundation. I sketched it lightly, thinking about where the head and tail would be.
Then came the snake. I started sketching the snake’s body. Not worrying about details, just getting the general shape down. I wanted it to look like it was actually biting its tail, so I paid attention to the curve of the body and how it would wrap around itself.
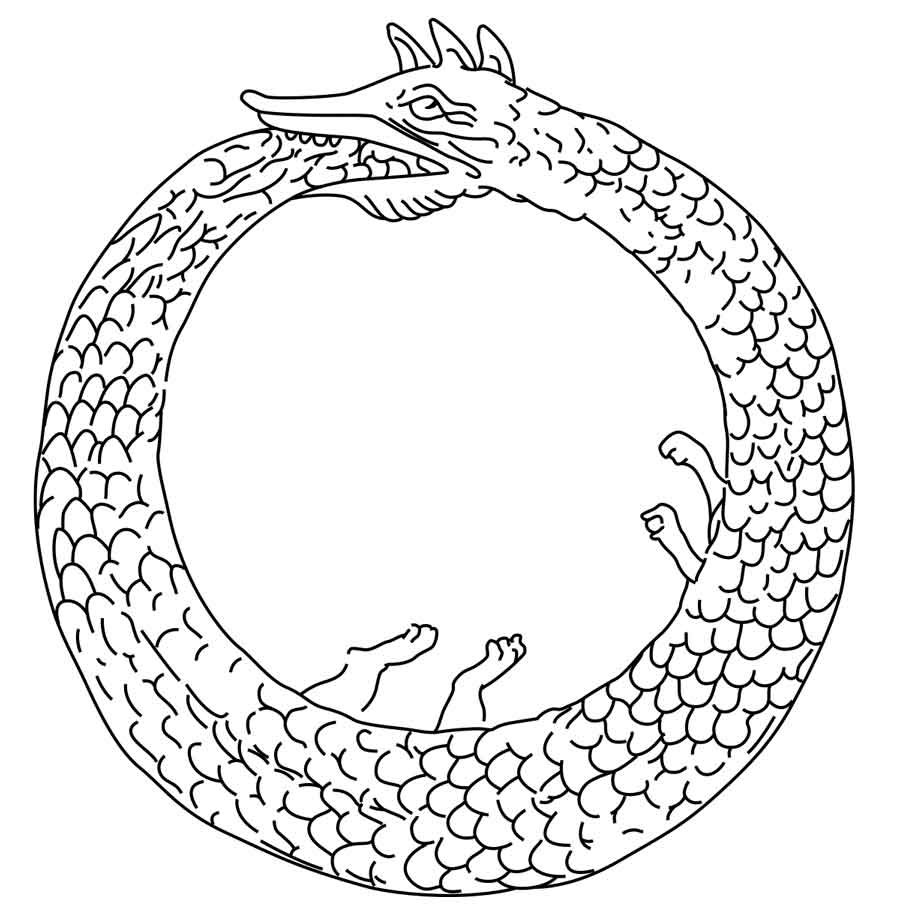
The head was tricky. I spent a little more time on the head. I wanted it to look menacing, but also kinda cool. Drew a few different versions before I settled on one with a slightly open mouth and a forked tongue. Remember to keep the lines light!
Tail time. Making the tail disappear into the mouth was the real challenge. I had to erase and redraw a few times to get it to look right. Tried to make it look like the scales were overlapping and disappearing into the mouth cavity. That took some fiddling.
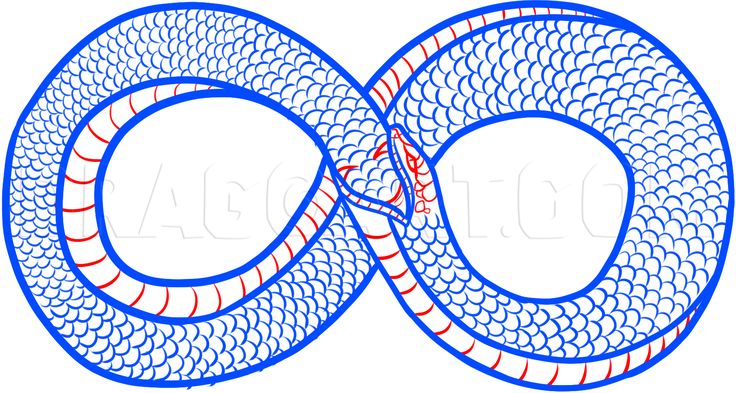
Details, details. Once I had the basic shape down, I started adding details. Scales, mostly. I drew small, overlapping scales all over the snake’s body. This took a while, but it added a lot of texture. Also, added some shading to give it depth.
Shading is key. Used the side of the pencil to gently shade the areas that would be darker, like under the belly and around the head. This made the drawing look more three-dimensional. I also smudged some of the shading with my finger to soften it up a bit.
Highlights, too! Used the eraser to create highlights on the scales, which made them pop a bit. Just tiny little highlights, nothing too dramatic.
Outline, but lightly! I went over the main lines with a slightly darker pencil (a 2B this time), but didn’t make them too thick. I wanted to keep it looking somewhat sketchy and organic.
Finally, a bit of cleanup. Erased any stray lines and smudges. Stepped back and took a look. Tweaked a few things here and there.
End result? Not perfect, but pretty cool. It’s a fun little drawing, and I learned a few things about drawing scales and shading. Maybe I’ll try it again sometime and make it even better.
- Sketch lightly.
- Don’t be afraid to erase.
- Details make a big difference.
- Shading and highlights are your friends.
And that’s pretty much it. Just a simple ouroboros drawing. Give it a shot yourself – it’s a good way to kill some time and practice your drawing skills.