
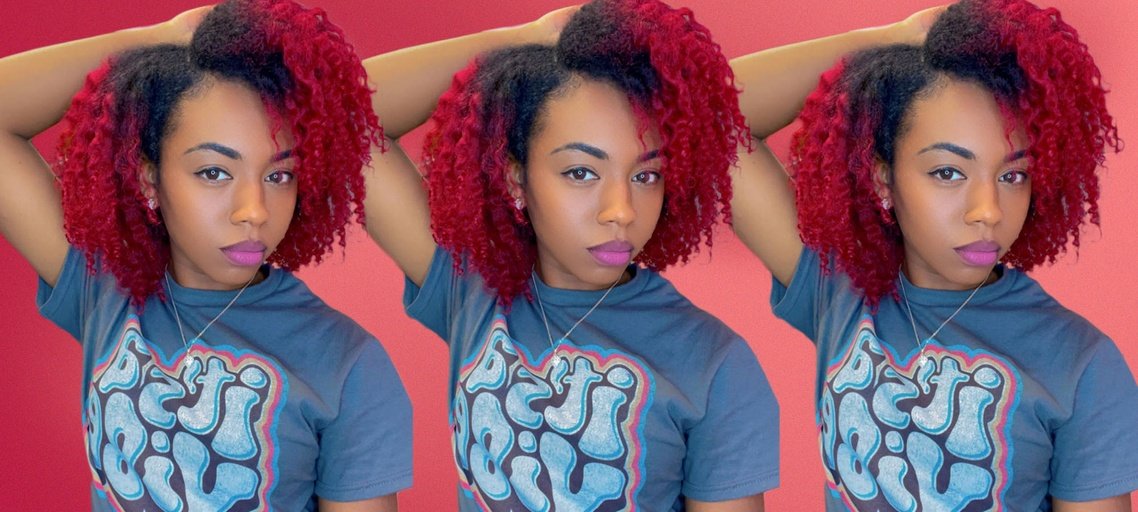
Okay, folks, let’s dive into my little hair adventure with twist-out braids! I’ve been wanting to try this style for a while, and I finally took the plunge. Here’s how it all went down, step-by-step:
Getting Started: Prep is Key
First things first, I washed my hair. Gotta start with a clean slate, you know? I used my usual moisturizing shampoo and followed up with a deep conditioner. I let that conditioner sit for a good 30 minutes – gotta get that moisture locked in!
After rinsing, I applied a leave-in conditioner. This is super important for keeping your hair hydrated, especially when it’s going to be twisted up for a while. I also added a bit of styling cream, the kind that’s specifically for twist-outs. It helps with hold and definition.
The Twisting Process
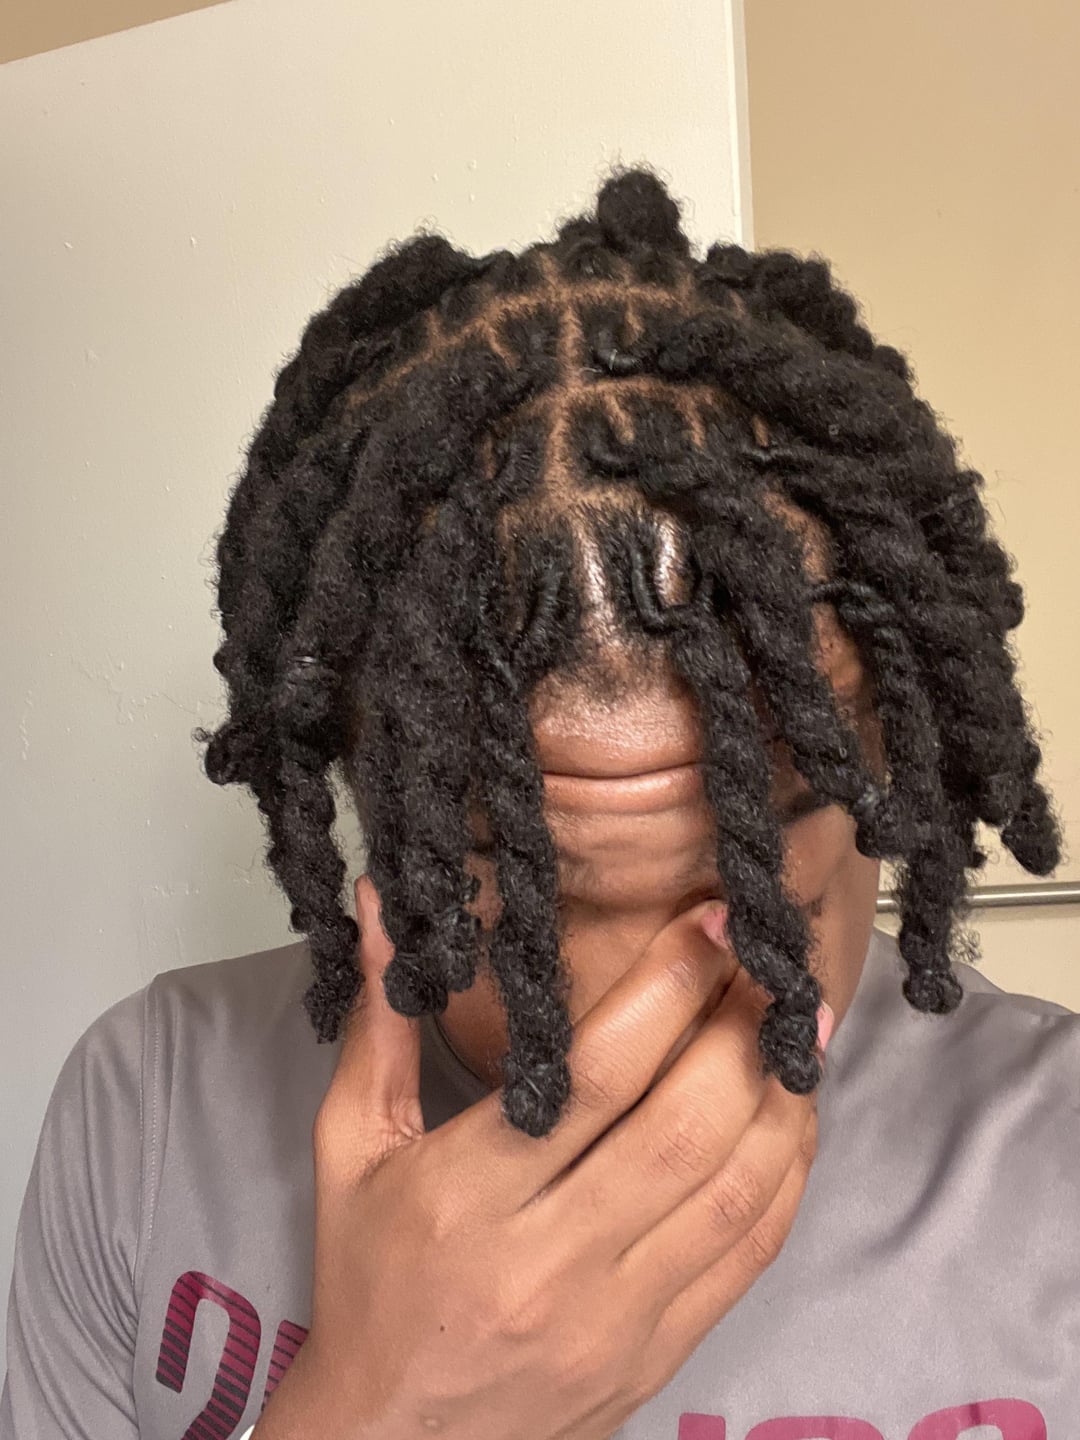
Next, I parted my hair into small sections. I’m not gonna lie,this took some time. My advice is to use a rat tail comb. I made sure the sections were pretty even – you don’t want some twists thicker than others.
Now for the actual twisting! For each section, I divided it into two *, I carefully twisted the two strands around each other, from root to * I also need to keep the tension pretty tight. If it’s too loose, the twist-out won’t be defined.
- Tip 1: Don’t be afraid to use a little more product on each section as you twist. It helps to smooth down any flyaways.
- Tip 2: If your hair starts to dry while you’re twisting, just spritz it with a little water. Damp hair is easier to work with.
I repeated this process all over my head. Honestly, my arms got a little tired, but I pushed through! I wanted to get that hairstyle done well!
The Drying Game
Once all the twists were in, it was time to let them dry. I opted to air dry, which took pretty much all day. You can also sit under a hooded dryer if you’re in a hurry.
I wrapped my head in a satin scarf overnight. This helps to keep the twists from frizzing up while you sleep. I need to sleep well and wait.
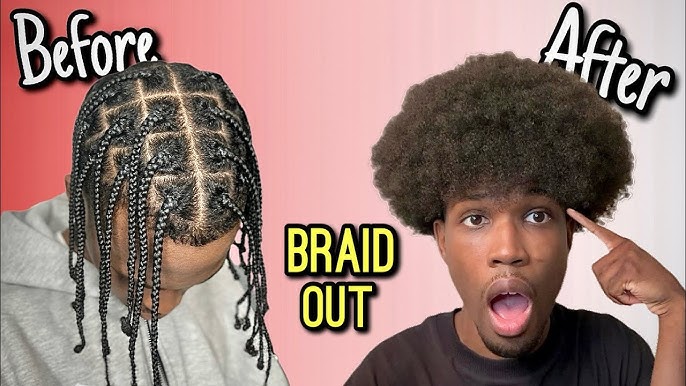
The Big Reveal: The Twist-Out!
The next morning, I was so excited to take out the twists! I gently unraveled each one, starting from the ends and working my way up to the * very careful during this step! If you’re too rough, you’ll end up with a frizzy mess.
Once all the twists were out, I fluffed my hair at the roots with my fingers to add some volume. I didn’t want it to look too flat,you know?
Final Thoughts
And that’s it! My twist-out was complete! I was pretty happy with how it turned out. It took some time and effort, but the results were worth it. It’s a great style for adding some texture and definition to your hair.
Would I do it again? Absolutely! It is a stylish and fun way!