
Okay, so I’ve been seeing these chunky platform shoes everywhere lately, and I finally caved. I decided I needed a pair, but I wasn’t about to drop a ton of money on something I might not even wear that much. So, I went the DIY route. Here’s how it went down:
Finding the Base
First, I needed some shoes to work with. I hit up my local thrift store – you know, the kind where you can find some real hidden gems. I was looking for something with a relatively flat sole, nothing too fancy. After about 20 minutes of digging, I found a pair of plain black canvas sneakers that would work perfectly. They were a little scuffed, but who cares? They were like, five bucks!
Gathering Supplies
Next, I made a trip to the craft store. Here’s what I grabbed:
- Thick craft foam: This was going to be the main ingredient for my platforms. I got the thickest stuff they had.
- Strong adhesive: I opted for some heavy-duty stuff, the kind that’s supposed to bond anything to anything. Super important!
- An utility knife: For cutting the foam.
- Sandpaper: To smooth out any rough edges.
- Black paint (optional):To touch up the sides of the platform if needed. I got Acrylic.
Building the Platforms
Time for the fun part! First, I traced the outline of my shoe soles onto the foam. Then, I cut out several layers for each shoe, making sure they were all roughly the same size.I wanted pretty thick platform.
Next, I started gluing the foam layers together. The Key is apply even pressure, so I stacked some heavy books on top while they dried. This took a while – I probably waited a good few hours, maybe even overnight, just to be sure.
Once the glue was completely dry, I used the utility knife to carefully trim the edges of the foam, shaping them to match the curves of the shoe sole. It wasn’t perfect, but I got it pretty close. I used the sandpaper to smooth everything out, making sure there weren’t any jagged bits.
Attaching the Platforms
This was the moment of truth. I applied a generous amount of adhesive to both the bottom of the shoe and the top of the foam platform. Then, I carefully lined them up and pressed them together. Again, I used the heavy books to keep everything firmly in place while the glue set. This needed a long drying time, like, a full day.
Finishing Touches
After the platforms were securely attached, I checked for any gaps or uneven spots. I did some very very small amount of touching up with some black paint, that make it looks a little neater, but honestly, it wasn’t really necessary.
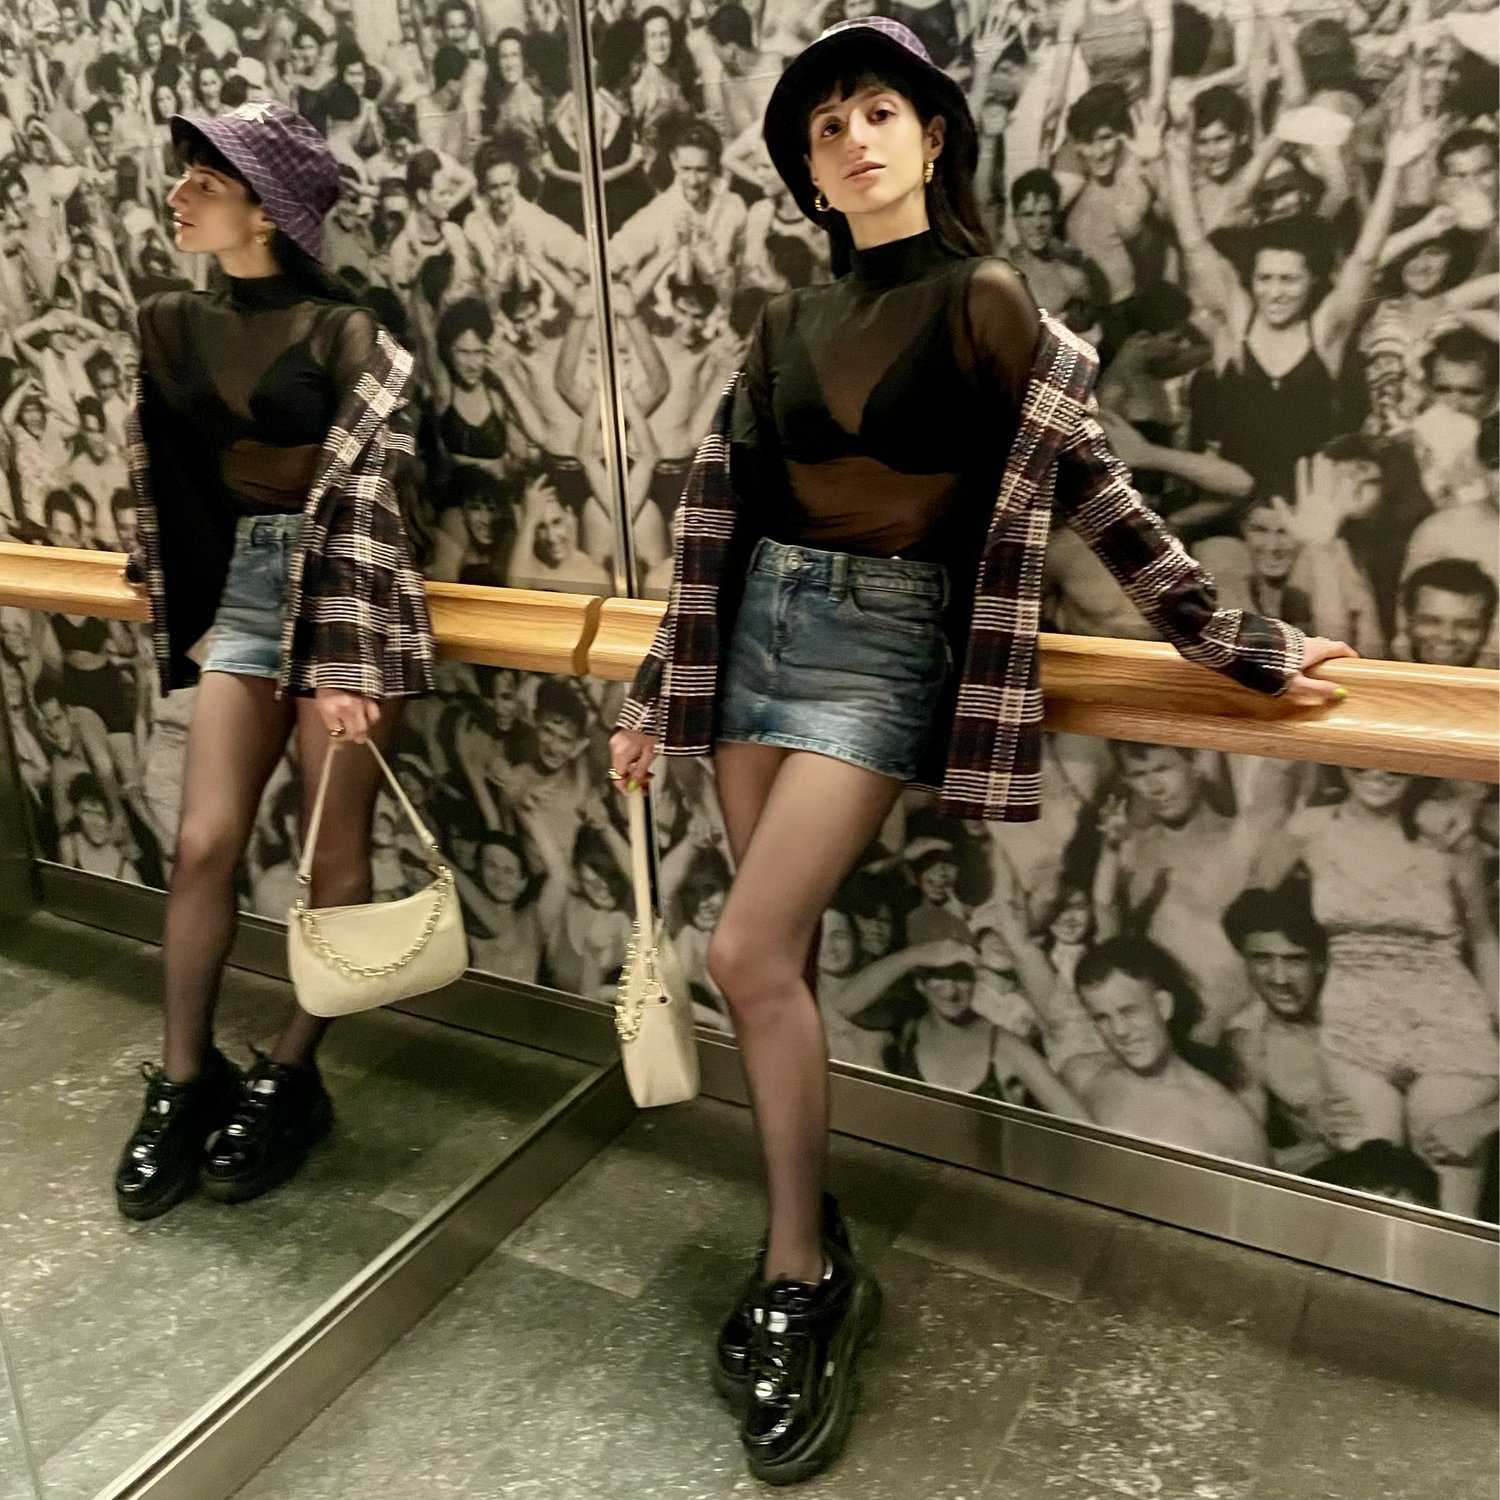
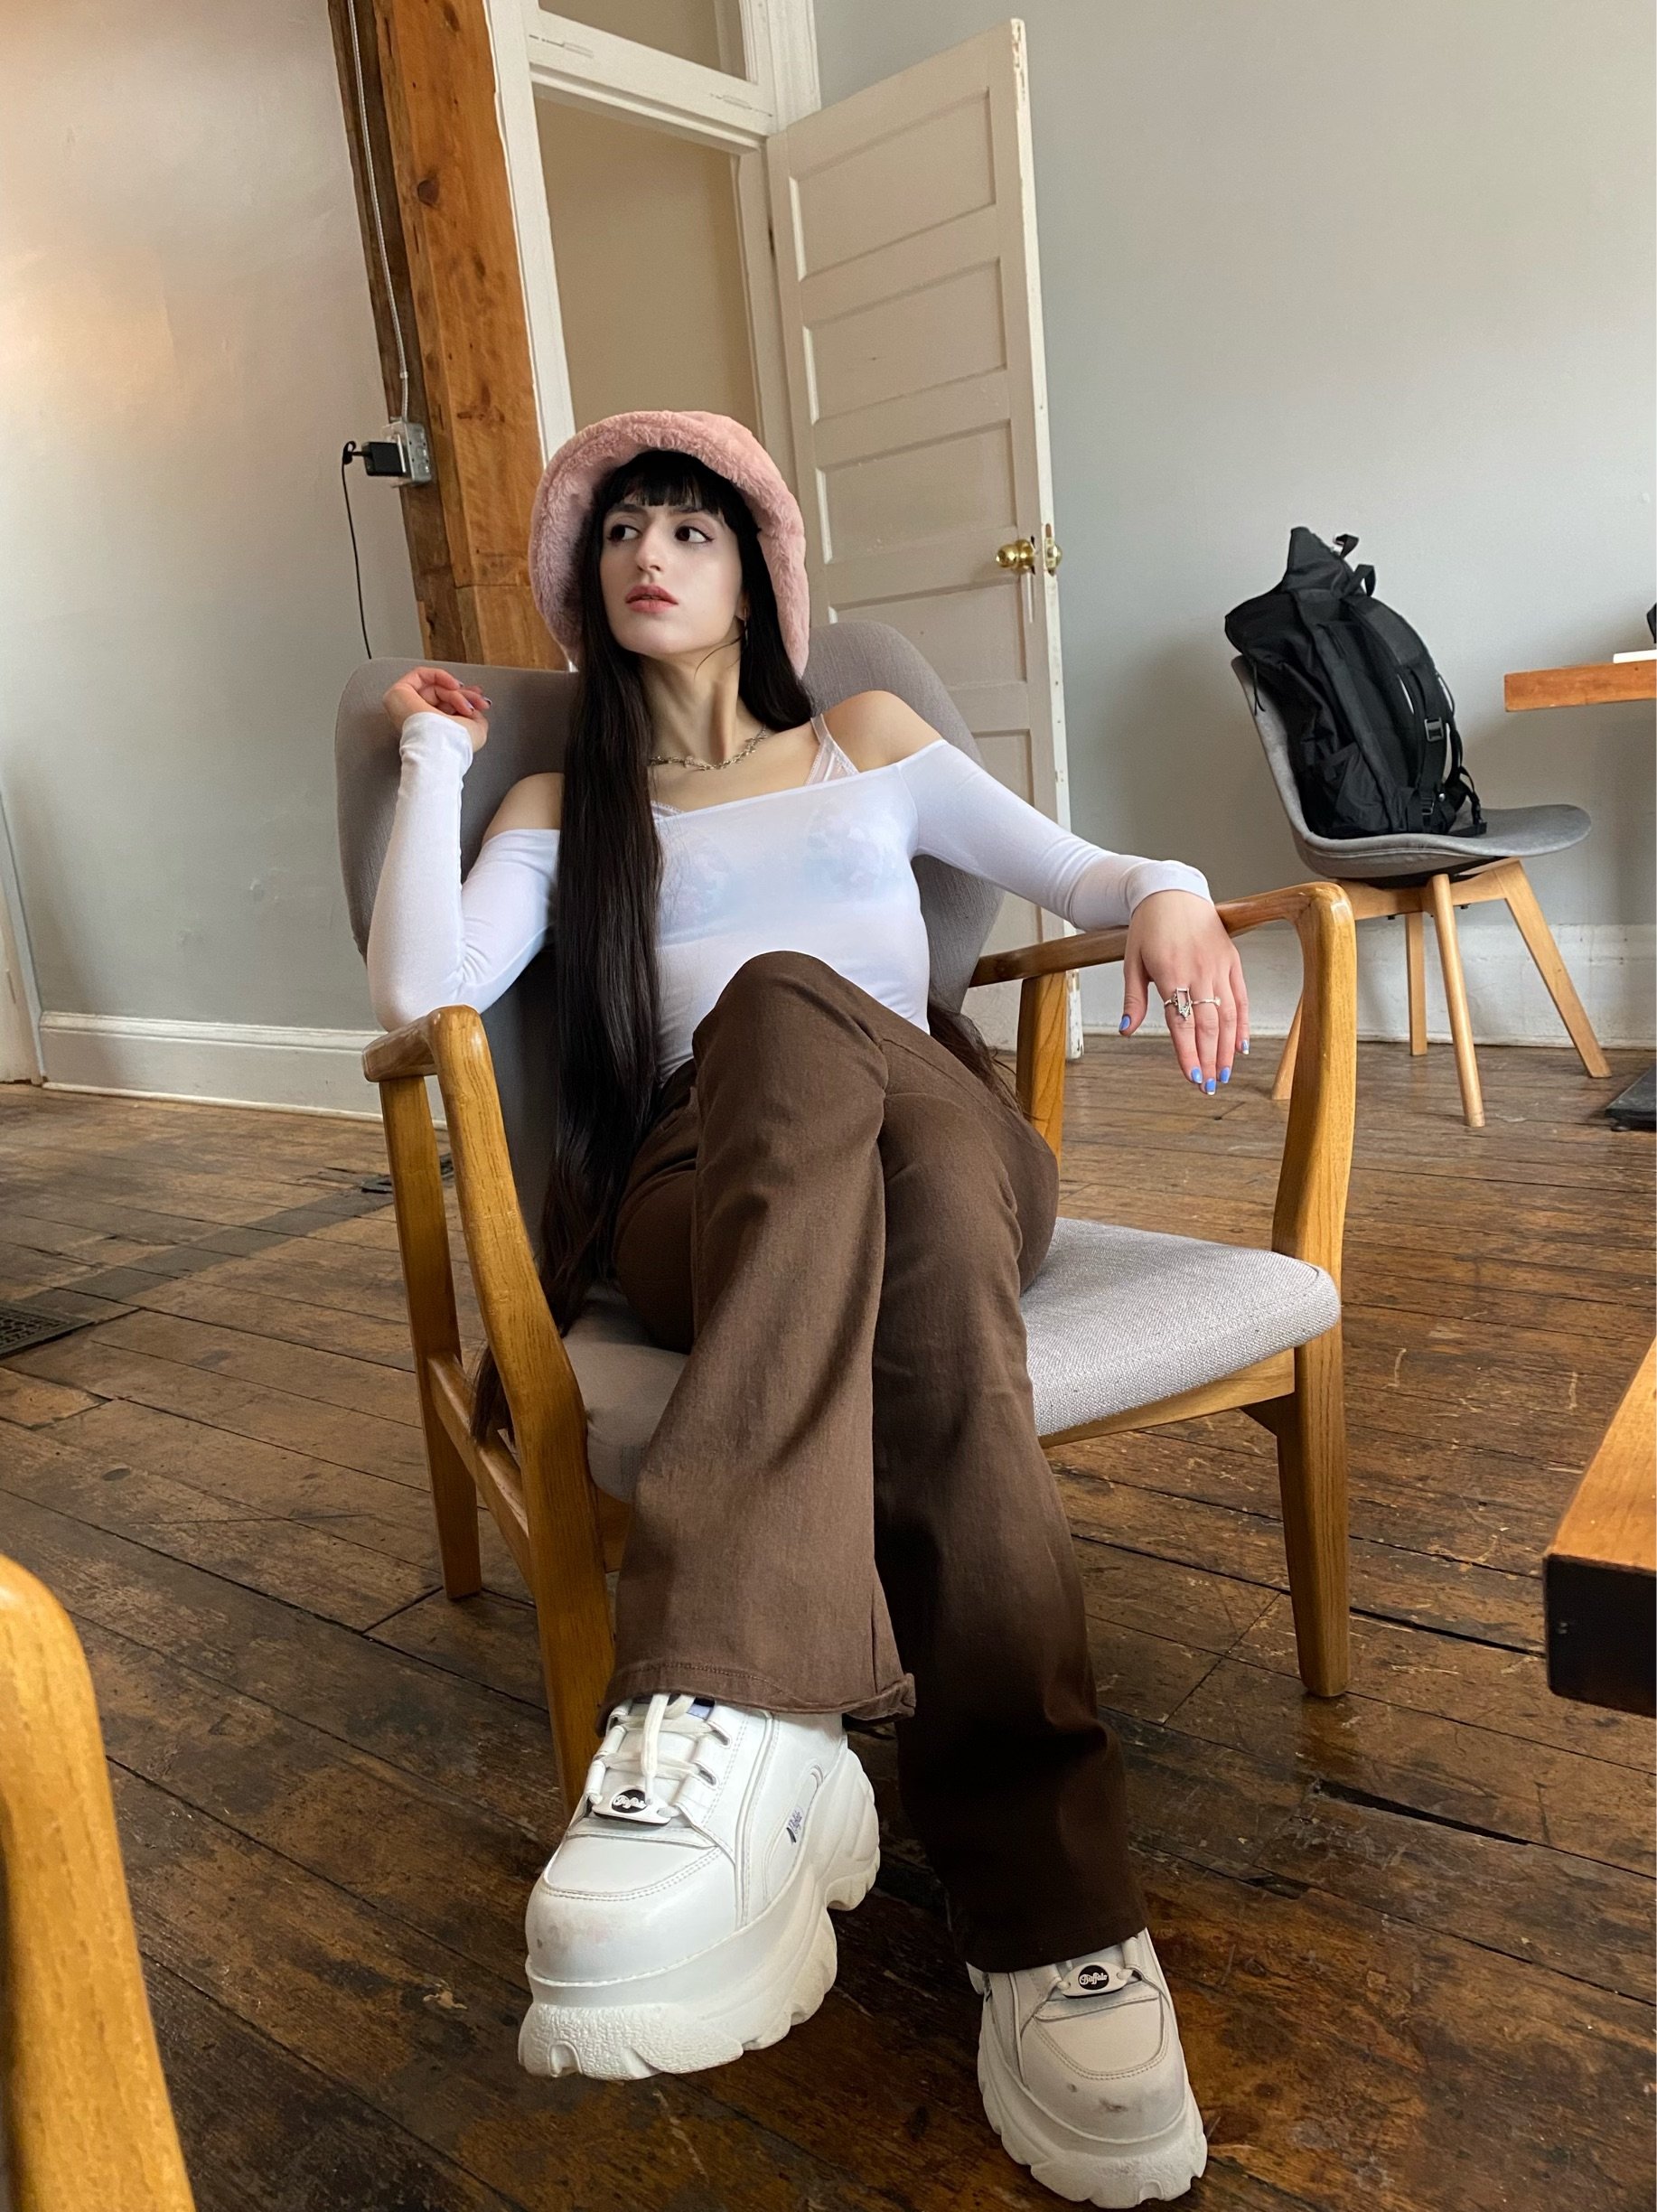
And that’s it! My very own, DIY chunky platform shoes. They’re not perfect, they might not last forever, but I made them, and I think they look pretty cool.