
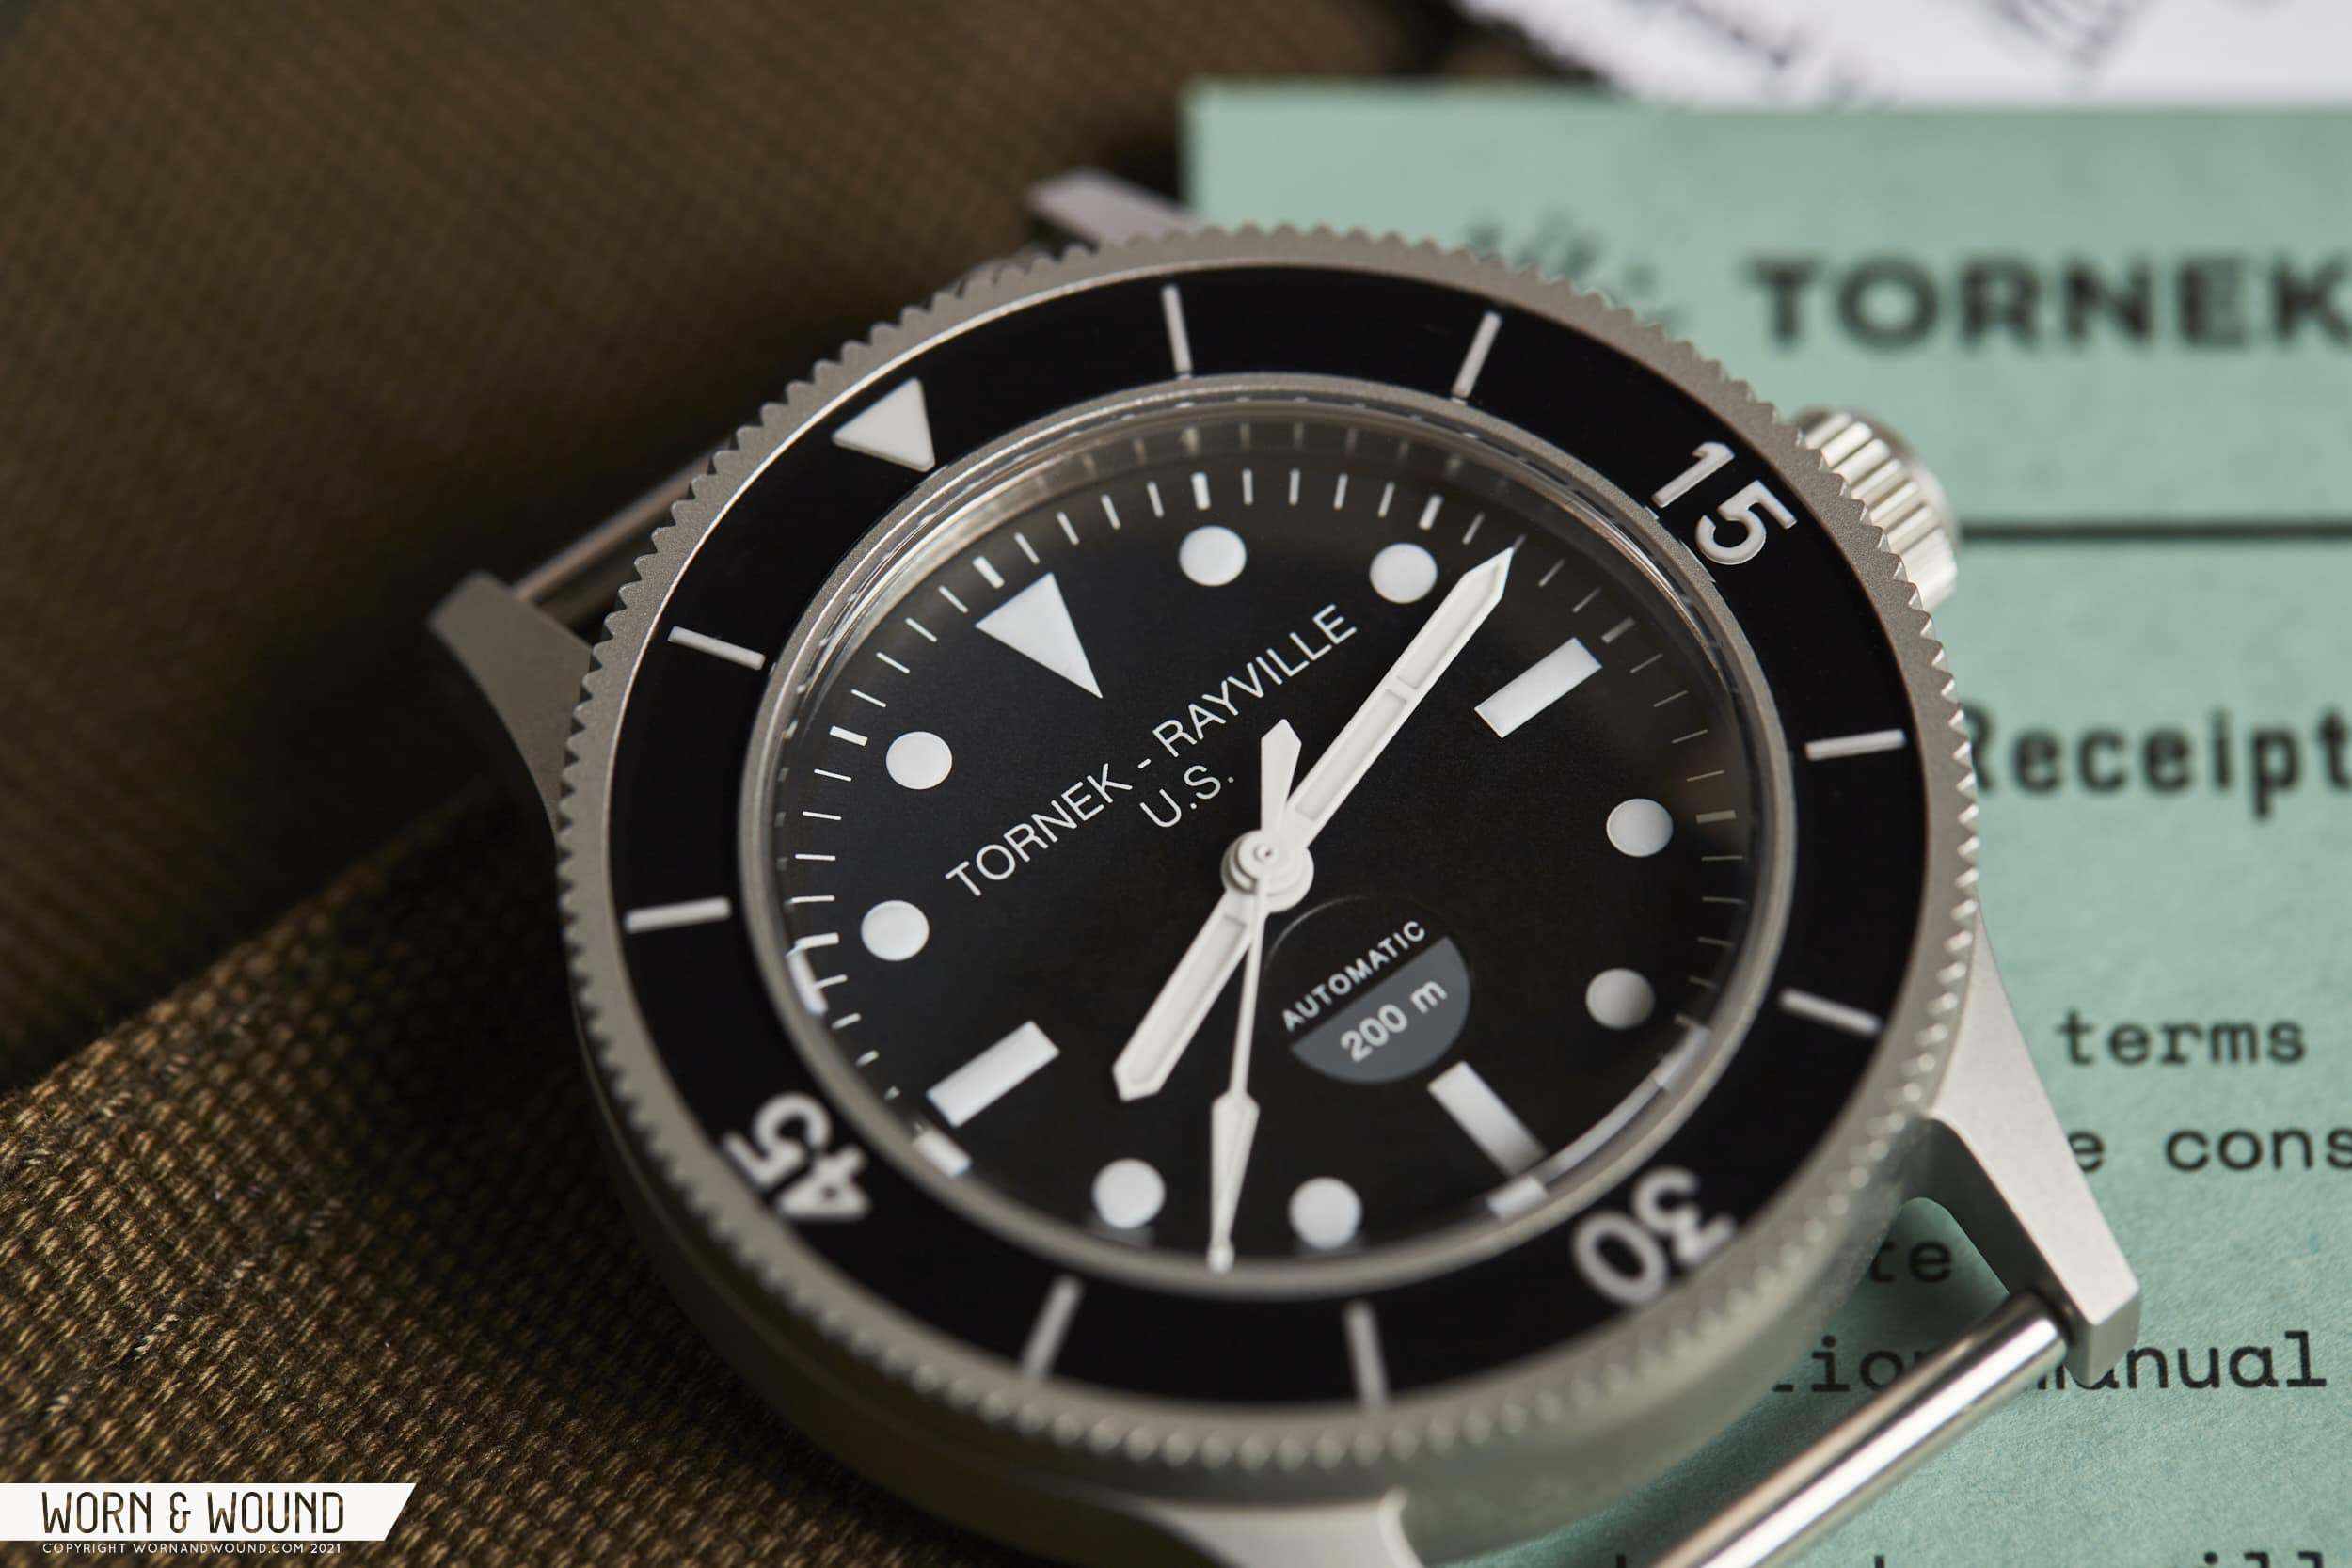
Okay, so I’ve been messing around with this “tornek rayville” thing, and let me tell you, it was a bit of a ride. I started with absolutely no clue what I was doing, just a vague idea and a whole lot of curiosity.

Getting Started (aka Stumbling Around)
First, I had to get the basic setup going.I went in and got all of the stuff I needed together.
I spent a good chunk of time just trying to figure that out. It was a lot of trial and error, let me tell you!
The Real Work Begins
Once I got past the setup hurdles, it was time to actually try and build something. My initial goal was simple . So, I started piecing things together, bit by bit.
I hit a few * man, did I hit walls. There were times I wanted to throw my computer out the window. Seriously.
Finally Some Progress
But, I kept at it.I read through things, I tried different combinations, and slowly, I started to see some * was like, one tiny step forward, two steps back, but eventually, I started moving in the right direction.
- First I tried A, which totally didn’t work.
- Then I thought, “Hey, maybe B will do it!” Nope.
- Finally, I stumbled upon C, and that seemed to click.
The “Aha!” Moment
And then, it happened. The “Aha!” moment. The thing finally worked! I don’t know how to fully express it, It was like, all the pieces suddenly fell into place, and I finally understood what was going on.
The End Result (for Now)
So, where am I at now? Well, I’ve got a working, I wouldn’t say it’s perfect, not by a long shot. But it works! I’m still learning a ton, and there’s a lot more I want to do with this.
This whole “tornek rayville” experiment has been a rollercoaster. Frustrating, challenging, but ultimately, pretty rewarding. I am excited about what I can make.